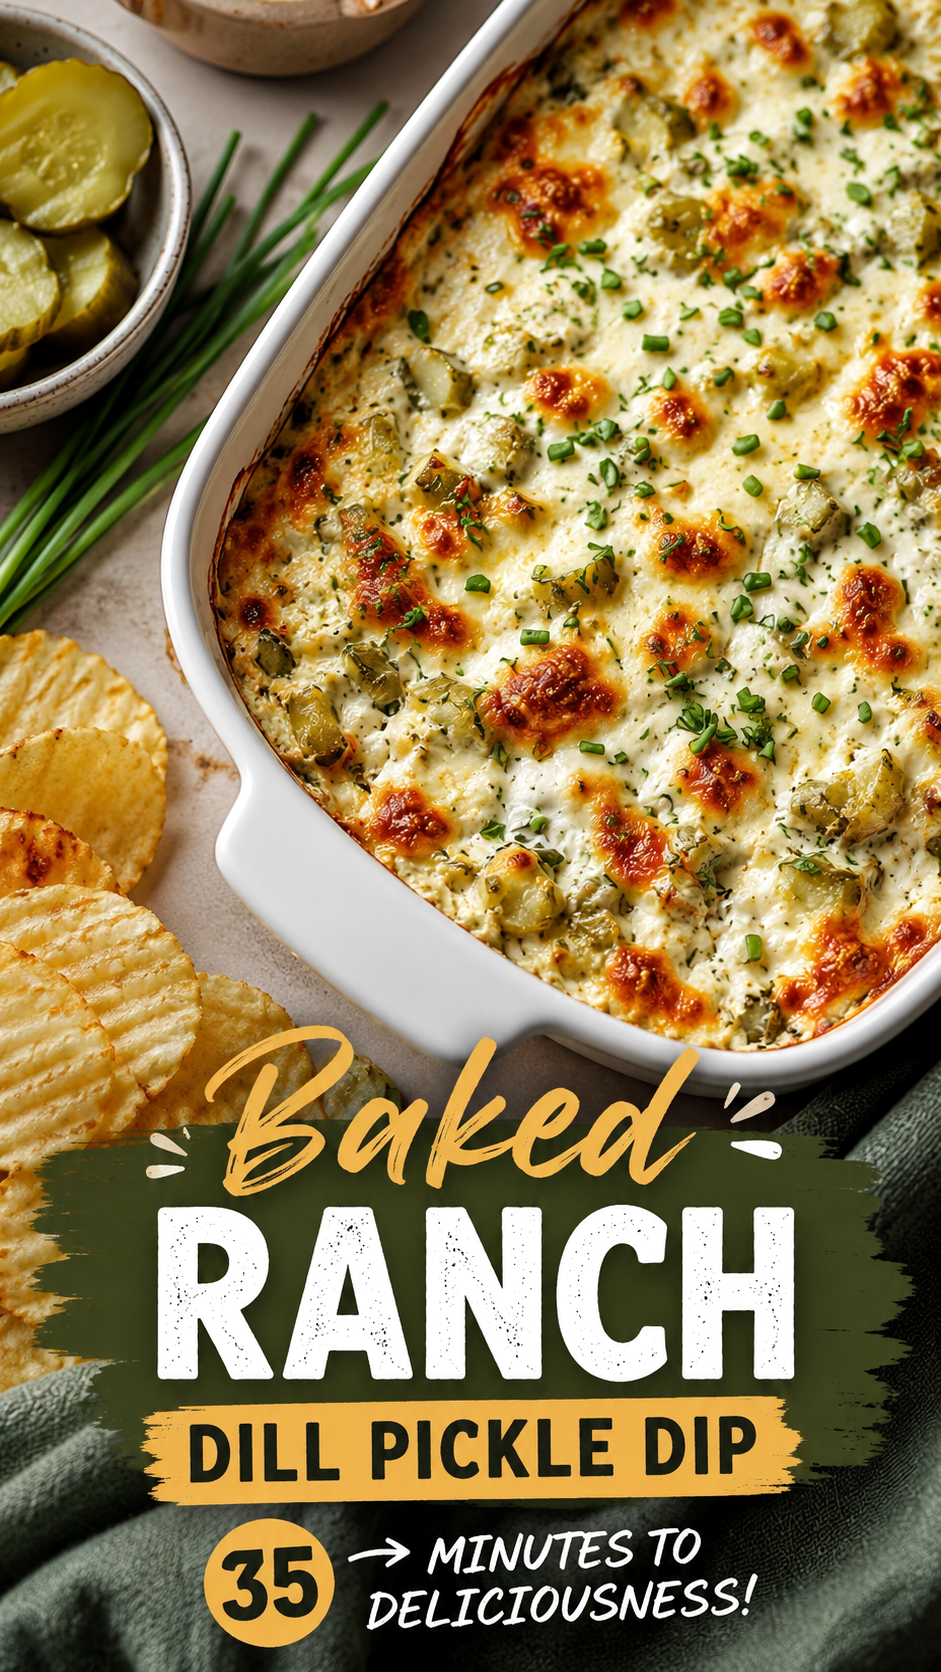
Few appetizers disappear faster at a party than a creamy, flavor-packed dip loaded with crispy bacon, tangy dill pickles, fresh herbs, and melty cheese. This classic bacon dill pickle dip combines savory, salty, creamy, and crunchy textures into one irresistible bowl that instantly becomes the center of attention at gatherings. Whether you are hosting a casual game day, planning a backyard barbecue, or putting together a holiday snack table, this easy appetizer recipe delivers bold flavor with minimal effort.
The combination of smoky bacon and sharp dill pickle flavor has become a favorite among party food lovers for good reason. It is rich without feeling too heavy, refreshing from the dill and pickles, and perfectly balanced with creamy ingredients that make every bite satisfying. Best of all, it comes together quickly, making it ideal for busy hosts who still want impressive results.
Key Takeaways
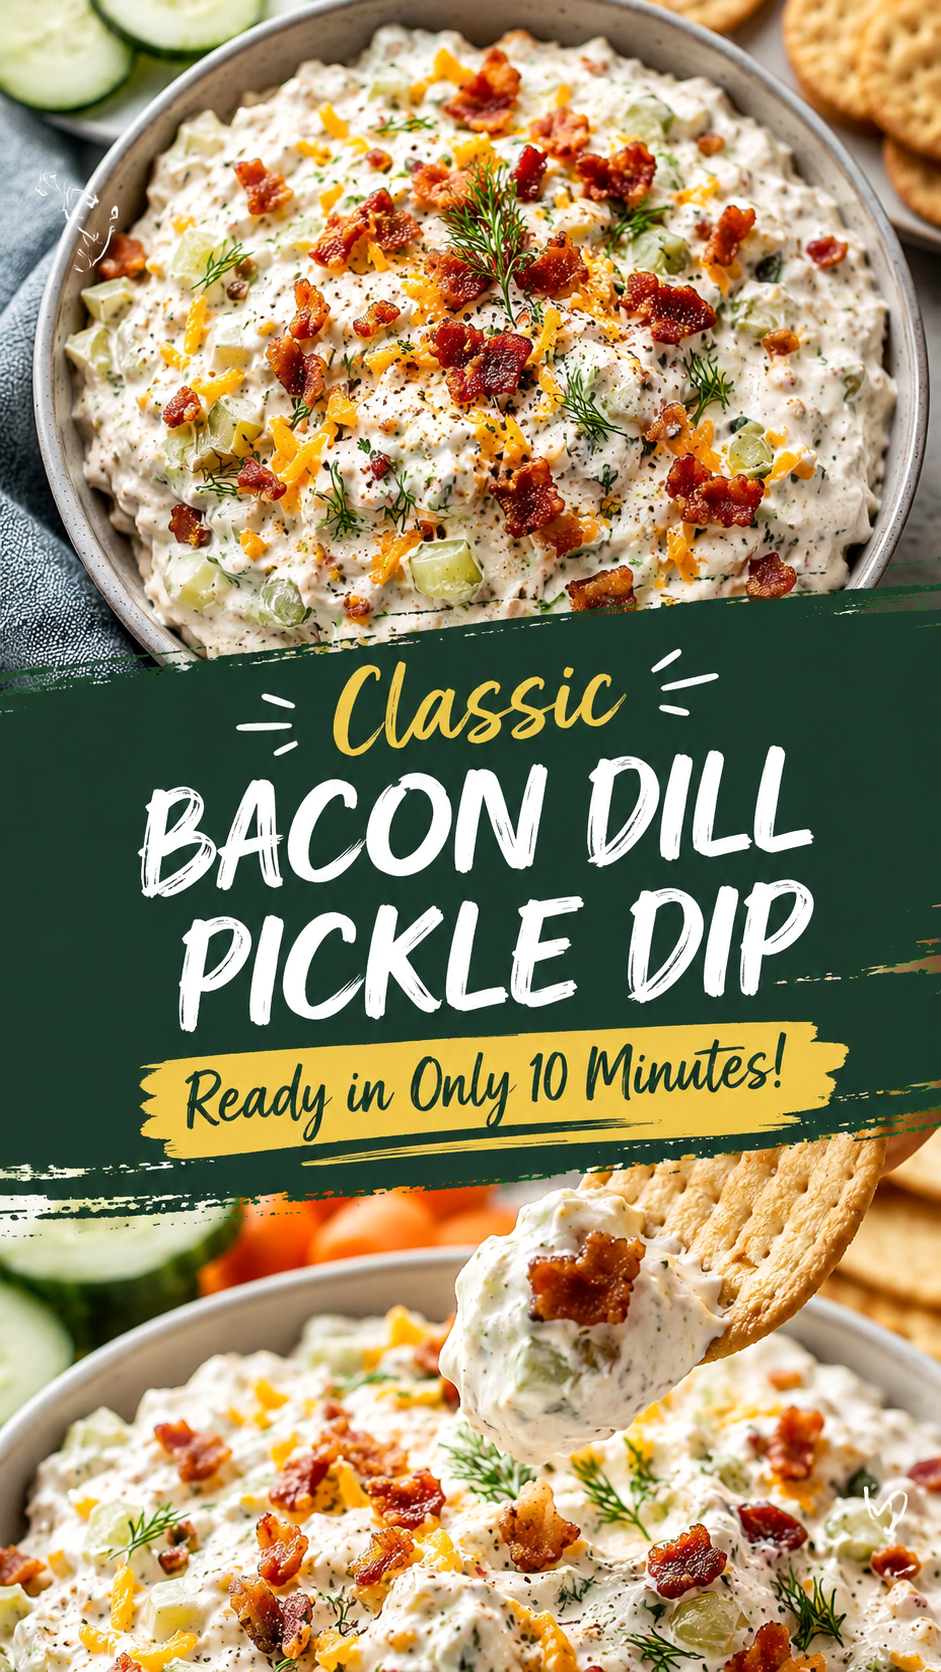
- This bacon dill pickle dip is quick and easy to prepare in about 10 minutes.
- The recipe combines creamy textures with crunchy pickle bites and crispy bacon.
- Perfect for parties, game nights, BBQs, potlucks, and holiday gatherings.
- Pairs beautifully with crackers, chips, pretzels, and fresh vegetables.
- Can be made ahead for even better flavor after chilling.
- Easy to customize with extra cheese, spice, or herbs.
Why Bacon and Dill Pickles Work So Well Together
Bacon and dill pickles create a flavor combination that hits multiple taste preferences at once. The smokiness of crispy bacon brings richness and depth, while the acidity of pickles cuts through the creaminess and keeps the dip tasting bright and balanced.
Fresh dill adds another layer of flavor that enhances the pickle profile without overwhelming the dish. Combined with shredded cheddar cheese and a creamy base, the result is a crowd-pleasing appetizer that feels comforting yet refreshing at the same time.
Important: One of the biggest reasons this dip stands out at parties is the contrast in texture. Crunchy pickle chunks, crispy bacon bits, smooth cream cheese, and soft shredded cheese create a layered bite that keeps guests coming back for more.
The Appeal of Easy Appetizer Recipes
Quick appetizer recipes continue to grow in popularity because they fit modern entertaining styles perfectly. Hosts want recipes that feel homemade and impressive without requiring hours in the kitchen. This creamy dill pickle dip checks every box.
Unlike complicated party foods that require baking, multiple steps, or difficult timing, cold dips are simple to prepare and easy to serve. They also allow hosts to focus more on guests and less on cooking stress.
Perfect for Every Occasion
This type of appetizer works for nearly any event:
- Game day parties
- Holiday appetizer spreads
- Summer cookouts
- Movie nights
- Birthday gatherings
- Family snack tables
- Potluck dinners
The creamy presentation and colorful toppings also make it visually appealing. Fresh dill and cheddar cheese brighten the bowl, while crispy bacon creates a mouthwatering finishing touch.
Building the Perfect Creamy Dip Base
The secret to an unforgettable pickle dip starts with the creamy base. Most versions use softened cream cheese combined with sour cream or mayonnaise to create a smooth, scoopable texture.
The cream cheese adds richness and body, while sour cream contributes tanginess that complements the pickles beautifully. Some variations also include ranch seasoning or garlic powder for extra flavor depth.
Ingredients That Make a Difference
- Softened cream cheese for a smooth texture
- Fresh dill for bright herbal flavor
- Sharp cheddar cheese for richness
- Crispy bacon pieces for crunch and smokiness
- Dill pickles with plenty of crunch
- A touch of pickle juice for extra tang
High-quality ingredients can dramatically improve the final result. Crunchy refrigerated pickles often provide better texture than softer shelf-stable varieties.
Expert Insight
Allowing the dip to chill for at least 30 minutes before serving helps the flavors blend together beautifully. The dill, bacon, cheese, and pickle flavors become more balanced and intense after resting.
Serving Ideas That Make It Even Better
One reason dill pickle dip remains popular is its versatility. It pairs well with so many dippers that it can easily fit different party themes and preferences.
Best Dippers for Bacon Dill Pickle Dip
- Wavy potato chips
- Butter crackers
- Pretzel crisps
- Toasted baguette slices
- Fresh cucumber rounds
- Celery sticks
- Bell pepper strips
- Pita chips
For parties, creating a snack board around the dip makes the presentation even more inviting. Arrange colorful vegetables, crunchy chips, and crackers around the bowl for an effortless appetizer centerpiece.
Pro Tip: Reserve extra bacon, shredded cheese, and fresh dill for topping the dip right before serving. The garnish adds texture, freshness, and visual appeal that instantly makes the dish look more impressive.
Why Pickle Recipes Are Trending
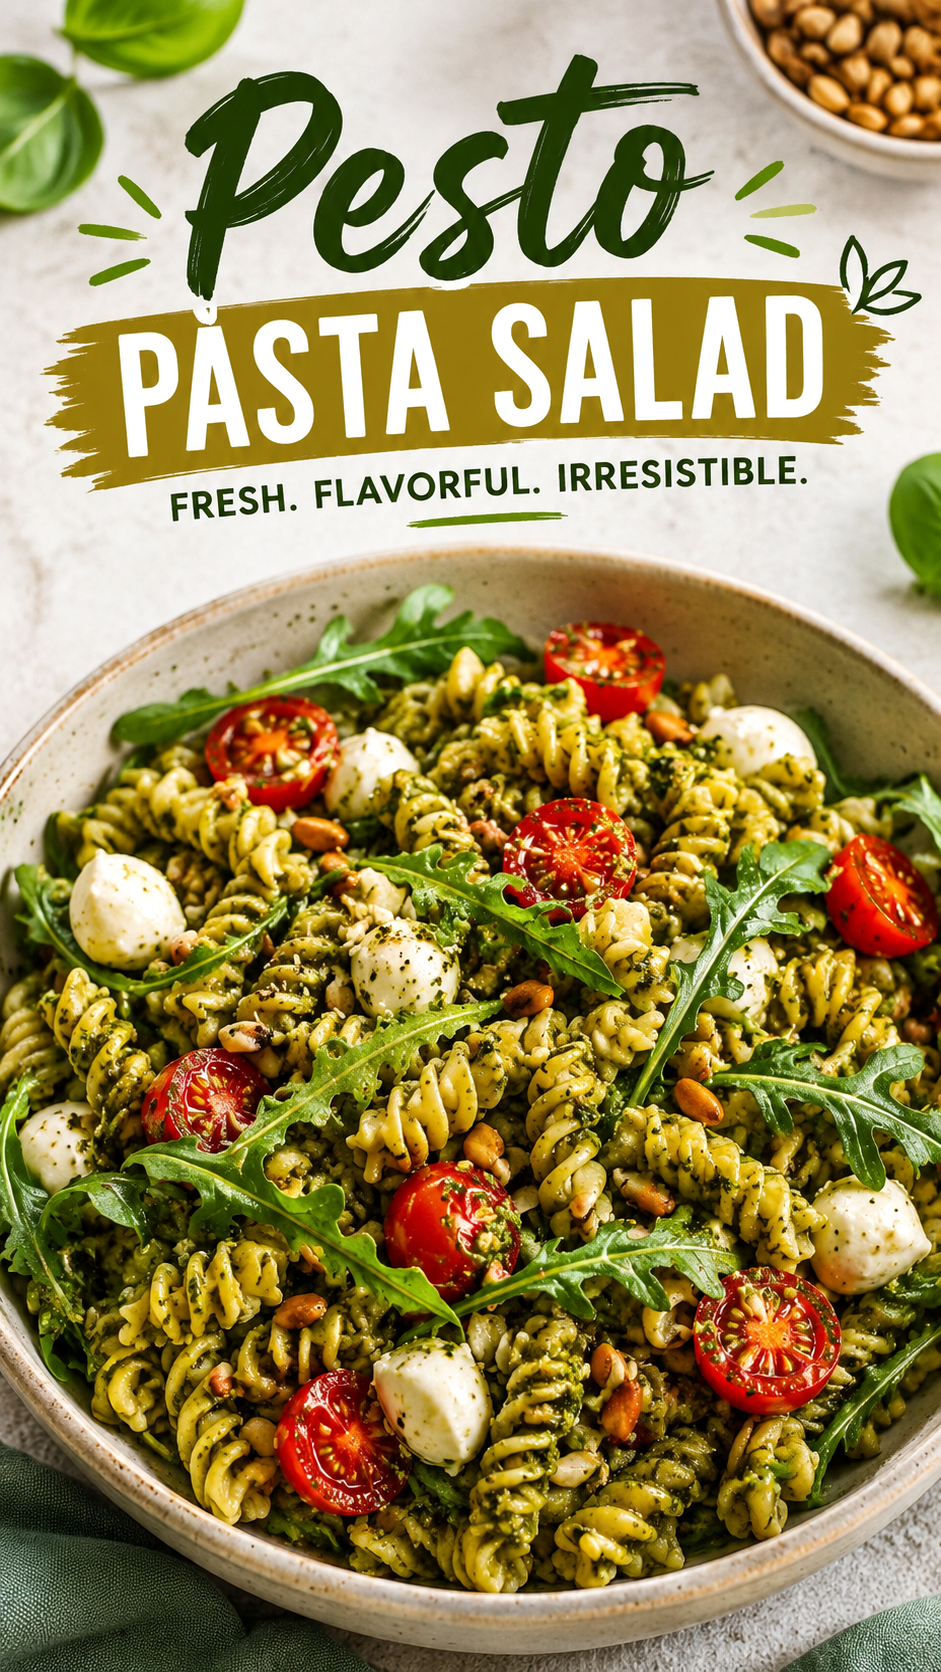
Pickle-inspired recipes have exploded in popularity in recent years. From pickle fries to pickle pasta salad and pickle-flavored snacks, people are embracing bold tangy flavors in creative ways.
This rise in popularity comes from the balance pickles provide in rich foods. Their acidity brightens creamy dishes and adds excitement to classic comfort foods. Bacon dill pickle dip captures this trend perfectly while remaining approachable and easy to enjoy.
Social Media and Party Food Trends
Visually appealing appetizers perform exceptionally well on Pinterest and food-focused social platforms. Creamy dips topped with colorful garnishes naturally attract attention because they look indulgent, shareable, and satisfying.
The combination of bacon, cheese, and dill pickles also taps into nostalgic comfort food flavors that people recognize immediately. Recipes that feel both familiar and exciting tend to become repeat favorites.
Easy Ways to Customize the Dip
One of the best parts about this appetizer recipe is how flexible it can be. Small ingredient adjustments allow you to create different flavor profiles while keeping the same creamy base.
Flavor Variations to Try
- Add jalapeños for heat
- Use pepper jack cheese for spice
- Mix in ranch seasoning for extra flavor
- Stir in green onions for freshness
- Swap cheddar for smoked gouda
- Add extra dill pickle juice for stronger tanginess
These simple upgrades allow the dip to match different tastes and occasions without adding complexity.
Make-Ahead Convenience for Busy Hosts
Preparing food ahead of time is one of the smartest ways to reduce stress during entertaining. Bacon dill pickle dip is ideal because it actually tastes better after chilling for a while.
Making the dip several hours before guests arrive allows the flavors to develop more fully. The creamy mixture absorbs the dill and pickle flavor, creating a richer and more balanced bite.
Important: If preparing ahead, store extra bacon separately until serving time. This keeps the bacon crisp and prevents it from softening in the creamy mixture.
Storage Tips
- Store in an airtight container
- Keep refrigerated until serving
- Best enjoyed within 2 to 3 days
- Stir gently before serving again
Creating a Memorable Appetizer Table
A great appetizer table combines flavor, texture, and visual variety. This creamy dip works beautifully alongside crunchy snacks, fresh vegetables, and other finger foods.
To create a balanced spread, pair rich dips with lighter options like fruit platters or fresh salads. Adding different textures keeps guests interested and encourages grazing throughout the event.
Presentation Tips
- Use a rustic serving bowl for warmth
- Top with extra dill and cheese before serving
- Add colorful vegetables around the dip
- Serve with multiple dipping options
- Keep small appetizer plates nearby
At a Glance
- Quick 10-minute appetizer idea
- Loaded with bacon, dill pickles, and cheese
- Perfect for parties and casual gatherings
- Easy to customize with extra flavors
- Best served chilled with crunchy dippers
Conclusion
Classic bacon dill pickle dip is the kind of appetizer recipe that effortlessly brings people together. It is creamy, savory, crunchy, and packed with bold flavor in every bite. With minimal prep time and maximum crowd appeal, it fits perfectly into modern entertaining where simplicity and flavor matter most.
Whether you are planning a holiday gathering, game day celebration, family movie night, or casual weekend snack board, this easy dip recipe offers comfort, excitement, and versatility all in one bowl. The combination of crispy bacon, tangy pickles, creamy cheese, and fresh dill creates an unforgettable appetizer guests will request again and again.
Simple recipes often become the most memorable, and this flavorful party dip proves exactly why. It is approachable, satisfying, visually inviting, and endlessly customizable for every occasion.