I Can’T Stop Making This Spicy Shrimp Pasta: A Tropical Delight
Introduction to I Can’T Stop Making This Spicy Shrimp Pasta
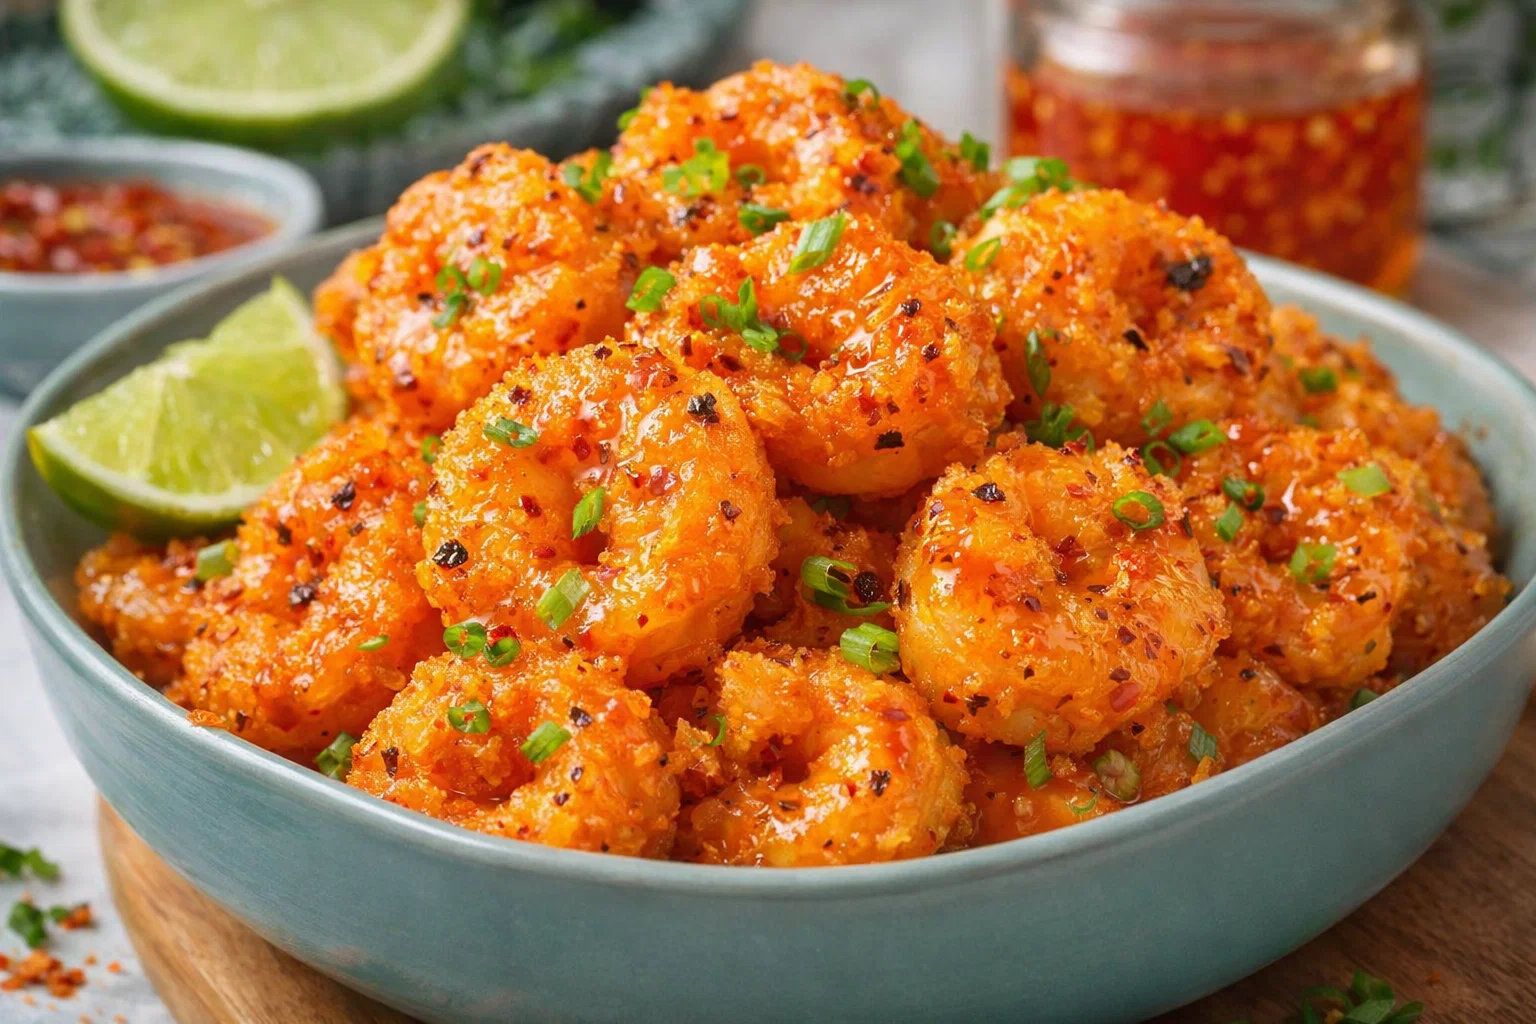
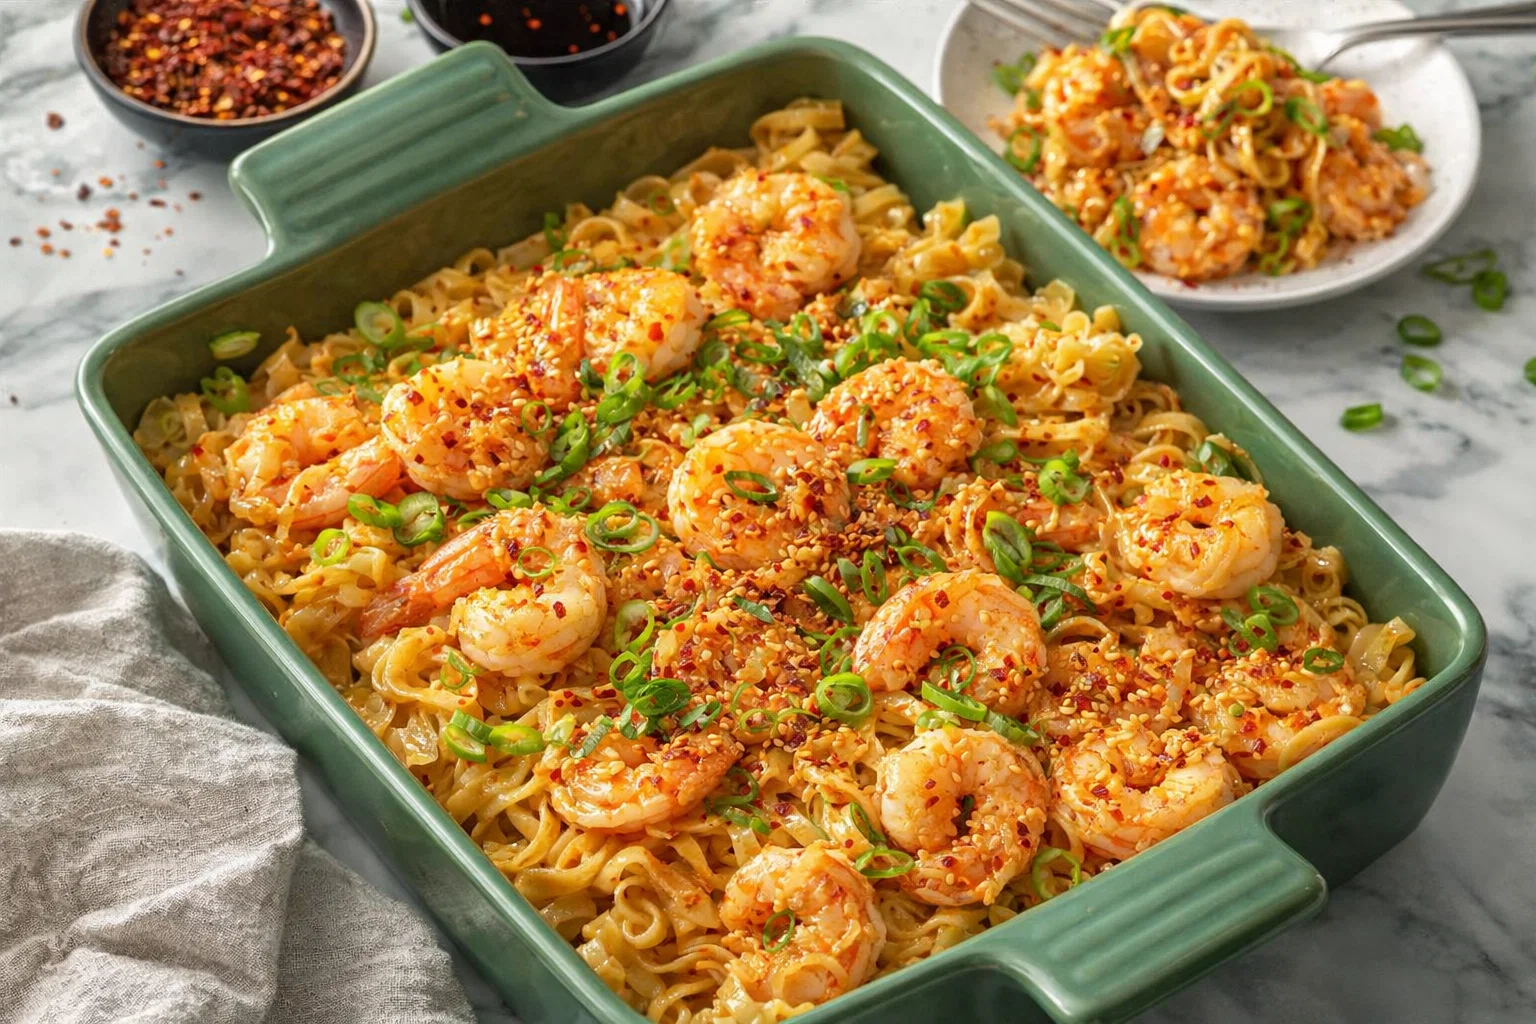
If you’re on the lookout for quick and delicious shrimp recipes, look no further! I Can’t Stop Making This Spicy Shrimp Pasta is not only simple to prepare, but it also offers an incredible explosion of flavors that will keep your taste buds dancing. This dish packs a spicy punch with aromatic garlic, zesty lemon, and succulent shrimp, marrying perfectly with al dente pasta to create a tropical delight on your dinner table. It’s ideal for busy weeknights, special occasions, or when you’re simply craving something vibrant and healthy.
The best part? This spicy shrimp pasta is versatile, allowing you to customize it to fit various dietary needs. Whether you’re gluten-free, watching your calories, or following a vegan diet, this recipe can accommodate your lifestyle. Packed with lean protein from shrimp and fresh veggies, it is a smart choice for health-conscious individuals. Plus, it can be prepped in under 30 minutes, making it a go-to option for students, busy parents, and working professionals alike.
Don’t just take my word for it—give it a try, and you might find yourself making this scrumptious dish on repeat!
Benefits and Advantages of I Can’T Stop Making This Spicy Shrimp Pasta
This Spicy Shrimp Pasta stands out not only for its vibrant flavors but also for numerous benefits that cater to a wide audience. The ease of preparation makes it particularly appealing. With just a handful of ingredients and minimal hands-on cooking time, it’s an excellent option for anyone who feels pressed for time. The simplicity of this recipe means that it’s approachable for novice cooks while still impressing seasoned chefs.
Health Benefits: Shrimp is a fantastic source of lean protein, providing essential nutrients while remaining low in calories. The use of wholesome ingredients like olive oil, garlic, and vegetables contributes to the dish’s health benefits. Research suggests that incorporating seafood into your diet can offer cardiovascular benefits, thanks to healthy omega-3 fatty acids. Furthermore, with the option to use whole-grain or gluten-free pasta, you can easily adapt this dish to fit various diets, from low-carb to whole-foods focused.
Vegan & Gluten-Free Options: For those on vegan diets, simply substitute shrimp with a plant-based protein like chickpeas or tofu. You can replace traditional pasta with gluten-free varieties or vegetable noodles to make it a gluten-free meal without compromising on taste. This flexibility ensures that everybody can enjoy a delightful plate of Spicy Shrimp Pasta.
Ultimately, what makes this dish a standout choice is how it brings people together with its exotic flavors and healthy profile. Whether you’re hosting a dinner, cooking for your family, or enjoying a quiet meal alone, this recipe allows you to relish in the fresh taste of shrimp while knowing you’re nourishing your body.
Ingredients Overview
Essential Ingredients for I Can’T Stop Making This Spicy Shrimp Pasta
To prepare I Can’t Stop Making This Spicy Shrimp Pasta, gather the following ingredients:
- 8 oz of spaghetti (or your choice of gluten-free pasta)
- 1 lb of large shrimp, peeled and deveined (or a plant-based alternative for vegan)
- 2 tbsp olive oil
- 4 cloves garlic, minced
- 1/2 tsp red pepper flakes (adjust according to your spice preference)
- 1/2 cup cherry tomatoes, halved
- 1/2 cup bell peppers, sliced (any color)
- 1/4 cup chicken or vegetable broth
- Juice of 1 lemon
- Zest of 1 lemon
- Salt and pepper, to taste
- Fresh parsley, chopped, for garnish
Key Ingredient Benefits:
– Shrimp: Low in calories and high in protein; an excellent source of essential nutrients.
– Garlic: Known for its medicinal properties and distinctive flavor.
– Olive Oil: A healthier fat choice rich in antioxidants.
With this list, you can create a dish that satisfies your palate while aligning with various dietary preferences!
Dietary Substitutions to Customize Your I Can’T Stop Making This Spicy Shrimp Pasta
- For a Vegan Version: Substitute shrimp with chickpeas or tofu. Tofu soaks up the flavors beautifully and adds protein.
- Gluten-Free: Choose gluten-free pasta varieties or spiralize zucchini or carrots for a refreshing noodle alternative.
- Lower-Calorie: Lighten the dish further by using less oil or opting for a tomato-based sauce instead of using broth.
- Add More Vegetables: Feel free to include vegetables like spinach or kale for added vitamins, fiber, and volume without significantly impacting caloric content.
By customizing ingredients, you ensure that everyone has a chance to enjoy this Spicy Shrimp Pasta in a way that fit best for their dietary requirements!
How to Prepare the Perfect I Can’T Stop Making This Spicy Shrimp Pasta: Step-by-Step Guide
Preparing this Spicy Shrimp Pasta is a straightforward process that anyone can master. Follow this step-by-step guide for an irresistible dish!
-
Prepare the Pasta: Start by bringing a large pot of salted water to a boil. Add your spaghetti or any pasta of your choice and cook it according to package instructions until al dente. Save about 1/2 cup of pasta water for later, then drain and set the pasta aside.
-
Sauté the Aromatics: While the pasta is cooking, heat olive oil in a large skillet over medium heat. Add minced garlic and sauté for about 30 seconds until fragrant—be cautious not to burn it.
-
Cook the Shrimp: Next, add the shrimp to the skillet. Sprinkle salt, pepper, and red pepper flakes over them. Cook for roughly 2-3 minutes, flipping halfway through, until they turn pink and opaque.
-
Incorporate Vegetables: Toss in the halved cherry tomatoes and sliced bell peppers. Stir well and sauté for another 2-3 minutes until the vegetables soften slightly.
-
Add Liquid Ingredients: Pour in the chicken or vegetable broth along with the lemon juice and zest. Mix thoroughly, allowing the sauce to simmer for about 3-4 minutes. You can add a splash of reserved pasta water for a more cohesive sauce if needed.
-
Combine Pasta and Shrimp Mixture: Add the drained pasta directly into the skillet with the shrimp and veggies. Toss to combine, making sure the pasta is well-coated with the sauce. Adjust seasoning, adding more salt, pepper, or red pepper flakes to suit your taste.
-
Finish with Garnish: Remove the skillet from the heat. Use freshly chopped parsley to garnish your beautiful dish, serving it warm.
-
Adjust for Dietary Preferences: If using vegan alternatives, follow the same cooking steps but sauté tofu instead of shrimp, ensuring it’s golden and crispy.
By following these steps, you achieve a perfect plate of Spicy Shrimp Pasta that is bound to impress anyone who tries it!
Mastering I Can’T Stop Making This Spicy Shrimp Pasta: Advanced Tips and Variations
To elevate your Spicy Shrimp Pasta experience, consider these advanced tips and variations:
- Spice It Up: If you love heat, consider adding chopped jalapeños or a dash of hot sauce in addition to red pepper flakes.
- Add Creaminess: For a richer dish, stir in a quarter cup of heavy cream or coconut milk during step 5 for a creamy sauce.
- Herb Variations: Experiment with fresh herbs like basil or cilantro for different flavor profiles. A sprinkle of fresh dill can also enhance the dish spectacularly.
- Pasta Alternatives: Try using whole-wheat pasta or legume-based pasta for added fiber. Such options not only cater to various dietary needs but also change the dish’s nutritional profile.
Using these tips ensures that you’ll never get bored with Spicy Shrimp Pasta, allowing everyone to pick their favorite version!
How to Store I Can’T Stop Making This Spicy Shrimp Pasta: Best Practices
Storing your leftover Spicy Shrimp Pasta properly ensures it’s delicious when you reheat it.
-
Refrigeration: Place portions in airtight containers, and store them in the refrigerator. They will typically stay fresh for up to three days.
-
Freezing: For longer storage, you can freeze portions of the dish. Ensure the pasta is cooled down before placing it in freezer-safe bags or containers. This way, it can last up to 2 months in the freezer.
-
Reheating: To reheat, use the microwave or a skillet over low heat. If the pasta seems dry, add a splash of reserved pasta water or broth to revive the sauce and mix well.
These methods ensure that the flavors remain intact so you can enjoy your Spicy Shrimp Pasta later!
Nutritional Value of I Can’T Stop Making This Spicy Shrimp Pasta
Let’s break down the nutritional value of this vibrant dish based on standard ingredients (per serving):
- Calories: Approximately 380
- Protein: 34g
- Fat: 10g (healthy fats from olive oil)
- Carbohydrates: 45g
- Fiber: 4g
- Sodium: 600mg (adjustable by using low-sodium broth)
This nutritional breakdown makes it clear that I Can’t Stop Making This Spicy Shrimp Pasta not only satisfies your taste buds but also fuels your body with essential nutrients, making it an excellent option for a balanced meal.
FAQs: Frequently Asked Questions About I Can’T Stop Making This Spicy Shrimp Pasta
Can I use frozen shrimp instead of fresh?
Yes! Frozen shrimp works perfectly. Just ensure they are fully thawed and drained before cooking.
How can I make this recipe dairy-free?
This recipe is naturally dairy-free! Just be cautious about any creamy additions you might consider using—opt for coconut milk or non-dairy creamer instead.
What pasta alternatives do you recommend?
You can use gluten-free pasta, zucchini noodles, or even whole wheat pasta as alternatives based on dietary preferences.
Is this dish suitable for meal prep?
Absolutely! This recipe is perfect for meal prep. Just divide it into containers after cooking, and you’re good to go for the week!
Can I substitute the vegetables?
Certainly! Feel free to add any vegetables you love or have on hand, such as spinach, asparagus, or even broccoli.
In conclusion, I Can’t Stop Making This Spicy Shrimp Pasta is not only a quick and easy recipe; it’s also nutritious and adaptable to various dietary needs. By following this guide, you’re set to create a dish that both you and your loved ones will adore! So get into your kitchen and give it a try—you might just find yourself making it over and over again!