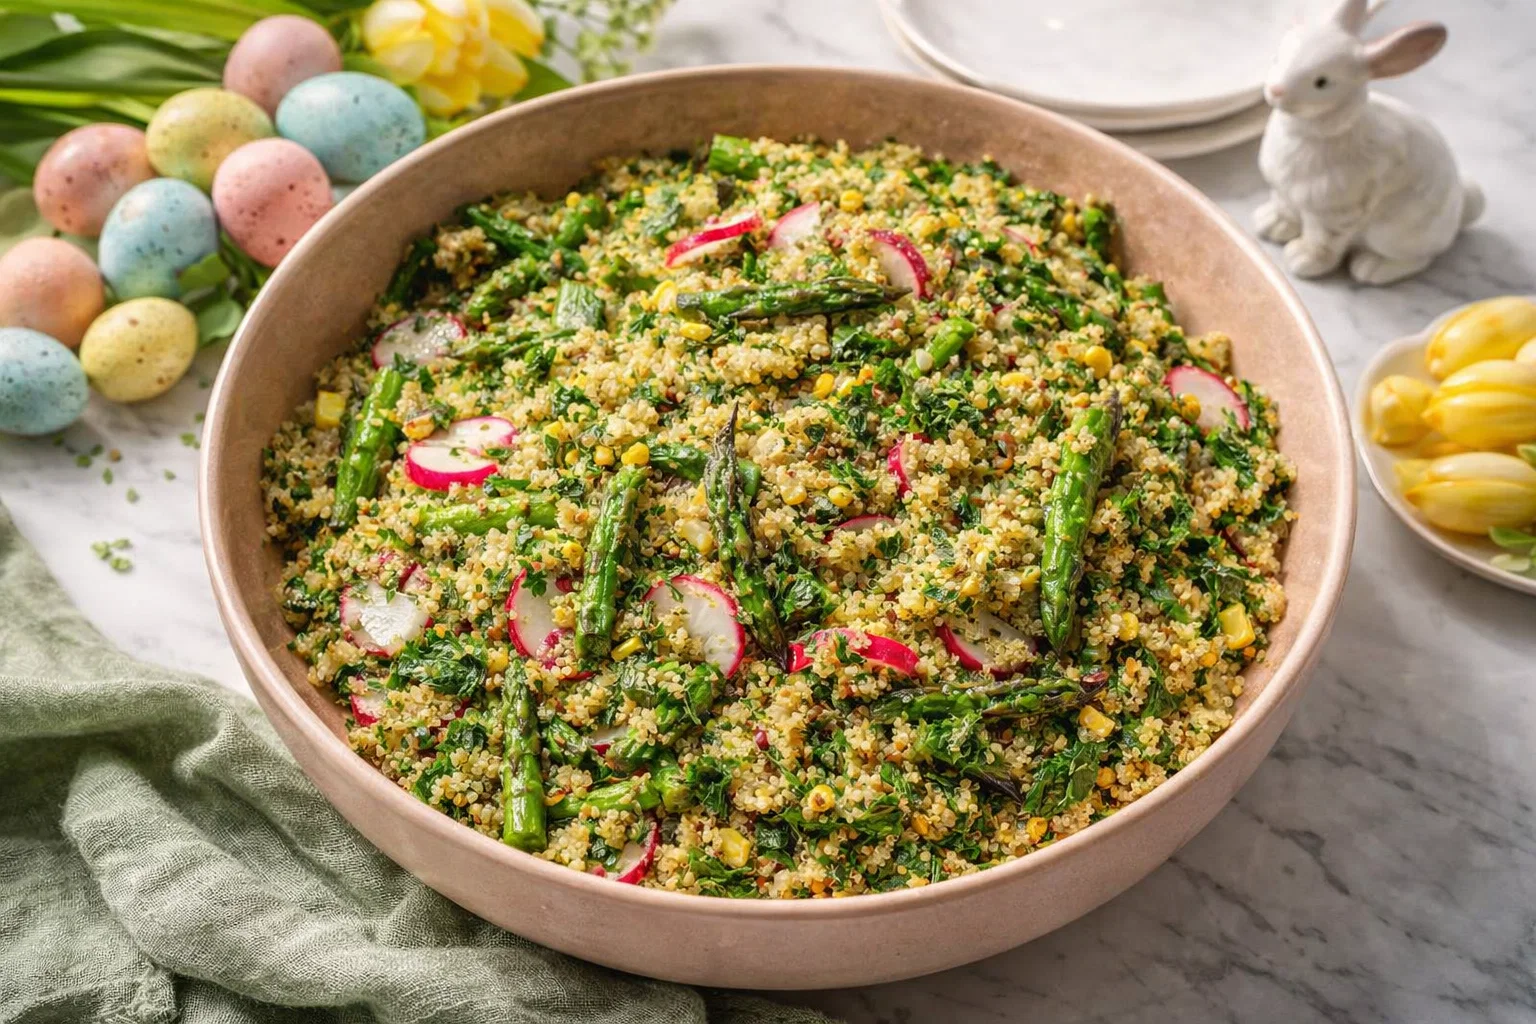
Roasted Easter Quinoa Salad: A Tropical Delight
Introduction to Roasted Easter Quinoa Salad
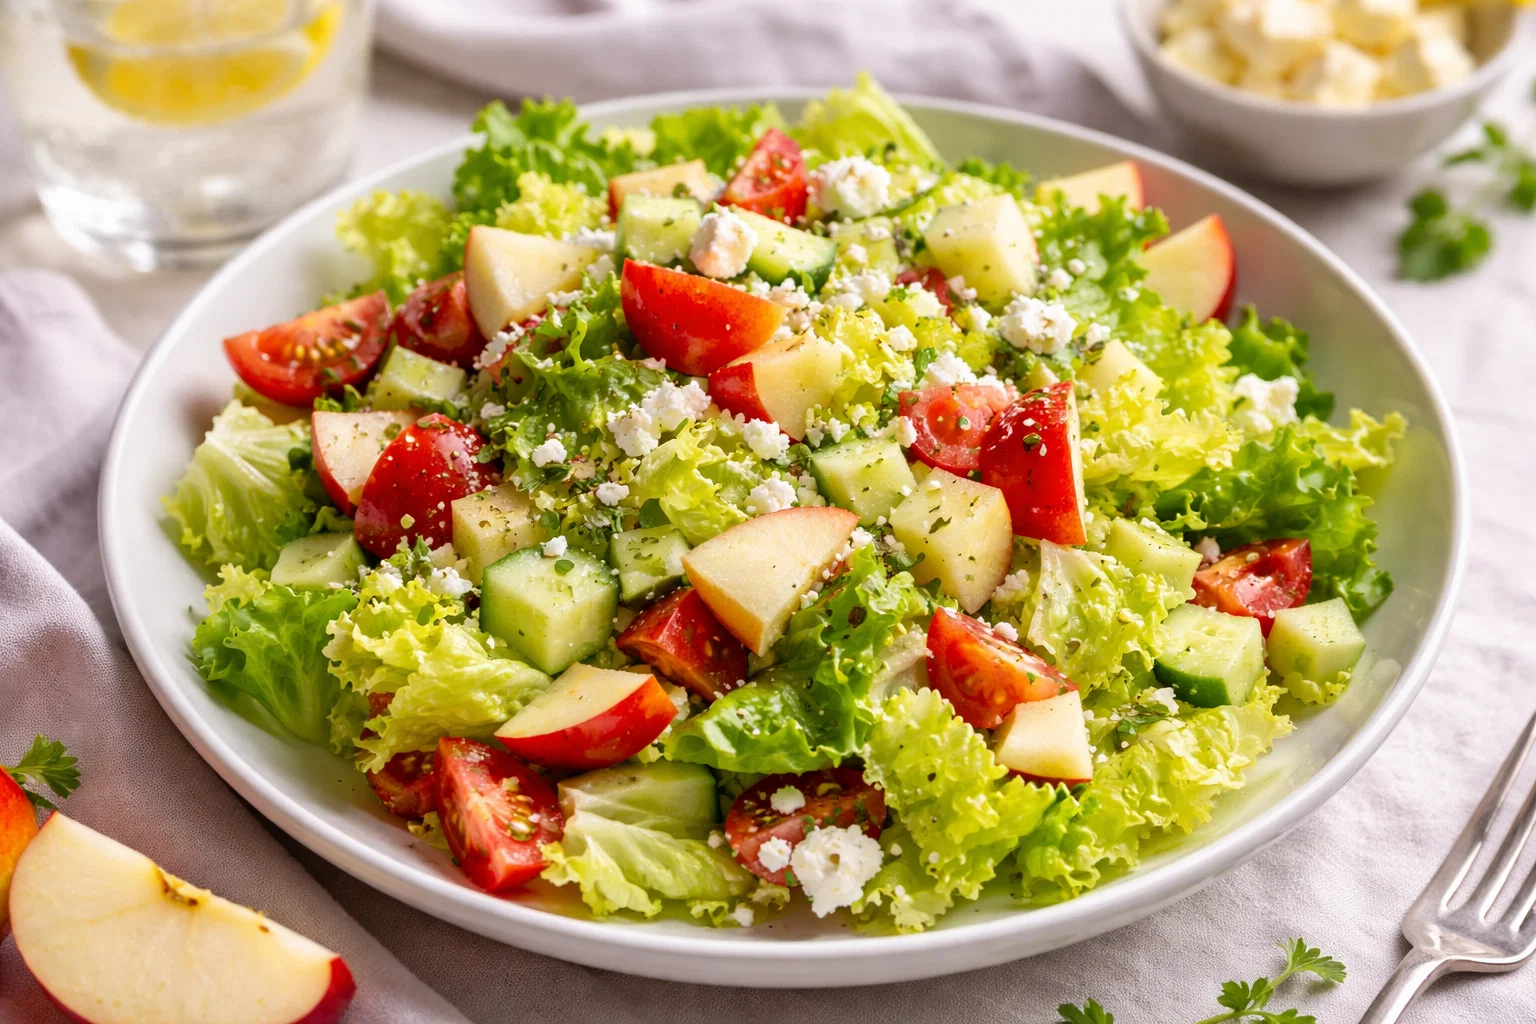
Spring is the perfect time to refresh your dining table with delightful, colorful dishes that celebrate the season. One such recipe that embodies the spirit of spring meals is the Roasted Easter Quinoa Salad. This vibrant dish not only promotes healthy eating but also brings an explosion of flavor and texture to your plate. With the perfect blend of roasted vegetables, protein-packed quinoa, and zesty dressings, this salad is a fantastic addition to family gatherings, potlucks, or cozy dinners.
What makes this Roasted Easter Quinoa Salad exceptionally appealing is its simplicity and versatility. Not only is it incredibly easy to prepare, but it also caters to various dietary needs. Gluten-free? Check. Vegan? Absolutely. Low-calorie? You bet! It’s a guilt-free indulgence that everyone can enjoy, from busy parents looking for nutritious meals to students managing their budgets. Plus, the combination of quinoa and seasonal vegetables ensures you’re getting a rich source of vitamins and minerals, making this a wholesome choice for the health-conscious.
As you explore this recipe, you’ll appreciate how the colors and flavors blend harmoniously, reminiscent of a tropical paradise. The added crunch of fresh vegetables combined with the warm, nutty flavors of roasted ingredients makes this salad a delectable option for those seeking light yet satisfying spring meals. So, gather your ingredients and let’s embark on this delicious culinary adventure!
Benefits and Advantages of Roasted Easter Quinoa Salad
The Roasted Easter Quinoa Salad stands out for numerous reasons, making it a must-try for anyone seeking quick, healthy, and satisfying meals. First and foremost, the ease of preparation is outstanding. With just a few basic steps, you can create a meal that feels both elegant and homely. Simply roast your favorite seasonal vegetables, mix them with fluffy quinoa, and let your imagination guide the seasoning. You will find that with a little effort, you can achieve maximum flavor.
Health benefits abound in this salad as well. Quinoa is often referred to as a superfood due to its high protein content and balance of essential amino acids, making it a fantastic choice for vegetarians and vegans alike. Alongside the quinoa, the addition of colorful vegetables provides a spectrum of nutrients, antioxidants, and fiber that is vital for your overall health. Your body will thank you for incorporating this nutrient-dense dish into your spring meals.
Another advantage of the Roasted Easter Quinoa Salad is its adaptability. Whether you’re a working professional squeezing in a healthy lunch, a traveler looking for easy meal prep, or a family member catering to picky eaters, this recipe is infinitely customizable. You can swap out vegetables based on seasonality or personal preference, add protein sources like chickpeas or grilled chicken, or even experiment with dressings to make it uniquely yours.
In essence, the Roasted Easter Quinoa Salad encapsulates everything a spring meal should be: nutritious, vibrant, and easy to prepare. You can make it your go-to option for picnics, gatherings, or simply a fulfilling family dinner.
Ingredients Overview
Essential Ingredients for Roasted Easter Quinoa Salad
Creating a delicious Roasted Easter Quinoa Salad starts with gathering the right ingredients. Here’s what you’ll need:
-
Quinoa (1 cup): A versatile grain that serves as the perfect base. Loaded with protein, it is gluten-free and a great choice for vegan dishes.
-
Bell Peppers (1 cup): Choose a mix of colors (red, yellow, green) for a vibrant presentation. They add sweetness and crunch to the salad.
-
Red Onion (1/2 cup): Adds depth and a mild sweetness. You can use green onions as a substitute for a milder taste.
-
Zucchini (1 cup): Sliced into half-moons, zucchini adds a tender texture that compliments the quinoa well.
-
Cherry Tomatoes (1 cup): These sweet bursts of flavor elevate the salad, making it even more delightful.
-
Olive Oil (2 tablespoons): This heart-healthy oil is perfect for tossing the vegetables before roasting, bringing out their flavor.
-
Lemon Juice (2 tablespoons): Freshly squeezed lemon juice adds brightness and acidity, enhancing the overall taste of your dish.
-
Salt and Pepper: To taste. Seasoning is essential for bringing out the flavors of your ingredients.
-
Fresh Herbs (1/4 cup): A combination of parsley, basil, or cilantro gives freshness to the salad.
-
Optional Proteins: Adding chickpeas (1 cup) or grilled chicken can elevate the nutritional value and make it more filling.
Diet-Conscious Options:
– Low-Calorie: This salad is naturally low in calories. You can further reduce calories by minimizing oil and using less avocado.
– Gluten-Free: Quinoa is gluten-free, making this salad suitable for those with gluten intolerance or celiac disease.
– Vegan: No animal products are necessary, and you can add nutritional yeast for a cheesy flavor without dairy.
Dietary Substitutions to Customize Your Roasted Easter Quinoa Salad
The beauty of the Roasted Easter Quinoa Salad lies in its flexibility. Here are some suggested substitutions to tailor the recipe to meet different dietary needs or personal preferences:
-
Quinoa Alternatives: If quinoa isn’t available, try using farro or brown rice for a different grain texture. Both options provide hearty insights into your spring meals.
-
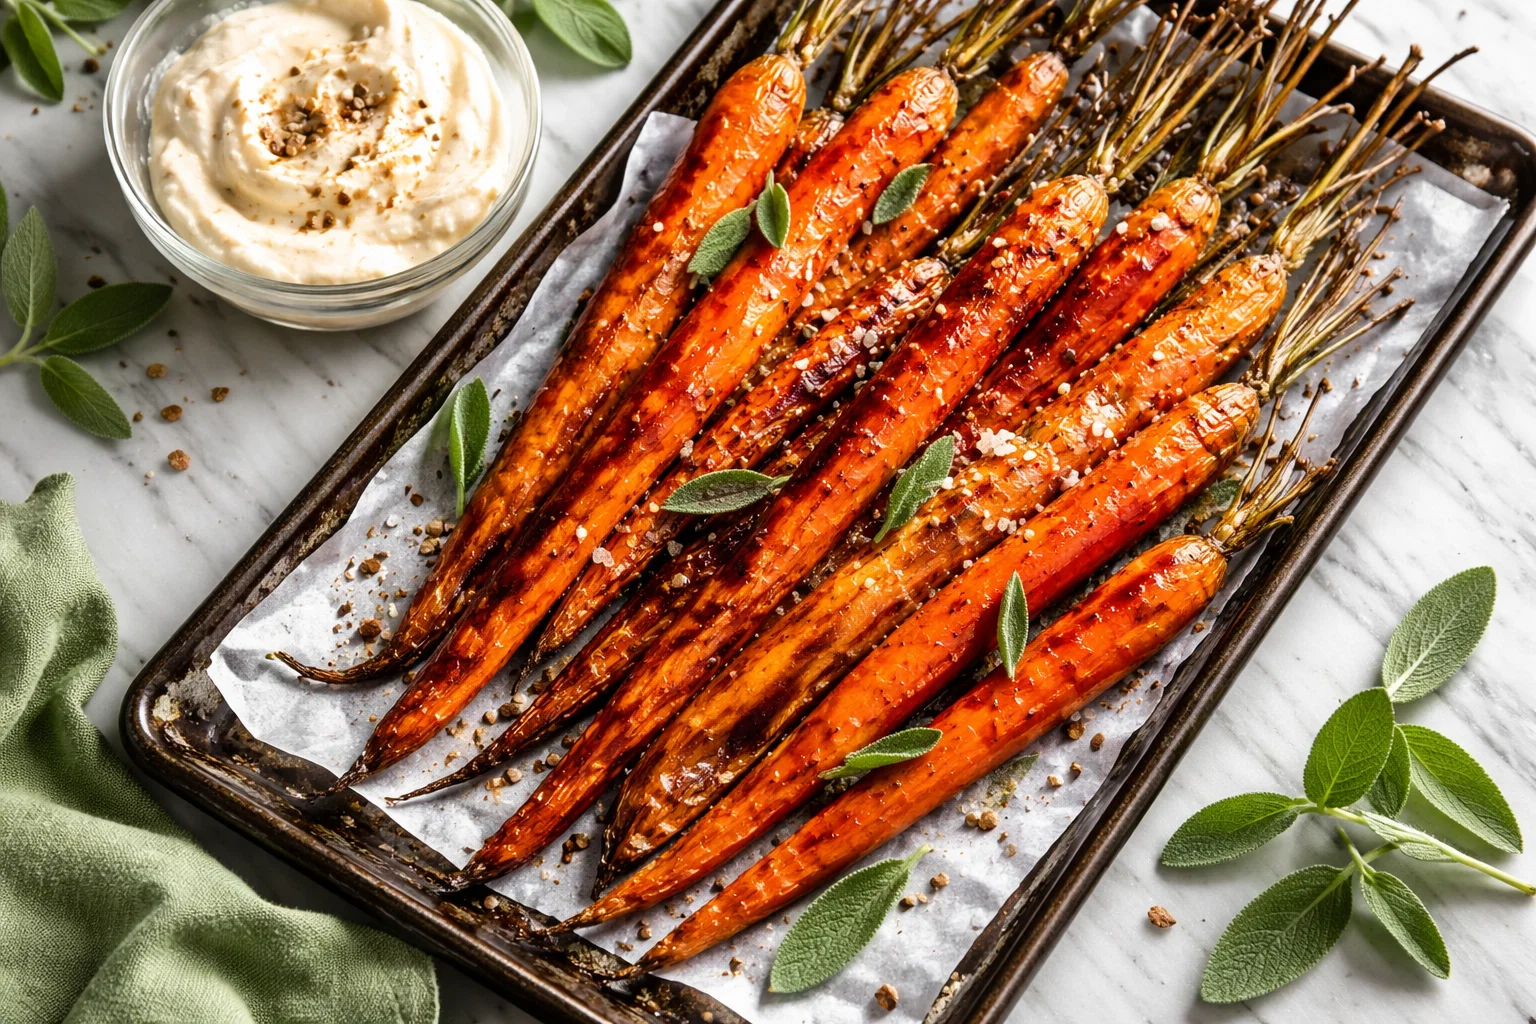
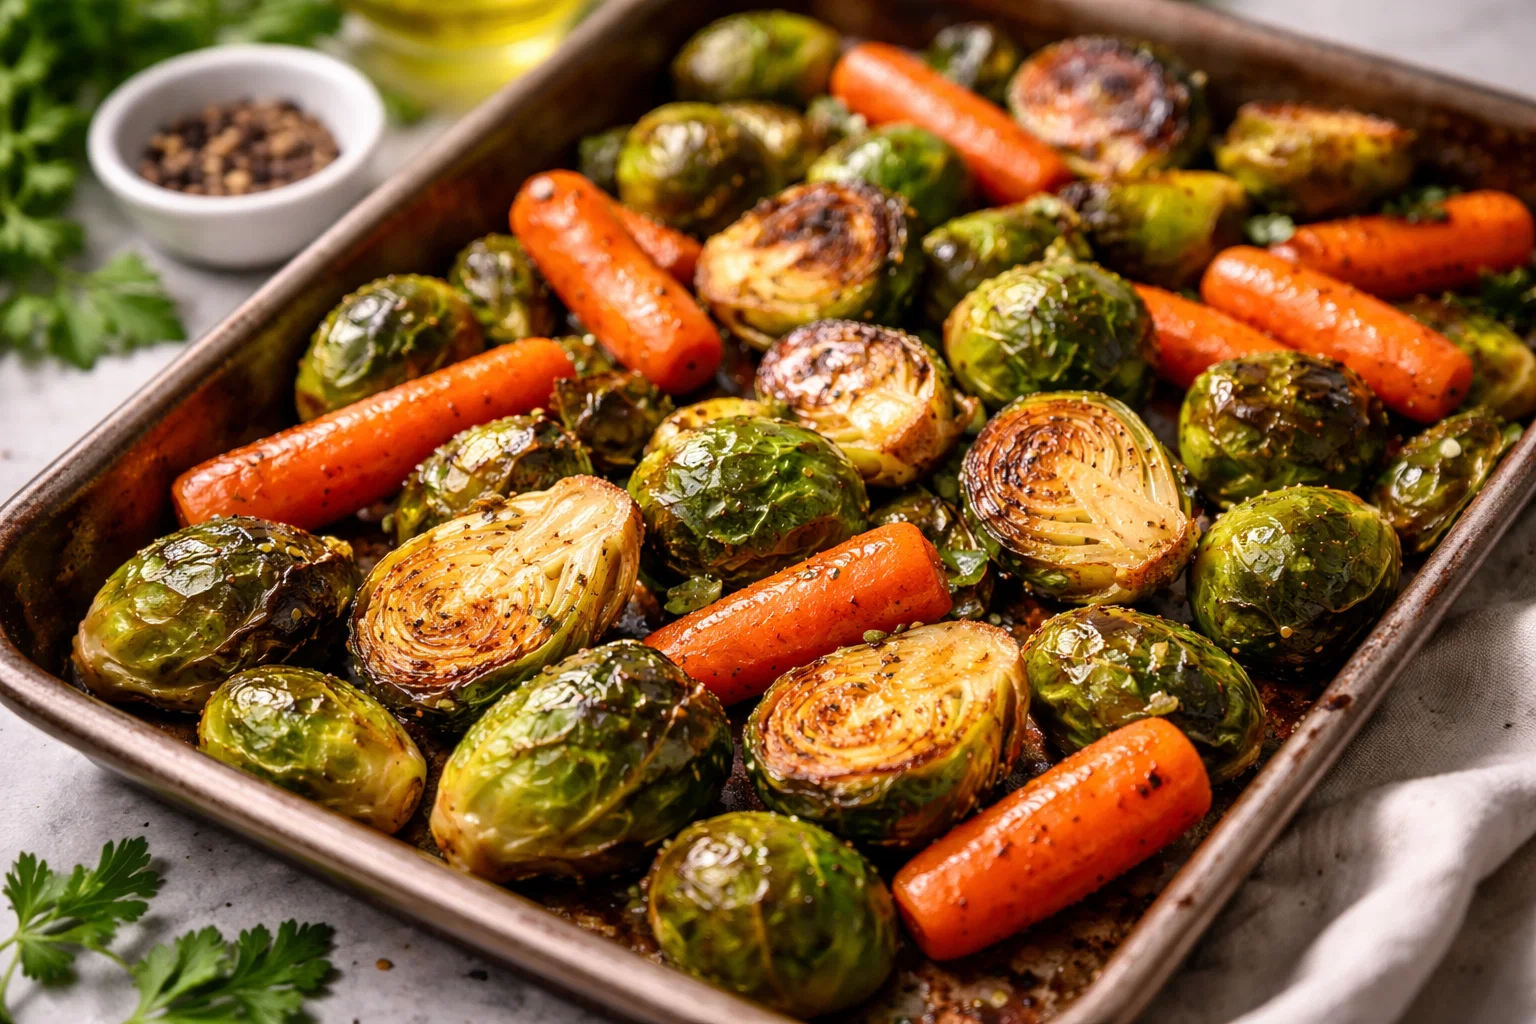
Vegetable Variations: Not a fan of zucchini? Swap it for roasted beets, carrots, or asparagus. Seasonal ingredients can enhance flavor while meeting dietary restrictions.
-
Protein Options: Incorporate plant-based proteins like black beans or lentils in place of chickpeas for added fiber and nutrients. Alternatively, marinated tofu can make a great vegan option.
-
Dressing Choices: Feel free to experiment with different dressings such as balsamic vinaigrette, tahini sauce, or a yogurt-based dressing if you prefer a creamy touch. This can further customize the flavor profile of your spring meals.
-
Herbs and Spices: Elevate the flavors by using different herbs and spices that you enjoy. Consider adding cumin, smoked paprika, or fresh mint for an exciting twist.
By adapting the Roasted Easter Quinoa Salad to suit your dietary preferences, you guarantee that everyone at your table enjoys a nourishing and satisfying meal.
How to Prepare the Perfect Roasted Easter Quinoa Salad: Step-by-Step Guide
Why not embark on a delightful journey of culinary exploration? Here’s a step-by-step guide to prepare the Roasted Easter Quinoa Salad that feels effortless yet fabulous, complemented perfectly by your favorite spring meals.
- Prepare the Quinoa:
- Start by rinsing 1 cup of quinoa under cold water to remove the natural coating called saponin, which can impart a bitter taste.
- In a saucepan, combine the rinsed quinoa with 2 cups of water or vegetable broth for added flavor. Bring the mixture to a boil, then reduce to a simmer, cover, and cook for about 15 minutes or until all the liquid has been absorbed.
-
Once cooked, remove from heat and allow the quinoa to sit covered for 5 minutes. Fluff it with a fork before transferring it to a large mixing bowl.
-
Prepare the Vegetables:
- Preheat your oven to 400°F (200°C).
- Chop the bell peppers, zucchini, and red onion into approximately bite-sized pieces. Slice the cherry tomatoes in half.
-
In a large mixing bowl, toss the chopped vegetables with 2 tablespoons of olive oil, salt, and pepper to taste.
-
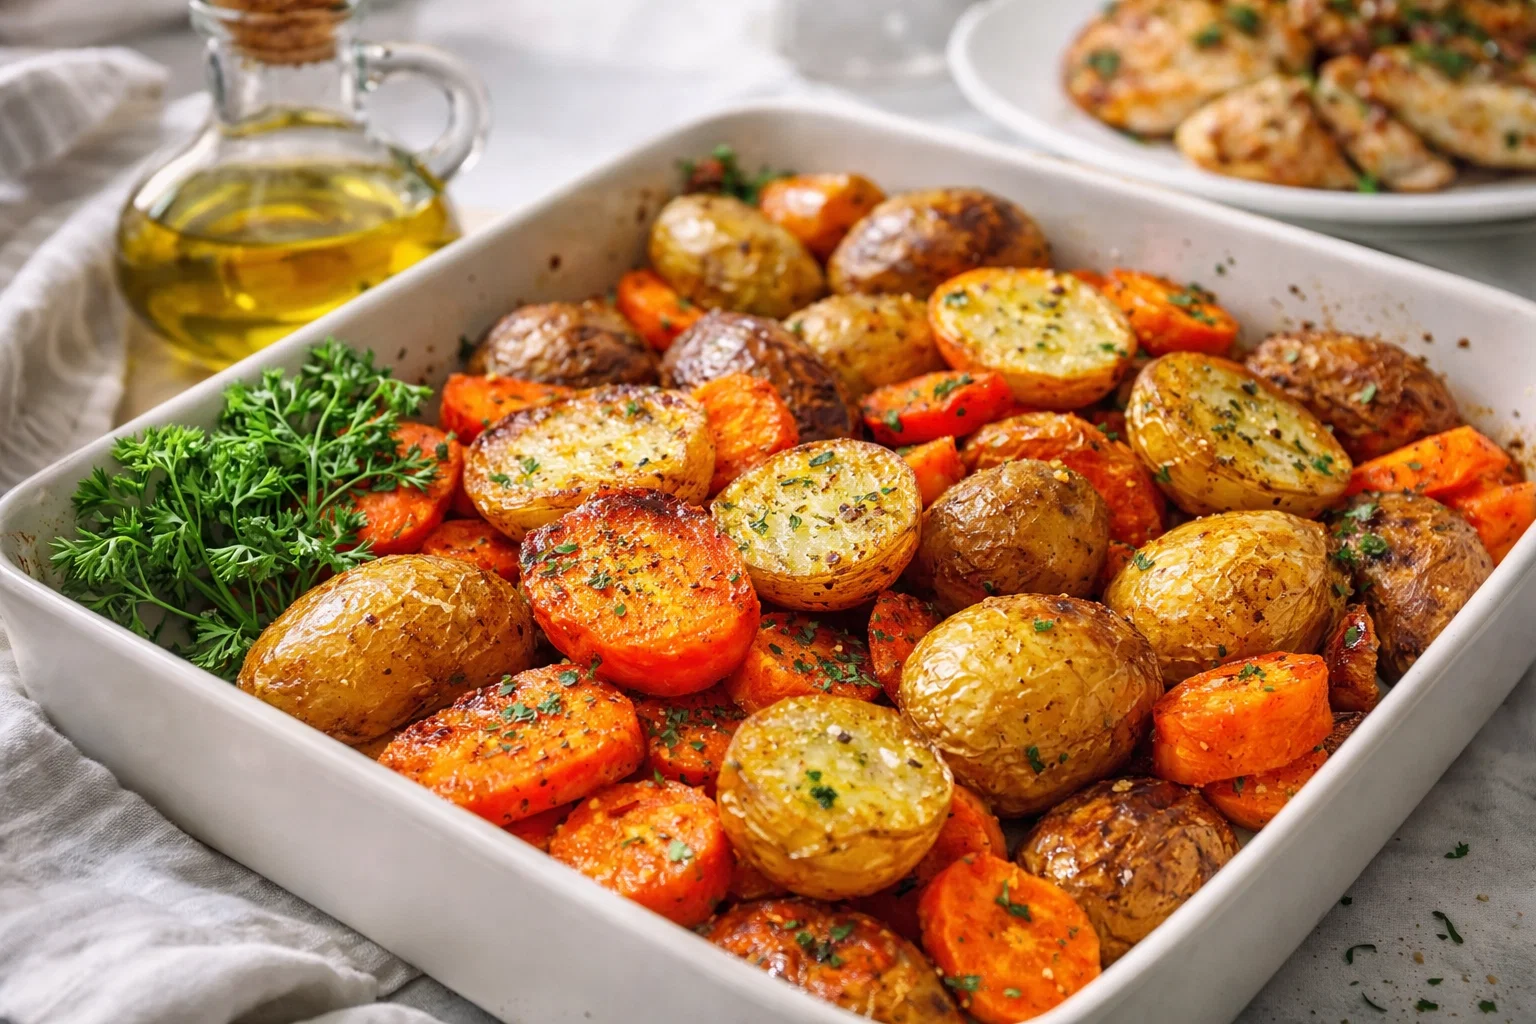
Roast the Vegetables:
- Spread the seasoned vegetables evenly on a baking sheet lined with parchment paper. Ensure they are not overcrowded to allow even roasting.
-
Roast in the preheated oven for about 20-25 minutes or until the vegetables are lightly browned and tender. Stir halfway through for even cooking.
-
Combine Ingredients:
- Once the vegetables are roasted and the quinoa is fluffed, combine both in the large mixing bowl.
-
Squeeze the juice of 2 tablespoons of fresh lemon juice over the mixture for a zesty kick.
-
Add Fresh Herbs:
-
Chop your choice of fresh herbs (parsley, basil, or cilantro) and stir them into the salad.
-
Optional Enhancements:
-
For added protein, fold in 1 cup of cooked chickpeas or grilled chicken. This will make your salad even more nutritious and fulfilling.
-
Taste and Adjust:
-
Before serving, taste the salad to see if any additional seasoning is needed. Adjust with extra salt, pepper, or lemon juice to enhance the flavor profile.
-
Serve Fresh:
- Your Roasted Easter Quinoa Salad is now ready to be enjoyed! Serve it warm, at room temperature, or chilled, according to your preference.
Additional Tips:
- Scaling Up: If you’re hosting a gathering, simply double or triple the recipe! It makes a generous amount of salad, perfect for sharing during spring meals.
- Presentation: For an attractive presentation, layer your salad in large glass bowls to show off the colorful ingredients.
The beauty of this recipe lies in its adaptability and quick preparation, making it an ideal addition to your collection of favorite spring meals.
Mastering Roasted Easter Quinoa Salad: Advanced Tips and Variations
Once you’ve mastered the base recipe for Roasted Easter Quinoa Salad, why not take it a step further with these advanced tips and variations? The goal is to make your salad even more personalized and enjoyable.
-
Grilled Fruit Addition: For a unique blend of flavors, consider adding grilled or roasted fruit like peaches or pineapples. Their natural sweetness will complement the roasted vegetables and quinoa beautifully.
-
Diverse Grains: Try blending quinoa with other grains like barley or couscous for a multi-textured experience in your spring meals. Different grains can bring unique flavors and nutritional benefits.
-
Nutty Flavor Boost: Add a handful of toasted nuts such as almonds or walnuts for a delightful crunch and additional healthy fats. They can elevate your Roasted Easter Quinoa Salad to new heights of satisfaction.
-
Flavorful Dressings: Experiment with different dressings. A honey-lime dressing or a spicy tahini sauce can add a whole new dimension to your salad.
-
Colorful Layering: Create a visually stunning salad by layering the ingredients in a jar. This makes it an excellent option for meal prep, showcasing all the beautiful colors.
-
Seasonal Variations: Change the vegetables each season to reflect what’s fresh and vibrant. Your spring meals can evolve beautifully throughout the year with new ingredients.
Incorporating these tips and variations ensures that the Roasted Easter Quinoa Salad remains an exciting, go-to recipe in your culinary repertoire while staying aligned with seasonal eating.
How to Store Roasted Easter Quinoa Salad: Best Practices
Storing your Roasted Easter Quinoa Salad properly can extend its shelf life and preserves its delicious flavors, which makes it a practical option for meal prep. Here are the best practices for storage:
-
Refrigeration: Place any leftover Roasted Easter Quinoa Salad in an airtight container to retain freshness. It can be stored in the refrigerator for up to 4 days. Enjoy it cold or take the opportunity to heat it in the microwave for a few minutes.
-
Freezing: Although it is best enjoyed fresh, you can freeze the salad for later use. If you intend to freeze it, skip adding the dressing until you’re ready to eat it. Instead, put the salad in a freezer-safe container and enjoy within 2-3 months. When ready to use, simply thaw it in the refrigerator overnight.
-
Reheating Guidelines: If you prefer your salad warm, reheat individual portions in the microwave for about 30 seconds. Stir the salad to redistribute the heat evenly.
Storing your Roasted Easter Quinoa Salad with these practices ensures it remains a delightful option in your line-up of spring meals, ready for a quick lunch or dinner whenever you need it.
Nutritional Value of Roasted Easter Quinoa Salad
When considering a filling salad for your spring meals, the nutritional profile is essential. Here’s a breakdown of the approximate nutritional values for one serving of Roasted Easter Quinoa Salad (including vegetables and optional chickpeas):
- Calories: 320
- Protein: 12g
- Fat: 10g
- Saturated Fat: 1g
- Carbohydrates: 48g
- Fiber: 8g
- Sugar: 4g
- Sodium: 180mg
- Vitamins and Minerals: Rich in Vitamins A, C, K, and a variety of essential minerals such as magnesium, phosphorus, and potassium.
This substantial nutritional information highlights that the Roasted Easter Quinoa Salad not only serves as a satisfying meal but also supports your body’s nutritional needs. Pairing protein-rich ingredients like quinoa and chickpeas with vibrant vegetables ensures you have a well-balanced dish to enjoy during your spring meals.
FAQs: Frequently Asked Questions About Roasted Easter Quinoa Salad
Can I prepare the Roasted Easter Quinoa Salad in advance?
Absolutely! This salad is perfect for meal prep. You can make it a day ahead of time and store it in the refrigerator until you’re ready to enjoy.
How can I adapt this salad for a gluten-free diet?
Since quinoa is naturally gluten-free, this salad is an excellent option for those with gluten intolerance. Just ensure that any additional ingredients, such as dressings, are also gluten-free.
Are there any alternatives to quinoa in this recipe?
Yes! You can use farro, bulgur, or even brown rice as an alternative to quinoa. They provide a different texture while remaining hearty and nutritious.
Can I add protein to the salad?
Definitely! Grilled chicken, chickpeas, or tofu are great additions to make your salad more filling. This can transform it into a complete meal.
What vegetables can I substitute in the salad?
Feel free to substitute or add in any seasonal vegetables you enjoy. Roasted carrots, asparagus, or even sweet potatoes work fabulously!
Is this salad suitable for meal prep?
Yes, the Roasted Easter Quinoa Salad is perfect for meal prep. Just store it in an airtight container, and it will stay fresh in the refrigerator for up to 4 days.
What dressings pair well with this salad?
Lemon vinaigrette, balsamic dressing, or tahini sauce complement the salad beautifully. Feel free to experiment to find your preferred flavor profile!
In summary, the Roasted Easter Quinoa Salad is not just a dish; it’s a vibrant celebration of seasonal ingredients, suitable for any dietary preference. Whether preparing for a gathering or a simple meal at home, this recipe guarantees delicious, satisfying results. Explore this culinary gem, and let the joy of spring meals inspire you!