The Best Crispy Potato Salad Recipe: A Tropical Delight
Introduction to The Best Crispy Potato Salad Recipe
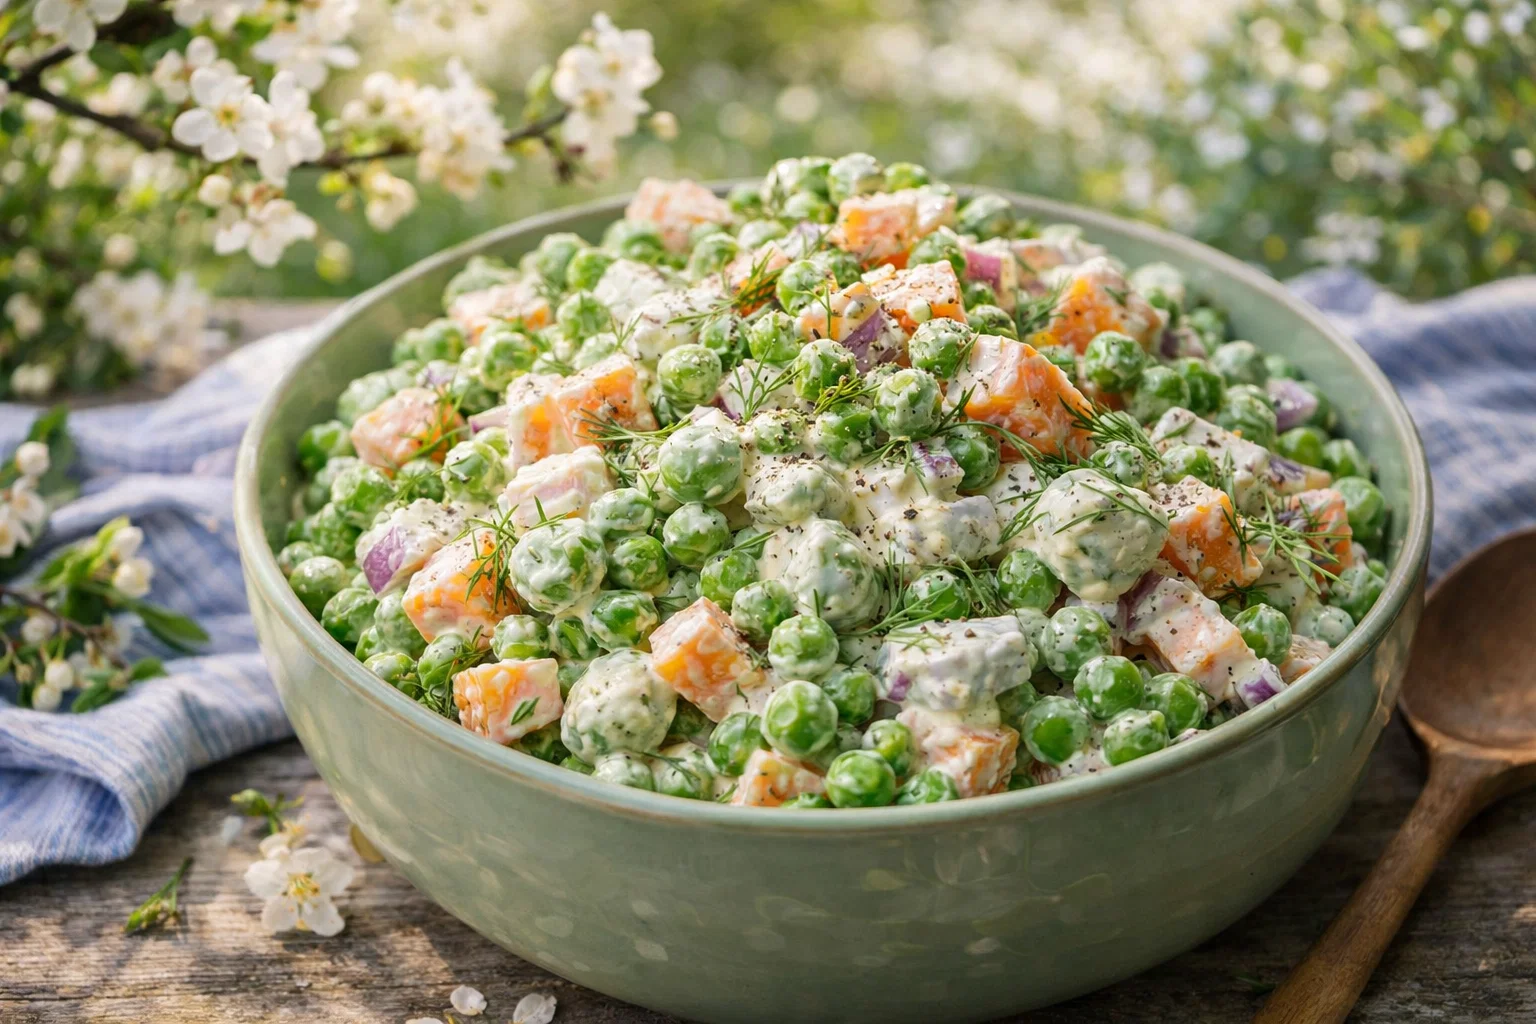
When it comes to delectable yet simple dinner recipes, nothing shines quite like The Best Crispy Potato Salad Recipe. This delightful dish combines the creamy texture of perfectly cooked potatoes with a satisfying crunch, creating a balanced dish that caters to individuals with diverse dietary needs. Whether you’re a busy parent scrambling for a quick meal or a food enthusiast looking to expand your recipe repertoire, this potato salad meets all those demands.
Imagine savoring fluffy potato pieces, crisp vegetables, and a tangy dressing—all tossed together to create a palette of taste and texture. The beauty of this recipe lies not only in its flavor but also in its health benefits. Packed with essential nutrients, it’s a vegan and gluten-free option that fits seamlessly into health-conscious lifestyles. Moreover, this potato salad can be prepped ahead of time, making it an excellent choice for meal prep, backyard barbecues, or picnic outings. Not only is it a culinary delight, but it also offers versatility for various occasions, serving as a side at gatherings or a main dish on its own.
Ultimately, The Best Crispy Potato Salad Recipe is more than just a side—it embodies a celebration of freshness, nourishment, and fun, making it a must-try for anyone seeking to elevate their mealtime experience.
Benefits and Advantages of The Best Crispy Potato Salad Recipe
There are countless dinner recipes out there, but few can match the versatility and nutrition of The Best Crispy Potato Salad Recipe. First and foremost, let’s talk about ease of preparation. This salad can be whipped up quickly, making it a fantastic option for those with busy schedules. You boil potatoes, chop fresh vegetables, and mix in a homemade dressing, and in no time, you have a delicious side dish.
One prominent reason why this recipe stands out is its health benefits. Potatoes are a rich source of vitamins C and B6, potassium, and fiber, all of which play vital roles in overall health. The addition of colorful vegetables increases the nutritional content, providing antioxidants and essential nutrients. Moreover, this dish can be entirely vegan and gluten-free, accommodating various dietary restrictions without sacrificing flavor.
Notably, the crispy element elevates this potato salad above the rest. The secret lies in the preparation technique that allows for a delightful crunch—a unique twist that most potato salads lack. This added texture will surprise and satisfy your taste buds, making it a standout addition to any meal.
In conclusion, The Best Crispy Potato Salad Recipe doesn’t just taste great; it embodies a fantastic blend of nutrition, flavor, and practicality, making it an incredibly advantageous choice for any occasion.
Ingredients Overview
Essential Ingredients for The Best Crispy Potato Salad Recipe
Creating The Best Crispy Potato Salad Recipe requires a few essential ingredients, and each contributes to the overall flavor and texture of the dish. Here’s what you’ll need:
- 2 pounds of potatoes (Yukon Gold or red potatoes are preferable; they maintain their shape well.)
- 1 cup of celery (finely chopped; adds crunch and freshness)
- 1 cup of bell peppers (diced; for color and sweetness)
- 1 cup of green onions (chopped; provides a mild onion flavor)
- 1/2 cup of pickles (diced; introduces tanginess)
- 3/4 cup of vegan mayonnaise (for creaminess; feel free to substitute regular mayonnaise)
- 2 tablespoons of apple cider vinegar (adds a zesty kick)
- 1 teaspoon of mustard (Dijon or yellow works; helps to add depth of flavor)
- Salt and pepper (to taste; enhances overall flavor)
- Optional: diced avocados (for a creamy texture; naturally vegan and adds healthy fats)
Dietary Options
- Vegan: Ensure the mayo is plant-based.
- Gluten-Free: Verify that all condiments are gluten-free.
- Low-Calorie: Use less mayo or substitute with a yogurt alternative to reduce calories.
Dietary Substitutions to Customize Your The Best Crispy Potato Salad Recipe
This potato salad is highly adaptable, allowing you to make swaps based on dietary needs or ingredient availability. Here are some suggestions:
-
Potato alternatives: If you’re seeking a lower-carb option, consider substituting potatoes with cauliflower. Cook and mash the cauliflower to mimic the texture of traditional potato salad.
-
Vegan mayo alternatives: Greek yogurt can be used for those not strictly vegan, providing a creaminess while lowering calorie content.
-
Add protein: To turn this potato salad into a complete meal, consider incorporating chickpeas, black beans, or grilled tofu. This will add a satisfying protein component.
-
Different veggies: Feel free to swap in any seasonal vegetables you have on hand, such as peas, corn, or shredded carrots for added color and nutrition.
By personalizing this recipe according to individual diets and tastes, you create a dish that’s not only delicious but also uniquely yours.
How to Prepare the Perfect The Best Crispy Potato Salad Recipe: Step-by-Step Guide
Now that you have everything you need, it’s time to bring this delicious dish to life! Follow these detailed, step-by-step instructions to create The Best Crispy Potato Salad Recipe:
-
Prepare the Potatoes: Begin by washing the potatoes under cold water. Cut them into equal-sized chunks to ensure even cooking. Fill a large pot with water, add the potatoes, and bring to a boil over medium-high heat. Cook for about 10-15 minutes or until they are fork-tender.
-
Cool and Chop: Once cooked, drain the potatoes and spread them on a baking sheet to cool. This will help prevent them from becoming mushy. While the potatoes cool, chop your celery, bell peppers, green onions, and pickles.
-
Make the Dressing: In a mixing bowl, combine the vegan mayonnaise, apple cider vinegar, mustard, salt, and pepper. Whisk until smooth. Taste and adjust seasoning as necessary.
-
Combine the Ingredients: Once the potatoes have cooled, transfer them to a large bowl. Add the chopped vegetables and pickles to the bowl.
-
Mix Everything: Pour the dressing over the potato mixture. Gently toss with a rubber spatula until all ingredients are well coated. Be careful not to mash the potatoes while stirring.
-
Add Avocado (Optional): If you’re using avocados, add them at this stage, and gently fold them into the salad for creaminess.
-
Chill the Salad: Cover the bowl with plastic wrap or a lid and place the salad in the refrigerator for at least 30 minutes before serving. This allows the flavors to meld beautifully.
-
Serve and Enjoy: Before serving, taste again and add more salt and pepper if needed. Serve chilled or at room temperature and enjoy!
This step-by-step guide should have you well on your way to creating a crispy, creamy potato salad that everyone will love. This recipe can serve as a fantastic side dish or a delightful main feature of any meal—it’s as versatile as it is delicious!
Mastering The Best Crispy Potato Salad Recipe: Advanced Tips and Variations
To take your potato salad to the next level, consider the following advanced tips and variations:
-
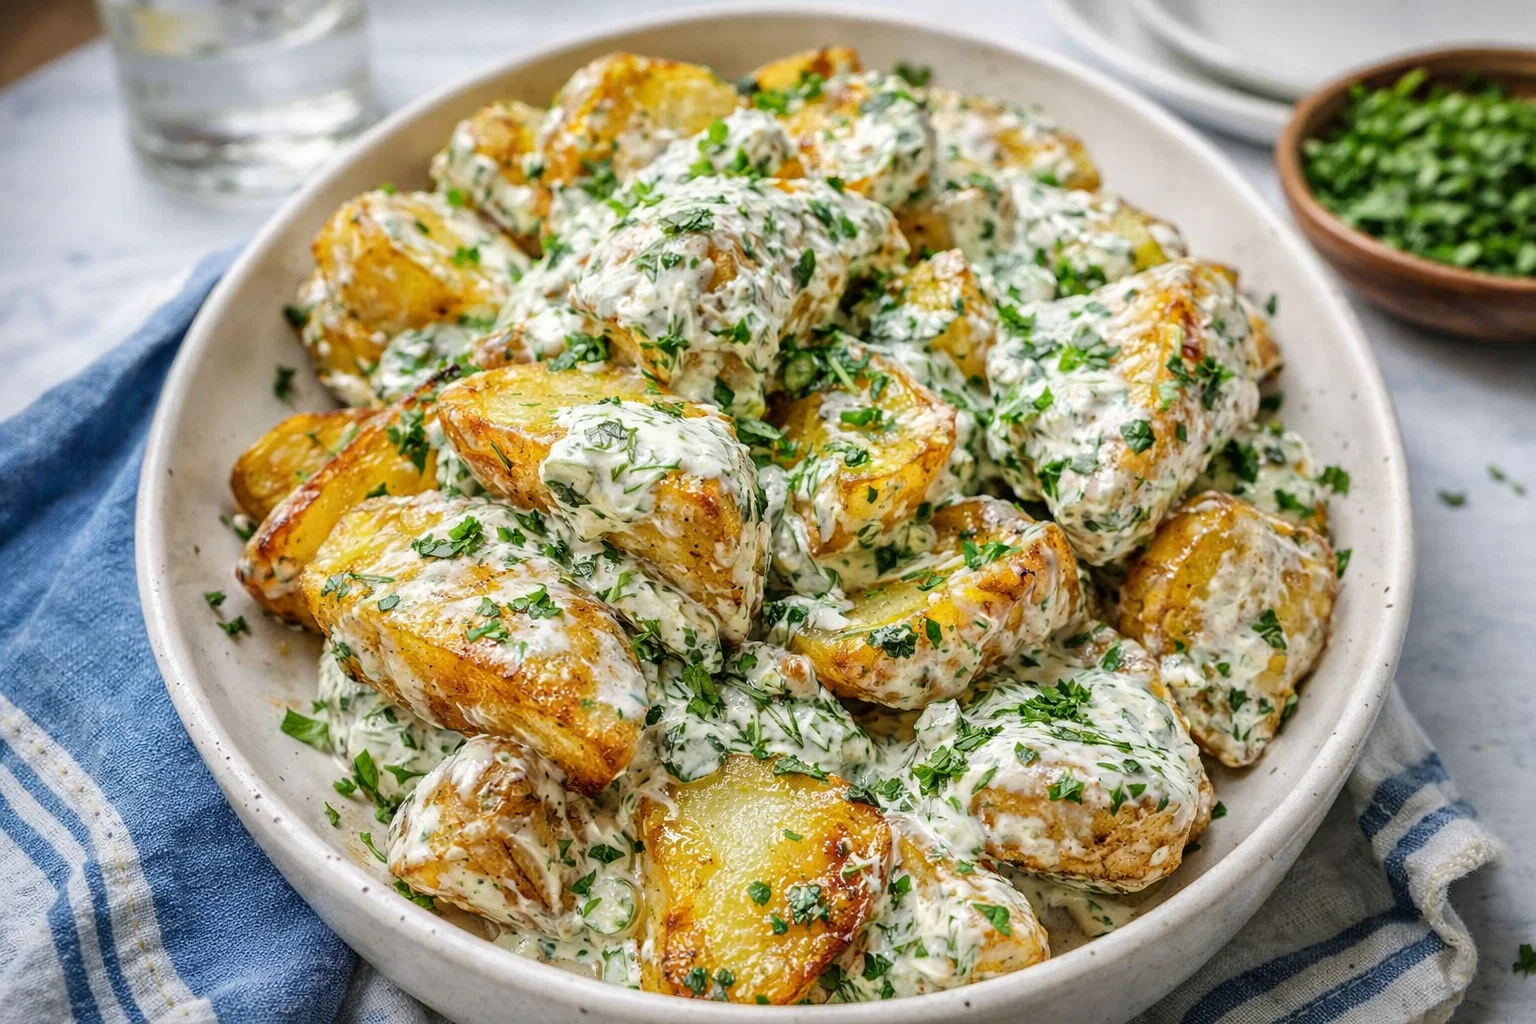
Herbs for Freshness: Incorporating fresh herbs such as dill, parsley, or chives can elevate the flavor and freshness of the dish. Simply chop the herbs and fold them into the salad right before serving for an aromatic bonus.
-
Spicy Kick: If spice is your thing, add a pinch of cayenne pepper or some finely diced jalapeño for extra heat. This plays beautifully against the creamy textures of the potatoes.
-
Crispy Toppings: For extra crunch, consider garnishing your salad with fried onions, toasted nuts, or panko breadcrumbs just before serving. This contrast will surprise and delight!
-
Grilled Variants: If you want to add a smoky flavor, consider grilling the potatoes before adding them to the salad. Just be cautious to keep them intact so you can still enjoy that crispy texture.
Worry not if you don’t have all these ingredients on hand; part of the fun of cooking is experimenting. Adjust based on what you love and have available!
How to Store The Best Crispy Potato Salad Recipe: Best Practices
To extend the deliciousness of The Best Crispy Potato Salad Recipe, proper storage is key. Here’s how to ensure your salad stays fresh:
-
Refrigeration: Transfer leftover potato salad to an airtight container. It will keep in the fridge for up to 3-5 days. The flavors will continue to meld over time, making it taste even better the next day!
-
Freezing: While it’s not recommended to freeze potato salad due to the creamy nature, if you have significant leftovers, consider freezing just the potato base without the dressing or vegetables. When ready to enjoy, thaw and mix in fresh ingredients prior to serving.
-
Reheating: If you’ve frozen the potatoes, reheat them in a skillet with a drizzle of olive oil until warmed through but not mushy. For refrigerated leftover salads, enjoy them cold or allow them to sit at room temperature for about 20 minutes before serving.
By following these storage tips, you can keep your potato salad tasting fresh and delicious for days, ensuring none of this savory dish goes to waste!
Nutritional Value of The Best Crispy Potato Salad Recipe
Understanding the nutritional value of The Best Crispy Potato Salad Recipe helps you make informed dietary choices. Here’s a breakdown of the key nutrients in each serving (this serving size assumes about 1/2 cup):
- Calories: 200-250 calories
- Total Fat: 10-12g
- Saturated Fat: 1-2g
- Sodium: 350mg
- Carbohydrates: 30g
- Dietary Fiber: 3g
- Sugars: 2g
- Protein: 3-4g
Health Benefits Context
This salad is packed with vital nutrients, primarily from the potatoes and vegetables. Potatoes provide a hearty dose of potassium, beneficial for heart health and blood pressure regulation. The addition of fiber from the celery and pickles supports digestive health.
Moreover, using vegan mayonnaise lowers the calorie count while still offering a creamy texture. Feel free to incorporate fresh herbs to enhance vitamins and minerals in the dish.
This nutritional breakdown serves as a guide, particularly for those tracking their intake or seeking healthier dinner recipes that align with their dietary goals.
FAQs: Frequently Asked Questions About The Best Crispy Potato Salad Recipe
Q1: Can I make this potato salad ahead of time?
Absolutely! This recipe is perfect for make-ahead meals. You can prepare it a day in advance and refrigerate it overnight. Just be sure to give it a good stir before serving.
Q2: Is it possible to make this recipe low-calorie?
Definitely! You can reduce calories by using less mayonnaise or opting for a yogurt-based dressing. Additionally, using fewer potatoes or increasing the ratio of vegetables will help lighten the dish.
Q3: What type of potatoes are best for this recipe?
Yukon Gold and red potatoes are the best choices due to their ability to hold shape when boiled. However, you can use any waxy potato variety.
Q4: Can I add hard-boiled eggs to this potato salad?
Yes, hard-boiled eggs add an excellent source of protein and create a creamy texture. They can be chopped and folded in at the same time as the other ingredients.
Q5: Will this recipe still taste good after freezing?
Freezing isn’t usually recommended for potato salad due to the texture changes from thawing. However, if you freeze the potato base without the others, it can work, but you’ll want to add in fresh ingredients upon reheating for the best flavor.
Using these answers, equipped with your knowledge, you can craft the best potato salad to suit various occasions while satisfying the tastes and dietary preferences of your guests. Whether you enjoy it as is or give it your twist, The Best Crispy Potato Salad Recipe guarantees a representation of fresh, healthy, and enjoyable eating.
This guide provides you with everything you need to make The Best Crispy Potato Salad Recipe, ensuring it’s not only delicious but also aligned with your dietary preferences and needs. Dive into this tropical delight and share it with friends and family for a memorable experience!