Crisp Dairy-Free Spring Salad: A Tropical Delight
Introduction to Crisp Dairy-Free Spring Salad
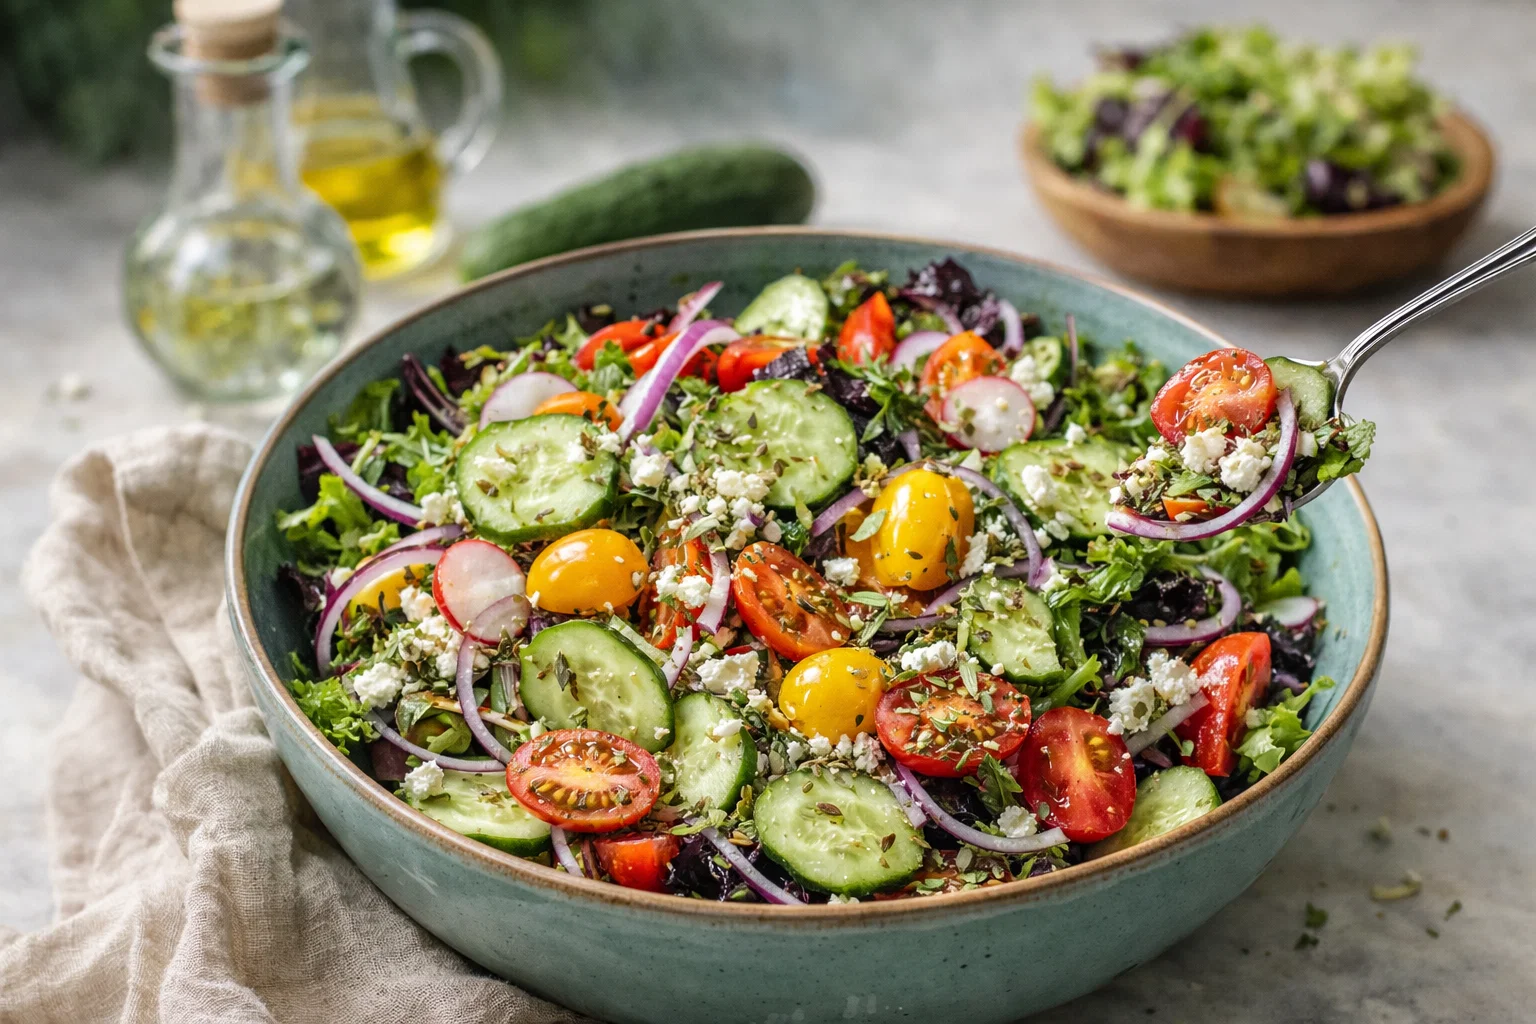
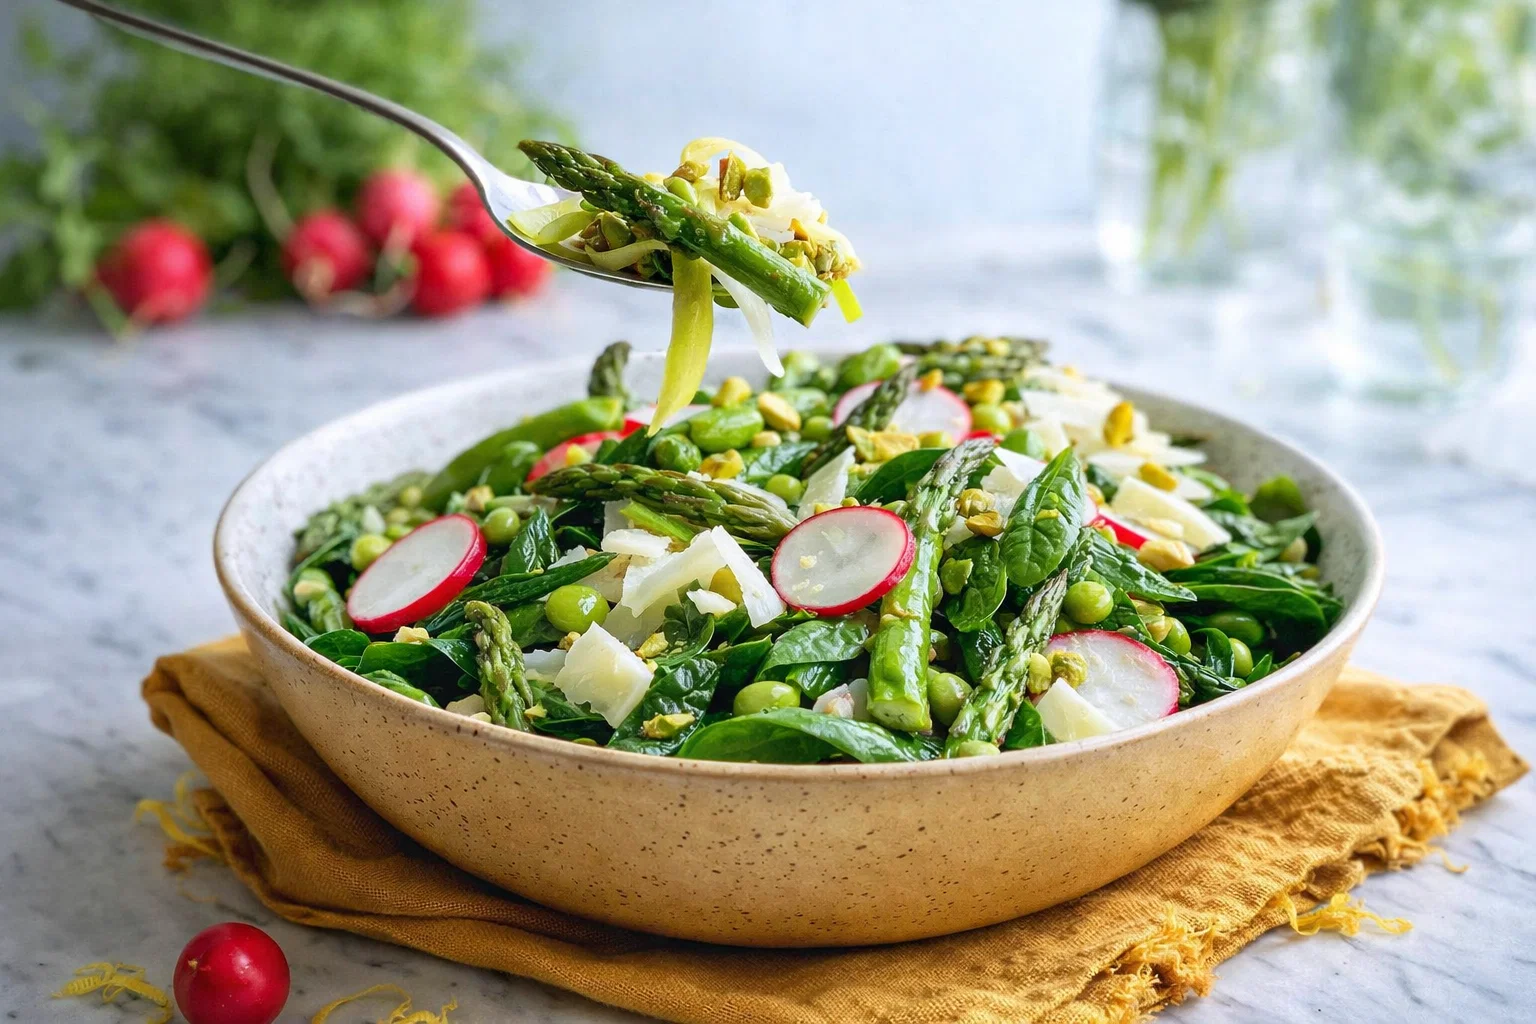
Spring is the ideal season for fresh flavors and vibrant colors, making it the perfect time to prepare delightful spring meals. One of the best recipes to embrace this spirit is the Crisp Dairy-Free Spring Salad. This recipe shines with a blend of crisp vegetables, zesty herbs, and a refreshing dressing, bringing a taste of the tropics right to your table.
Perfect for busy individuals, this salad is not only simple to make but also brimming with health benefits. It caters to various dietary needs, including vegan, gluten-free, and low-calorie options, making it a versatile dish that everyone can enjoy. Whether you’re a busy parent looking for quick meal solutions, a student in need of nutritious energy, or a food enthusiast eager to explore new flavors, this salad has something for everyone.
With its wholesome ingredients, the Crisp Dairy-Free Spring Salad provides nutrients that help you feel invigorated. The combination of fresh vegetables promotes hydration, while herbs and spices can elevate your mood. This salad is an excellent choice for family gatherings, picnics, or as a quick meal to fuel your day.
Let’s dive deeper into the benefits, ingredient choices, and instructions to craft this delicious spring dish!
Benefits and Advantages of Crisp Dairy-Free Spring Salad
The Crisp Dairy-Free Spring Salad stands out in many ways, making it a must-try for anyone seeking healthy spring meals. First, its preparation is straightforward, ideal for cooks of any skill level. With minimal cooking time and only basic chopping required, you can whip this salad up in minutes.
Moreover, this salad is a powerhouse of health benefits. Packed with vitamins, minerals, and antioxidants, the fresh ingredients contribute to overall wellness. Leafy greens and colorful vegetables are low in calories, helping maintain a balanced diet without sacrificing taste. The absence of dairy not only caters to those with lactose intolerance but also offers a lighter option that supports digestion.
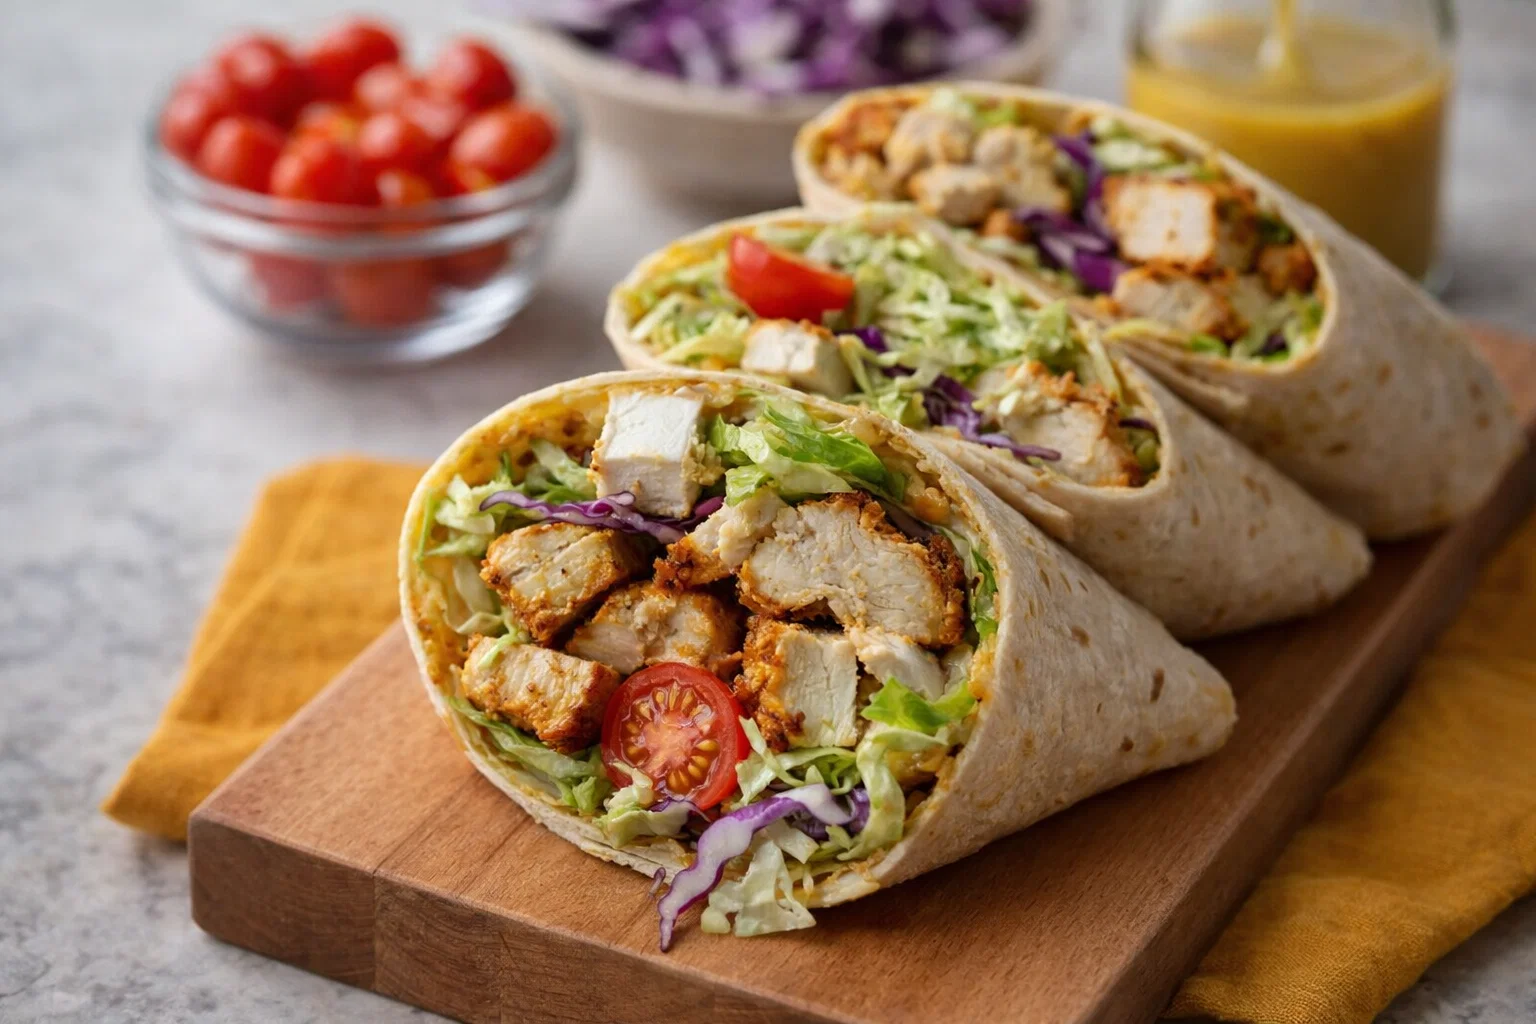
In addition to its health benefits, this salad is immensely versatile. You can customize it with various proteins or grains, accommodating diverse dietary needs. Whether you’re gluten-free, vegan, or simply looking for healthy spring meals, this salad adapts to your preferences. Plus, it serves beautifully as an appetizer, side dish, or a light main course, providing endless possibilities for entertaining or meal prepping.
Finally, with every bite, you experience a burst of flavor from fresh herbs and citrusy dressings, making each serving a delight. Thus, the Crisp Dairy-Free Spring Salad not only nourishes your body but also excites your taste buds, making it a standout dish this season.
Ingredients Overview
Essential Ingredients for Crisp Dairy-Free Spring Salad
To create the delectable Crisp Dairy-Free Spring Salad, you’ll need the following essential ingredients:
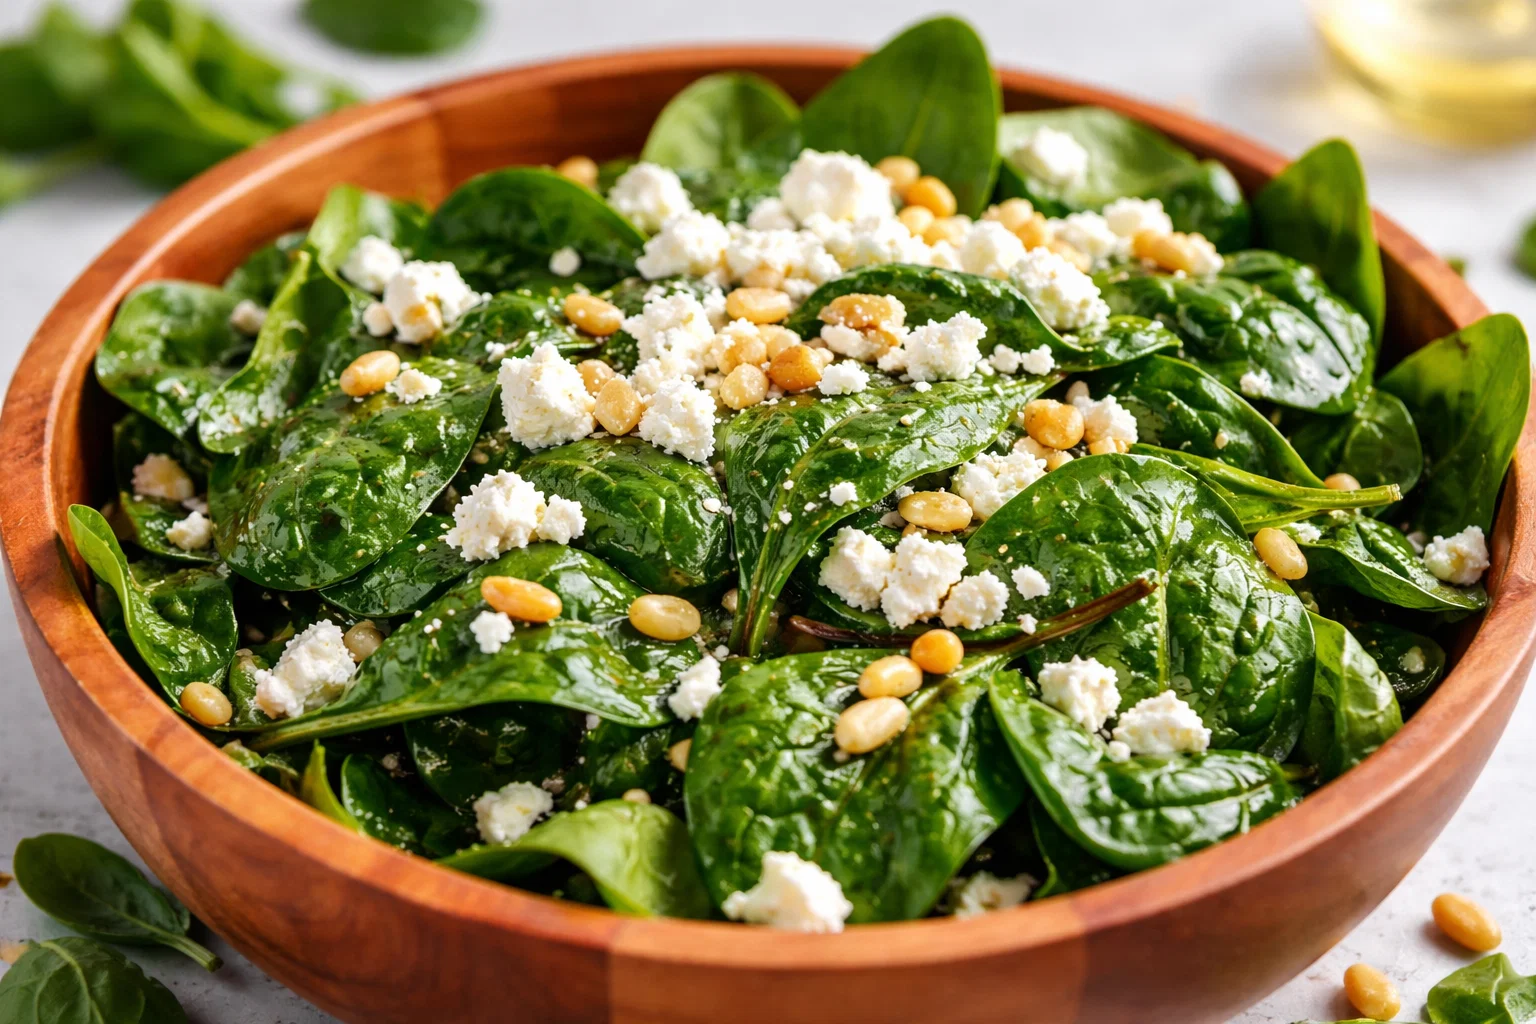
- Mixed Greens (4 cups): A combination of spinach, arugula, and romaine adds crunch, nutrients, and vibrant colors.
- Cherry Tomatoes (1 cup): These bite-sized gems bring sweetness and juiciness.
- Cucumber (1, medium): Adds refreshing hydration and a satisfying crunch.
- Red Bell Pepper (1, diced): Provides a pop of color and a sweet flavor that contrasts beautifully with the greens.
- Avocado (1, diced): Creamy texture that is rich in healthy fats, contributing both flavor and nourishment.
- Fresh Herbs (1/4 cup, chopped, such as cilantro or parsley): Brightens the salad and packs in extra nutrition.
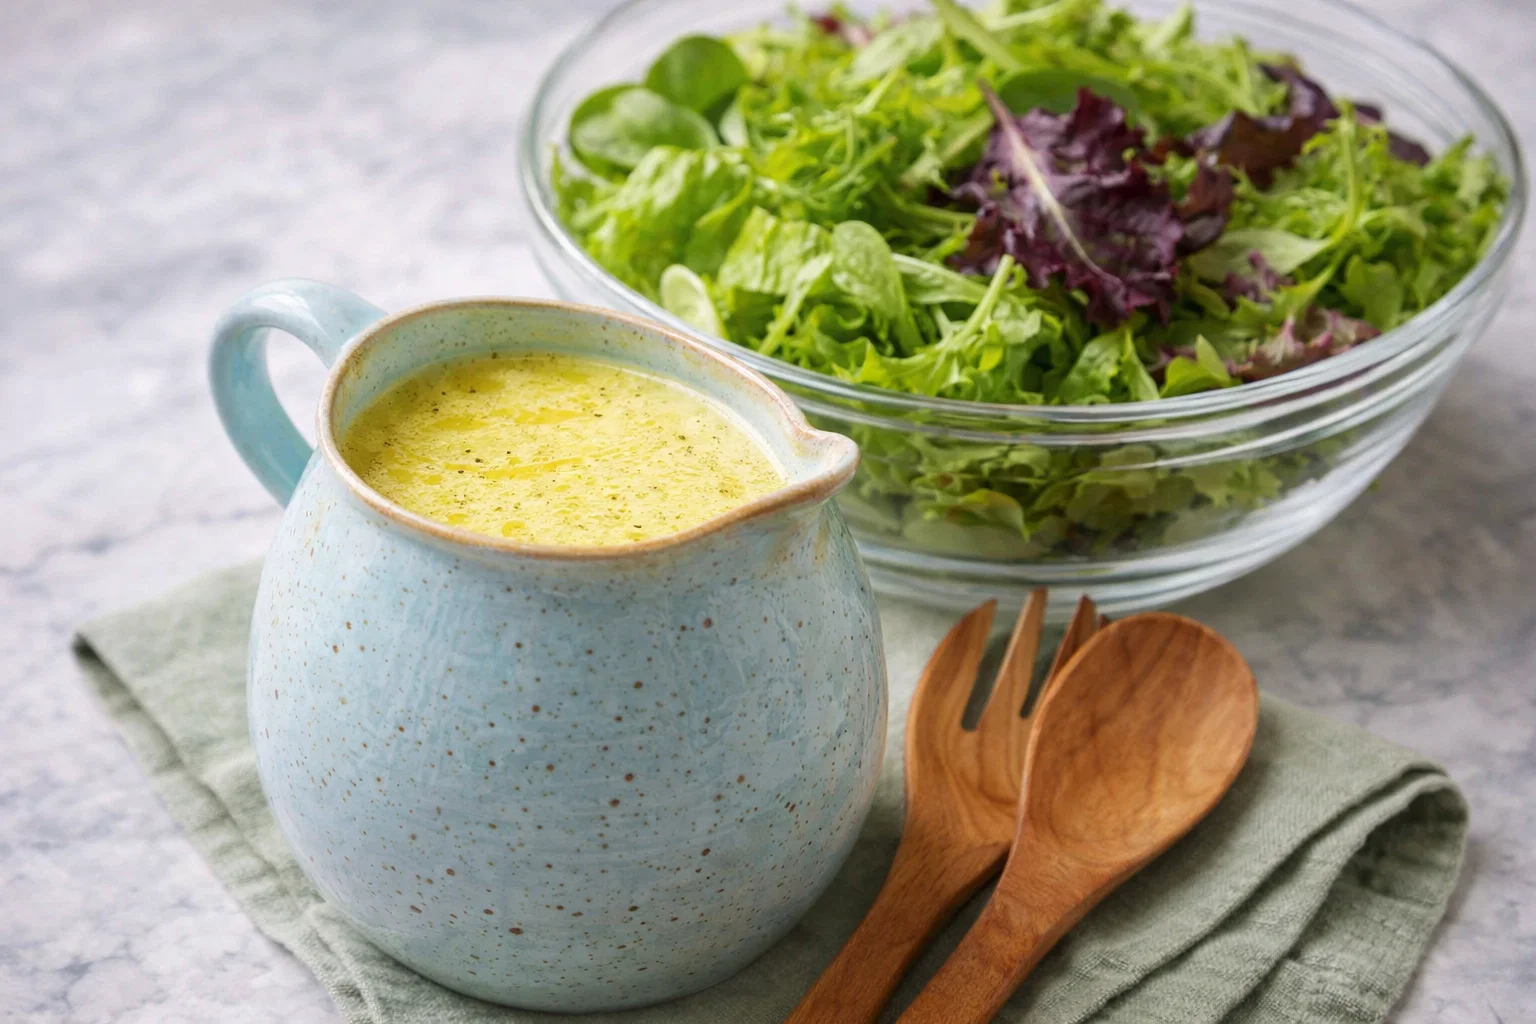
- Lemon Juice (2 tablespoons): Acts as a natural dressing and enhances the flavor profile.
- Olive Oil (2 tablespoons): A heart-healthy fat that adds richness to the salad.
- Salt and Pepper (to taste): Adjust according to your preferences for seasoning.
This ingredient lineup is not only colorful and flavorful but also vegan, gluten-free, and ideal for low-calorie diets.
Dietary Substitutions to Customize Your Crisp Dairy-Free Spring Salad
This salad can easily be tailored to fit various dietary preferences or ingredient availability. Some suggested substitutions include:
- Greens: Instead of a mix, you might opt for kale or baby kale for a more robust texture and additional nutrients.
- Vegetables: Feel free to substitute vegetables based on seasonal availability. Carrots, radishes, or snap peas would work beautifully.
- Dressings: If you’re not a fan of lemon juice, you could replace it with apple cider vinegar or a balsamic vinaigrette to add a different flavor dimension.
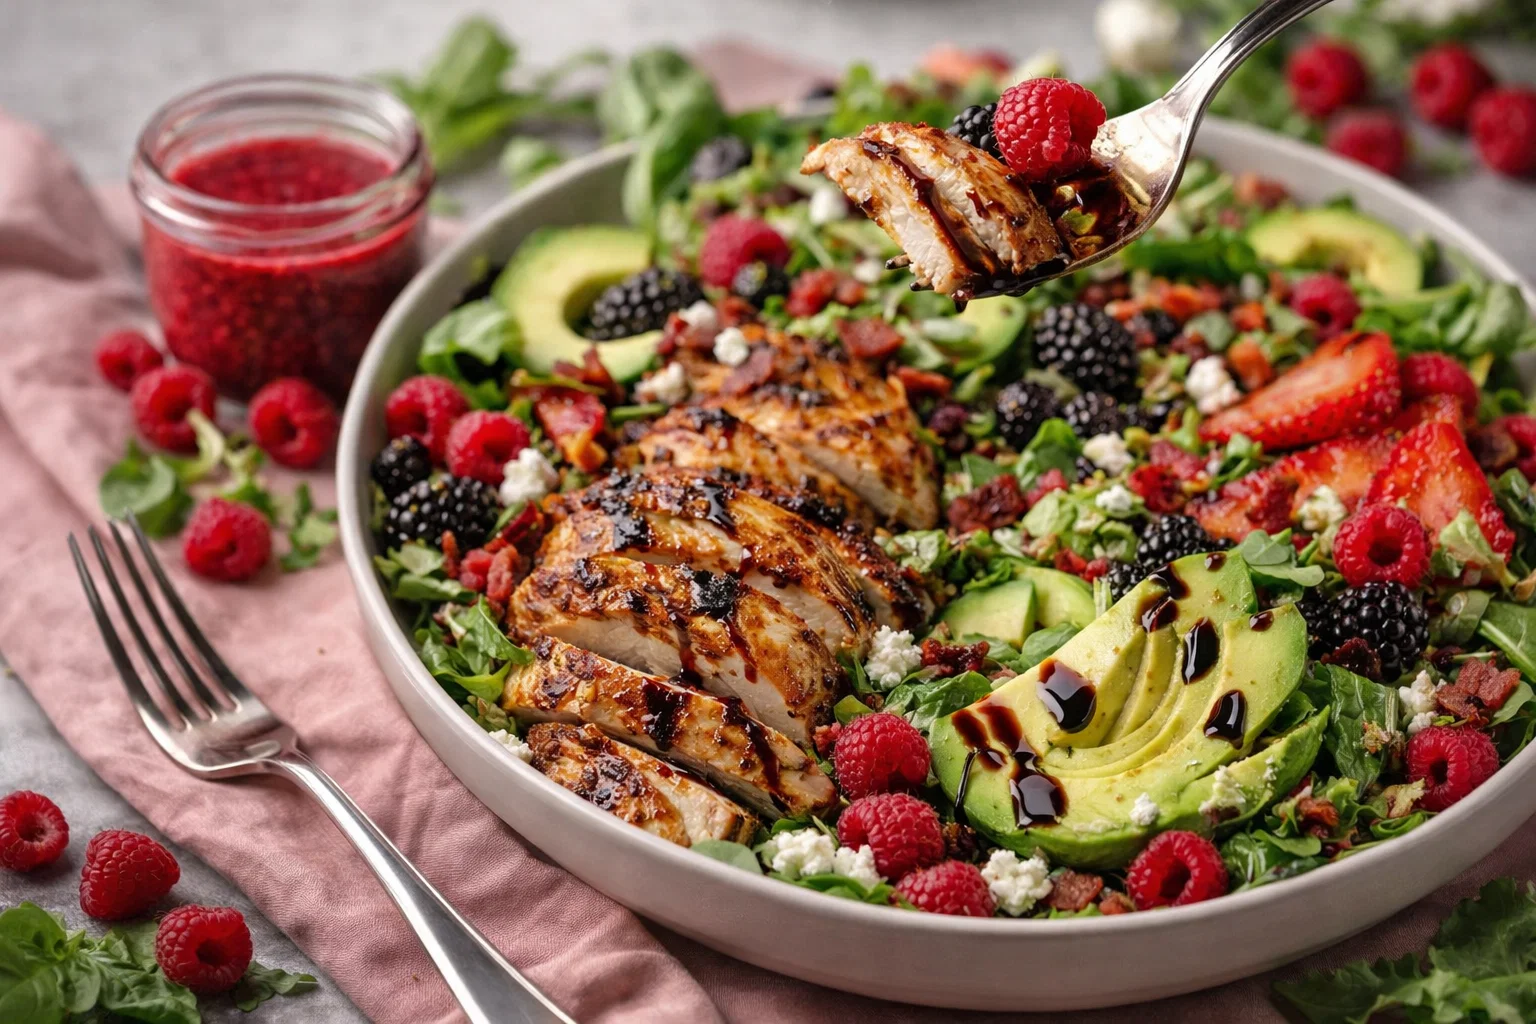
- Healthy Proteins: To turn the salad into a hearty meal, consider adding chickpeas, grilled tofu, or edamame for a plant-based protein boost.
- Nuts/Seeds: Sprinkle some sunflower seeds, pumpkin seeds, or slivered almonds for added crunch and healthy fats.
These substitutions not only keep the salad fresh and exciting but also ensure that it meets the specific dietary needs of anyone at your table.
How to Prepare the Perfect Crisp Dairy-Free Spring Salad: Step-by-Step Guide
Now that you have all your ingredients ready, let’s go through the steps to create the perfect Crisp Dairy-Free Spring Salad:
-
Prepare the Base: Start by washing your greens thoroughly. Place the mixed greens in a large salad bowl. This forms the fresh base of your spring meal.
-
Chop the Vegetables: Dice the cucumber and red bell pepper into bite-sized pieces. Slice the cherry tomatoes in half. Chop any fresh herbs you are using. These colorful veggies will bring life to your salad!
-
Add Creaminess: Cut the avocado in half, remove the pit, and scoop it out. Dice it into cubes and add it to the salad bowl. Avocado gives a creamy texture while maintaining a dairy-free profile.
-
Mix Ingredients: Gently toss the ingredients together to combine them thoroughly. Be careful while handling the avocado; you want to preserve its shape while blending flavors.
-
Prepare the Dressing: In a small bowl, whisk together the lemon juice, olive oil, salt, and pepper. You may add an extra pinch of herbs or spices depending on your taste. This dressing enhances all the fresh ingredients!
-
Dress the Salad: Drizzle the dressing over the mixed ingredients. Toss gently once again to ensure everything is well-coated with that zesty flavor.
-
Taste and Adjust: Before serving, taste the salad. You may want to add more seasoning or dressing based on your preference.
-
Serve Fresh: This salad is best served immediately to enjoy the crunchiness of fresh vegetables. If you have leftovers, store them in an airtight container for later.
With these simple steps, you can enjoy a vibrant dish that fits seamlessly into your collection of spring meals.
Mastering Crisp Dairy-Free Spring Salad: Advanced Tips and Variations
Creating a delicious Crisp Dairy-Free Spring Salad can become even more enjoyable with a few extra tips and variations.
-
Dress It Up: Experiment with different dressings. A tahini-based dressing or a citrus vinaigrette can provide a delightful twist and elevate the flavor.
-
Grain Options: Consider adding a grain base like quinoa or farro to make the salad more substantial. These grains offer additional protein and fiber, making your dish even more filling.
-
Protein Power: Incorporating grilled chicken or chickpeas can provide a protein boost that is perfect for post-workout meals. This transformation can appeal to different dietary needs throughout the week.
-
Seasonal Variations: Change the vegetables or dressing as the seasons change. In summer, add grilled corn; in fall, consider roasted butternut squash to keep things interesting and seasonal.
-
Presentation Matters: For gatherings, consider layering the components in a large glass bowl. This visually stunning display showcases all the colorful ingredients.
These variations and tips can help you perfect your salad-making skills while ensuring that the Crisp Dairy-Free Spring Salad remains exciting and diverse.
How to Store Crisp Dairy-Free Spring Salad: Best Practices
To keep your Crisp Dairy-Free Spring Salad fresh for days, consider the following storage methods:
-
Refrigeration: Place any leftovers in an airtight container and store them in the refrigerator. Consuming the salad within 2-3 days is best for optimal freshness, especially for the avocado.
-
Avoiding Sogginess: To prevent the salad from becoming soggy, store the dressing separately. Dress the salad just before serving; this will keep the textures crisp and enjoyable.
-
Freezing: Since salads are generally best fresh, freezing is not recommended for this recipe. However, if you have leftover dressing, it can be frozen for later use.
Following these storage practices will help you maintain the vibrancy and flavor of your beautiful spring meals.
Nutritional Value of Crisp Dairy-Free Spring Salad
This delightful salad isn’t just a treat for the senses—it’s also packed with essential nutrients. A typical serving (about 2 cups) of the Crisp Dairy-Free Spring Salad offers:
- Calories: Approximately 150-200
- Fat: 10 g (most from healthy sources like avocado and olive oil)
- Carbohydrates: 15 g
- Fiber: 5 g (excellent for digestion)
- Protein: 3 g
- Vitamins: High in vitamin A (from leafy greens), vitamin C (from bell peppers and tomatoes), and various minerals.
This salad supports a balanced diet, contributes to weight management, and aids in hydration due to its high-water-content vegetables. Including this salad as part of your spring meals will surely enhance your overall well-being!
FAQs: Frequently Asked Questions About Crisp Dairy-Free Spring Salad
As you explore the Crisp Dairy-Free Spring Salad, you may have some questions. Here are some common queries and their answers:
-
Can I use a different dressing?
Absolutely! You can use a variety of dressings, including balsamic, vinaigrette, or tahini. Experiment to find what you love best. -
How can I make this salad more filling?
Consider adding proteins such as grilled chicken, chickpeas, tofu, or grains like quinoa to create a balanced meal. -
What’s the best way to store leftovers?
Keep the salad in an airtight container in the fridge, but store the dressing separately to maintain freshness. -
Is this salad gluten-free?
Yes, all the listed ingredients are naturally gluten-free. Make sure any additional ingredients you add are also gluten-free. -
Can I make this salad in advance?
You can prepare the veggies a day ahead but dress the salad just before serving for the best taste and texture.
With this comprehensive guide, the Crisp Dairy-Free Spring Salad is not just an easy recipe—it’s a delicious journey through fresh ingredients, vibrant flavors, and healthy nourishment. Enjoy this delightful dish that promises satisfaction and nourishment for various dietary needs and preferences!