Easy Low Calorie Banana Muffins Recipe: A Tropical Delight
Introduction to Easy Low Calorie Banana Muffins Recipe
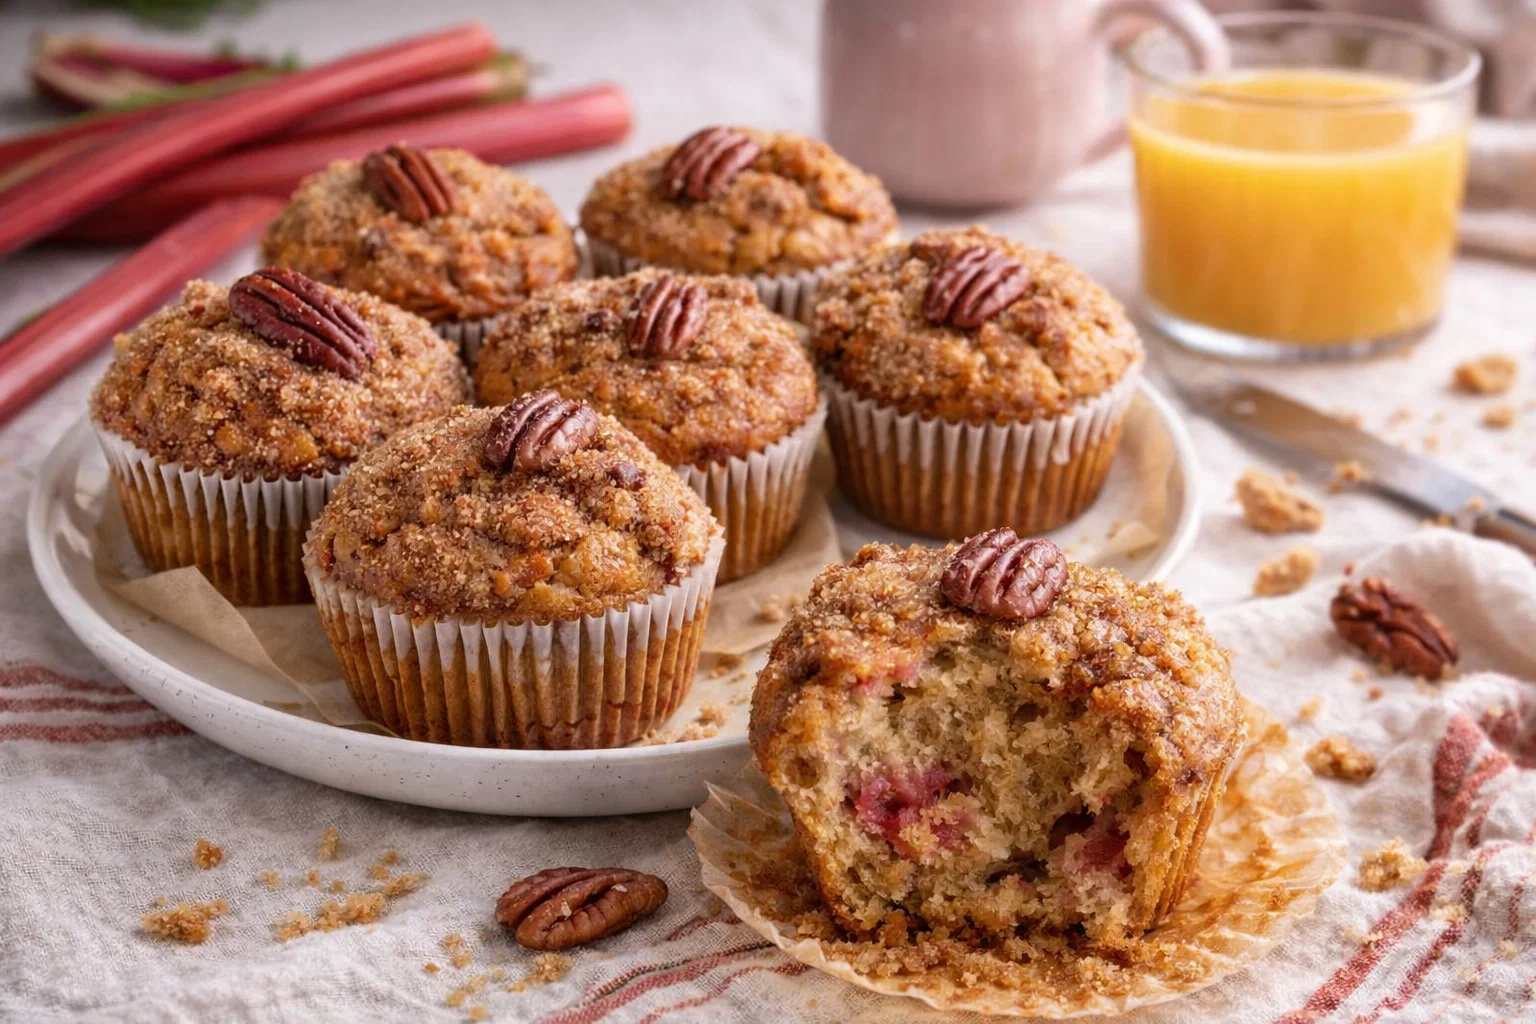
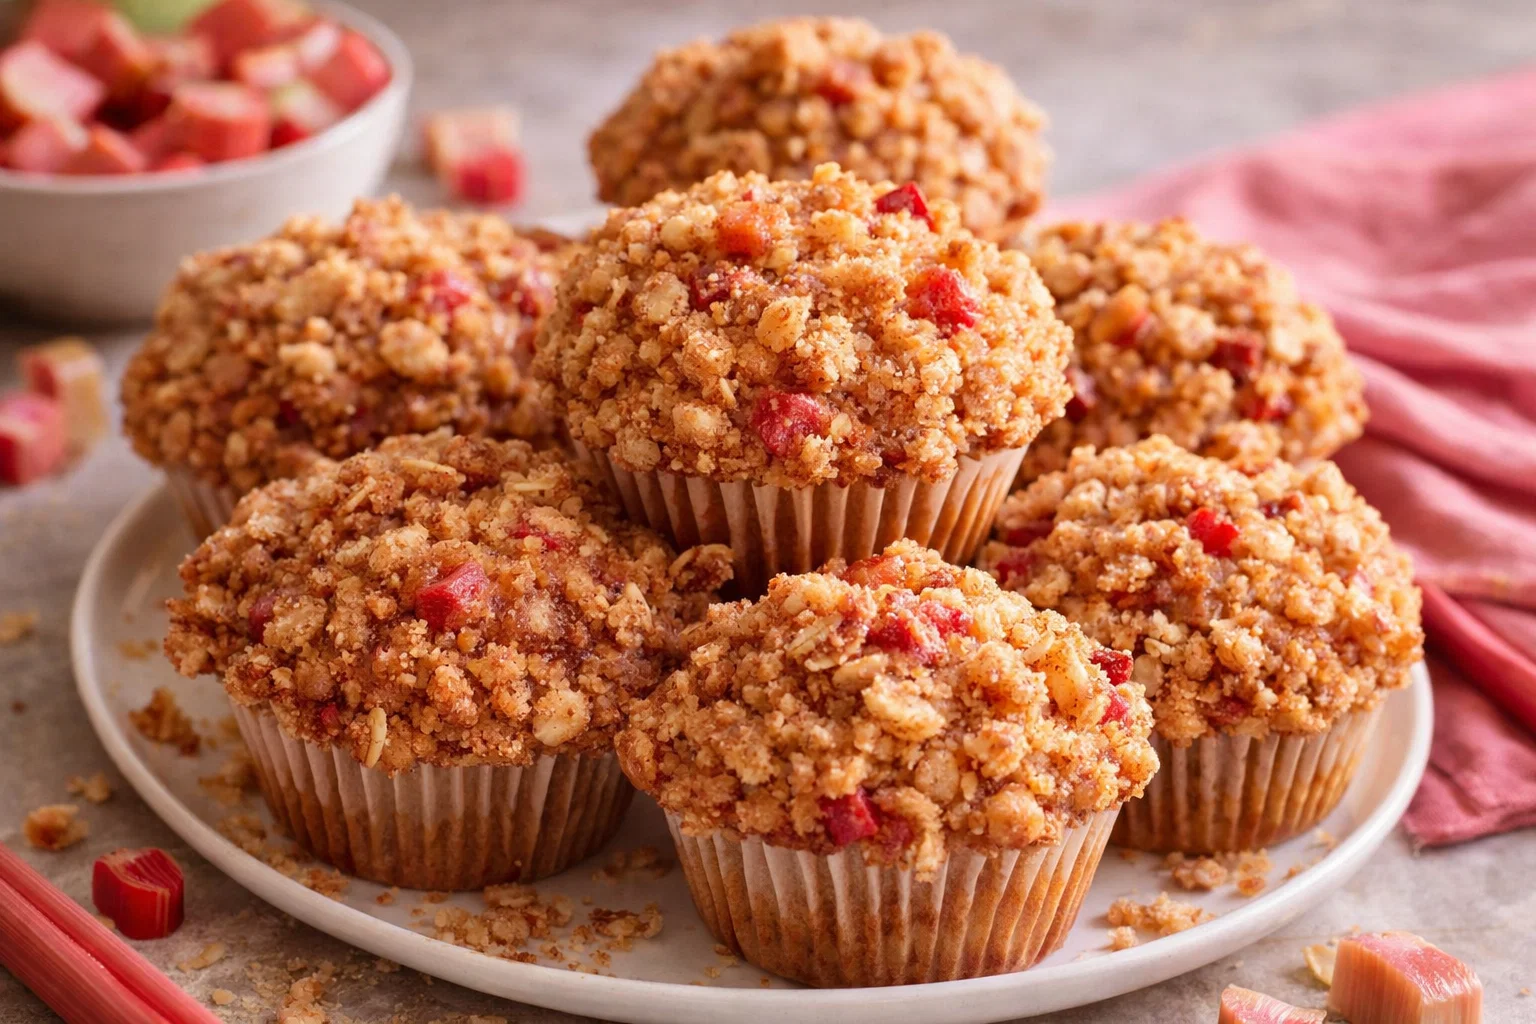
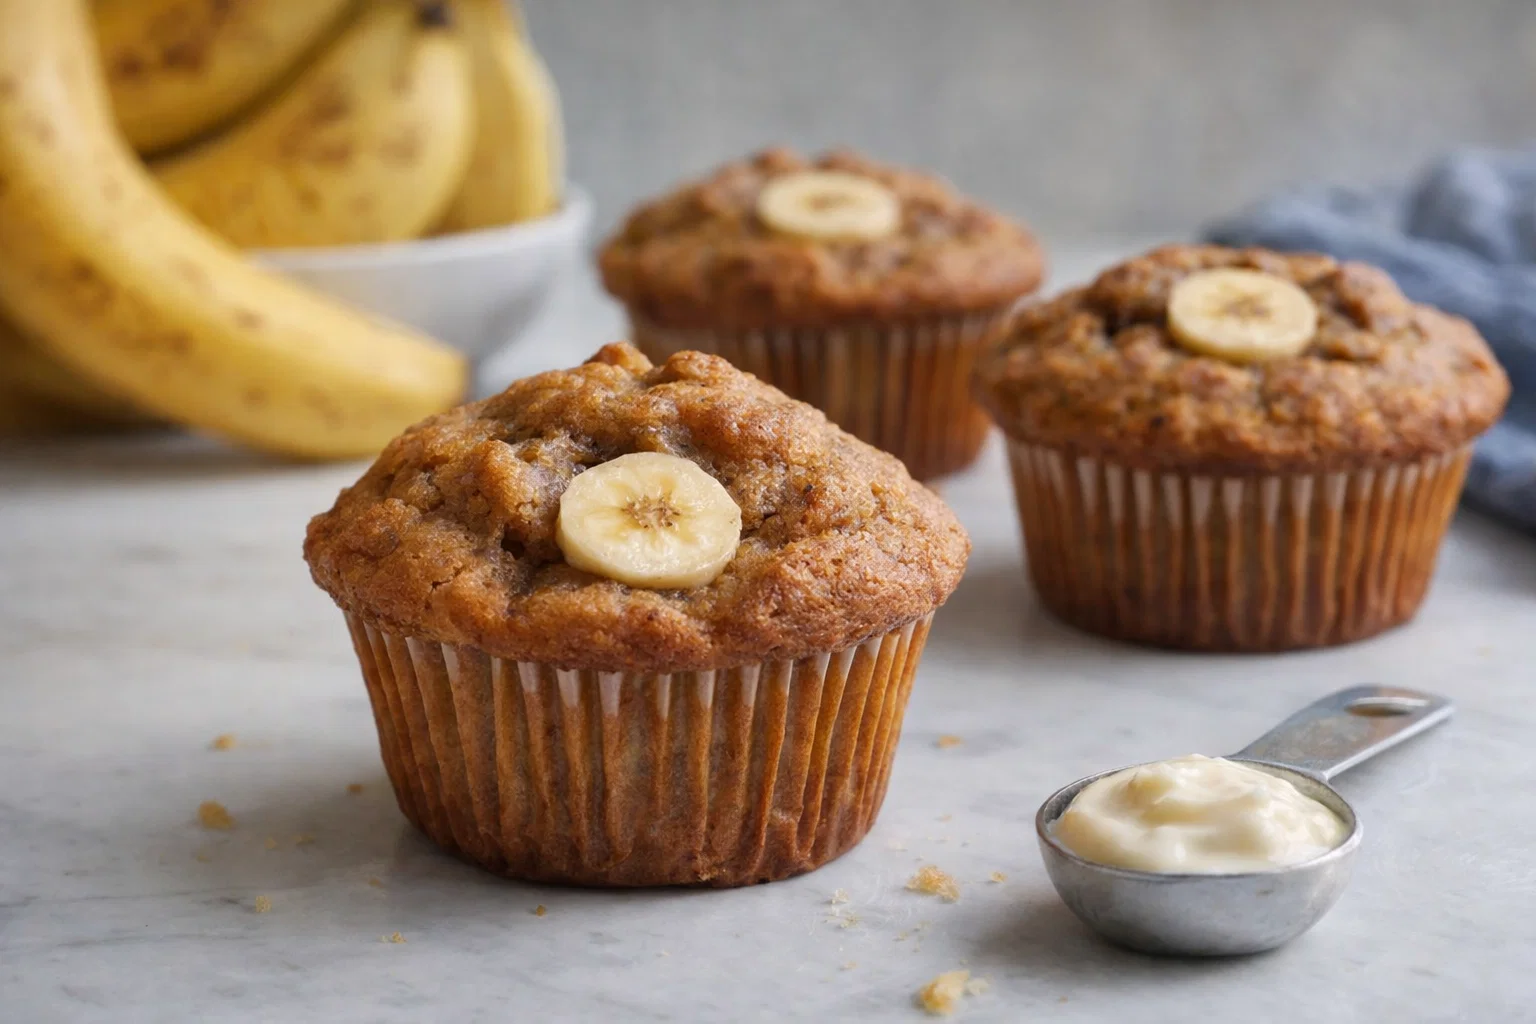
If you’re scouting for a delicious, health-conscious treat, look no further than this Easy Low Calorie Banana Muffins Recipe. With its delightful taste and soft texture, these muffins transform ripe bananas into a scrumptious dessert while remaining mindful of your waistline. This banana bread recipe is not only low in calories but also incredibly simple to prepare — perfect for busy parents, students, and anyone seeking a healthier option without sacrificing flavor.
What makes this recipe particularly advantageous is its versatile nature. It caters to various dietary needs, appealing to vegans, gluten-free eaters, and those conscious about their calorie intake. In mere minutes, you can whip up a batch of banana muffins that are low in sugar and packed with heart-healthy ingredients.
Can you imagine the comforting aroma of freshly baked muffins wafting through your home? Whether you savor these muffins for breakfast, as a post-workout snack, or a guilt-free dessert, they deliver a delightful fudgy bite that keeps you coming back for more. By using ripe bananas, you’ll not only reduce sugar levels but also infuse natural sweetness and moisture into the muffins, enhancing their flavor and overall appeal.
Join the ranks of home bakers who enjoy the fruity, wholesome goodness of banana muffins while maintaining a healthy lifestyle. Let’s dive deeper into the many benefits this recipe has to offer.
Benefits and Advantages of Easy Low Calorie Banana Muffins Recipe
The Easy Low Calorie Banana Muffins Recipe stands out as a quintessential choice for those who appreciate simplicity without compromising on taste. One of the remarkable aspects of this recipe is its ease of preparation. With a few straightforward steps, anyone can bake delicious muffins right from the comfort of their kitchen. This accessibility makes it a favorite among busy parents, students cramming for exams, and young professionals seeking a quick and satisfying treat.
Now, let’s talk health benefits. These banana muffins are a powerhouse of nutrition! By utilizing ripe bananas as the base, you’re benefiting from their natural sugars, fiber, and essential vitamins like B6 and C. Not only do they help to naturally sweeten the recipe, but they also provide potassium, vital for heart health and muscle function.
Another advantage is the flexibility this recipe offers. You can easily substitute elements based on your specific dietary requirements. Want a gluten-free version? Simply swap the all-purpose flour with a gluten-free blend. Looking for a vegan option? Banish the eggs and use flaxseed meal or applesauce instead. By making these small modifications, you can create muffins that align with your lifestyle without compromising on taste or texture.
Moreover, these muffins freeze exceptionally well. You can bake a batch on a quiet Sunday and have nutritious snacks ready for the week ahead. This makes them a fabulous option for meal prep enthusiasts, whether you’re a culinary novice or a seasoned baker. In essence, this banana bread recipe caters to health-conscious food lovers, giving you a good reason to indulge, guilt-free.
Ingredients Overview
Essential Ingredients for Easy Low Calorie Banana Muffins Recipe
Creating the perfect batch of easy low-calorie banana muffins requires only a handful of essential ingredients. Here’s your complete shopping list:
- 3 ripe bananas (mashed): The star ingredient, providing natural sweetness and moisture.
- 1 cup of whole wheat flour (or gluten-free flour): For a nutritious base; opt for gluten-free flour if needed.
- 1/2 cup of oats: Adds texture and fiber, aiding digestion and providing long-lasting energy.
- 1/4 cup of honey or maple syrup: A natural sweetener to replace refined sugar; use maple syrup for a vegan option.
- 1/2 cup unsweetened applesauce: Acts as a low-calorie fat alternative while keeping the muffins moist.
- 1 teaspoon of baking powder: Helps the muffins rise, creating a light texture.
- 1/2 teaspoon of baking soda: Works in tandem with the baking powder for the perfect bake.
- 1/2 teaspoon of cinnamon: Adds warm flavor; optional for those who prefer a plain taste.
- Pinch of salt: Balances sweetness and highlights all the flavors.
- Optional add-ins: Walnuts, chocolate chips, or dried fruits can elevate your muffins while adding nutrients.
These ingredients not only contribute to the delightful taste but also support various dietary preferences. Make sure to pick ripe bananas; they not only blend better but also offer the most natural sugars.
Dietary Substitutions to Customize Your Easy Low Calorie Banana Muffins Recipe
Customization is all about personal preferences and dietary needs. Here are some suggested substitutions for your easy low-calorie banana muffins:
- Gluten-Free: Swap the whole wheat flour for a gluten-free mix or almond flour for a nutty flavor.
- Vegan: Rather than eggs, use flaxseed meal mixed with water (1 tablespoon of flaxseed + 2.5 tablespoons of water = 1 egg). Alternatively, unsweetened applesauce is an excellent binding agent in vegan baking.
- Low Sugar: If opting for a lower sugar intake, you can reduce the honey or syrup by half or use a sugar substitute like stevia or erythritol.
- Nut-Free: For those with nut allergies, avoid adding walnuts or any nut-based flour. Instead, try sunflower seeds or pumpkin seeds for crunch.
- Flavor Variations: Consider adding blueberries, chocolate chips (dark for a healthier version), or coconut flakes for a tropical twist.
These substitutions not only cater to various dietary restrictions but create opportunities for creativity in the kitchen. Feel free to experiment and make these muffins uniquely yours!
How to Prepare the Perfect Easy Low Calorie Banana Muffins Recipe: Step-by-Step Guide
Now that you’ve gathered your ingredients, it’s time to bring your Easy Low Calorie Banana Muffins Recipe to life. Follow these simple steps to create your delicious muffins:
-
Preheat the Oven: Set your oven to 350°F (175°C) for optimal baking conditions. This ensures your muffins bake evenly.
-
Prepare the Muffin Pan: Grease a muffin pan or line it with muffin liners. This prevents sticking and also makes for easy cleanup.
-
Mash the Bananas: In a large mixing bowl, mash the ripe bananas until smooth. Aim for a creamy texture — lumps can lead to uneven baking.
-
Mix Wet Ingredients: Add the honey (or maple syrup) and unsweetened applesauce to the mashed bananas. Stir well to combine.
-
Combine Dry Ingredients: In another bowl, whisk together the whole wheat flour, oats, baking powder, baking soda, cinnamon, and salt. This ensures even distribution of leavening agents.
-
Incorporate Dry into Wet: Gradually add the dry mixture to the wet ingredients, stirring until just combined. It’s essential not to overmix; a few lumps are perfectly fine.
-
Add Optional Ingredients: If you decided to add walnuts, chocolate chips, or any other extras, fold them in gently at this stage.
-
Scoop into Muffin Pan: Using a spoon or an ice cream scoop, evenly distribute the batter among the muffin cups, filling each about 2/3 full. This gives them room to rise without overflowing.
-
Bake: Place the muffin pan in the preheated oven and bake for 15-20 minutes. You’ll know they’re done when a toothpick inserted in the center comes out clean.
-
Cool: Remove the muffins from the oven and let them sit for a few minutes in the pan, then transfer them to a wire rack to cool completely.
By following these clear, actionable steps, you’ll create delicious muffins that not only taste fantastic but also cater to various dietary preferences. Don’t hesitate to make adjustments to suit your taste; after all, this banana bread recipe is all about personalization and enjoyment!
Mastering Easy Low Calorie Banana Muffins Recipe: Advanced Tips and Variations
Now that you’ve got the essentials down, here are some advanced tips and exciting variations to elevate your banana muffins even further:
-
Extra Moisture: For those who enjoy extra moist muffins, consider adding 1/4 cup of Greek yogurt or sour cream to the batter. This adds creaminess and enhances texture.
-
Flavored Extracts: Vanilla or almond extract can give your muffins a flavorful boost. Add 1 teaspoon to the wet mixture for added depth.
-
Sprinkle with Oats: For a beautiful finish, sprinkle some oats on top before baking. This adds a delightful crunch to the muffin tops.
-
Add Spices: Feel free to experiment with spices such as nutmeg or ginger for a warm flavor profile. This can make your muffins incredibly aromatic and inviting.
-
Chocolate Swirls: For a surprising twist, melt dark chocolate and swirl it into the muffin batter before baking. This adds richness and gourmet flair.
-
Mini Muffins: If you fancy bite-sized treats, use a mini muffin pan and adjust the bake time to around 10-12 minutes.
These tips not only enhance your muffins but also provide avenues for creativity in the kitchen. Don’t shy away from experimenting — after all, baking should be fun!
How to Store Easy Low Calorie Banana Muffins Recipe: Best Practices
To make sure your Easy Low Calorie Banana Muffins Recipe remains fresh and delicious, proper storage is crucial. Here are the best practices to keep your muffins in top shape:
-
Room Temperature: If you plan to consume the muffins within a few days, simply store them in an airtight container or a zip-top bag at room temperature. They should last about 2-3 days.
-
Refrigeration: For longer storage, place them in the refrigerator. They can last up to a week; however, do note that refrigeration may alter the texture slightly.
-
Freezing: If you want to prolong their life even further, freezing is your best option. Wrap individual muffins in plastic wrap or foil, then place them in a freezer-safe bag. They can last up to 3 months. When you’re ready to enjoy one, simply thaw it at room temperature or pop it in the microwave for a quick reheat.
Utilizing these storage tips allows you to savor your muffins longer and decreases waste, making this banana bread recipe not just enjoyable but also economical.
Nutritional Value of Easy Low Calorie Banana Muffins Recipe
Understanding the nutritional information of your Easy Low Calorie Banana Muffins Recipe is essential for making informed dietary choices. Here’s a breakdown of the approximate nutritional values per muffin (based on a recipe yielding 12 muffins):
- Calories: About 100-120
- Total Fat: 2g
- Saturated Fat: 0.5g
- Cholesterol: 0mg
- Sodium: 150mg
- Total Carbohydrates: 22g
- Dietary Fiber: 3g
- Sugars: 5g (natural sugar from bananas)
- Protein: 3g
These muffins are a fantastic option for those individuals looking to indulge without compromising their health goals. Loaded with fiber, they provide essential nutrients that support overall well-being. Whether you’re a health enthusiast or someone just looking for a delicious treat, these muffins tick all the boxes.
FAQs: Frequently Asked Questions About Easy Low Calorie Banana Muffins Recipe
Can I substitute the flour in this recipe?
Absolutely! You can use a gluten-free flour blend, almond flour, or even oat flour for a nutty flavor. Just ensure it measures similarly to all-purpose flour.
How ripe should the bananas be for this recipe?
Aim for bananas with plenty of brown spots — this indicates they are sweet and have developed more intense flavor, making your muffins even more delicious.
Can I use frozen bananas?
Yes, feel free to use frozen bananas! Just thaw them, and drain any extra liquid before mashing. They work surprisingly well in baking, contributing moisture and sweetness.
How do I know when my muffins are done baking?
To check for doneness, insert a toothpick into the center of a muffin. If it comes out clean or with just a few crumbs attached, they’re ready. Avoid overbaking to keep them moist.
What’s the best way to prevent my muffins from sticking?
Using cupcake liners is the easiest way to prevent sticking. Alternatively, you can grease your muffin pan with cooking spray or oil to ensure easy removal.
Can I add nuts or chocolate chips to this recipe?
Definitely! Adding walnuts, pecans, or chocolate chips can provide extra texture and flavor. Just fold them in gently at the end of mixing.
These FAQs address some of the most common queries, ensuring you feel confident and well-informed as you embark on your baking adventure. With this banana bread recipe, the possibilities are endless, inviting a world of culinary creativity. Enjoy your baking journey!