Easy 5 Ingredient Cheesecake Recipe: A Tropical Delight
Introduction to Easy 5 Ingredient Cheesecake Recipe
Looking for a quick and delightful dessert that will impress your family and friends? The Easy 5 Ingredient Cheesecake Recipe is your answer! This recipe shines among dessert recipes as it encapsulates simplicity without compromising on flavor or texture. In our busy lives, finding time to bake can be a challenge, but this cheesecake requires only five common ingredients, making it perfect for home cooks, busy parents, students, and anyone with a passion for delicious food.
Not only is this cheesecake easy to whip up, but it’s also versatile enough to cater to various dietary needs. Whether you’re after a vegan dessert, a gluten-free option, or simply a healthier treat, this recipe has got you covered. Cheesecake is known for its creamy richness and indulgent flavor, and this version delivers that while keeping your conscience clear.
The beauty of this 5 ingredient cheesecake lies in its flexibility. You can personalize it to your liking, making it a staple in your baking repertoire. Let’s dive into the delicious world of cheesecakes and see how this easy recipe can transform your dessert game!
Benefits and Advantages of Easy 5 Ingredient Cheesecake Recipe
The Easy 5 Ingredient Cheesecake stands out for several reasons, making it an ideal choice for anyone seeking a satisfying sweet treat. Below are some of the compelling benefits of this charming dessert:
Simplicity & Speed
Firstly, the most significant advantage is its simplicity. It requires no complicated baking techniques or obscure ingredients, allowing the recipe to be accessible to everyone—whether you’re a novice or a seasoned baker. In just a few simple steps, you can create a delicious dessert that can easily become your go-to cheesecake recipe.
Health Benefits
In terms of health benefits, this cheesecake can be adapted to meet your dietary preferences. The base ingredients can be substituted with lighter options, meaning you can enjoy a delightful dessert without the guilt. The use of natural sweeteners and low-calorie alternatives makes it perfect for diet-conscious individuals who still want to satisfy their sweet tooth.
Versatility
Another notable advantage is versatility. You can infuse the cheesecake with various flavors, such as lemon, chocolate, or berries. This makes it a fantastic backdrop for seasonal fruits or your favorite flavor profiles. Each variation can offer a unique twist, meaning you can enjoy this dessert repeatedly without feeling bored.
Dietary Adaptability
Moreover, this cheesecake caters to different dietary restrictions. With simple substitutions, you can make it vegan or gluten-free. This adaptability means it can be served at various occasions—from birthdays to casual weeknight dinners—without worry.
The Easy 5 Ingredient Cheesecake is genuinely a standout recipe that combines ease, health, versatility, and dietary adaptability. Whether you want a fast solution for dessert after dinner or are looking for a show-stopping treat for guests, this cheesecake will exceed your expectations.
Ingredients Overview
Essential Ingredients for Easy 5 Ingredient Cheesecake Recipe
To make the Easy 5 Ingredient Cheesecake, you will need the following ingredients:
- Cream Cheese (8 oz): The base of our cheesecake, adding creaminess and rich flavor. For a vegan option, use coconut cream or cashew cream.
- Sugar (1/2 cup): Sweetens the filling. Feel free to substitute coconut sugar or a sugar alternative for a healthier option.
- Vanilla Extract (1 tsp): Provides flavor depth. You can also experiment with almond extract for a unique twist.
- Egg (1): Binds the cheesecake together and gives it structure. For a vegan substitute, use flaxseed meal mixed with water (1 tablespoon flaxseed meal + 2.5 tablespoons water).
- Graham Cracker Crumbs (1 cup): Forms a delightful crust. For a gluten-free crust, use crushed gluten-free cookies.
Each of these ingredients plays a vital role in the cheesecake’s overall flavor and texture, contributing to a creamy and dreamy finish.
Dietary Substitutions to Customize Your Easy 5 Ingredient Cheesecake Recipe
Along with the standard ingredients, consider the following dietary substitutions:
- For Vegan Cheesecake: Utilize plant-based cream cheese or whip up a cashew cream. Substitute the egg with a flax egg or a banana puree.
- For Gluten-Free Cheesecake: As mentioned, swap graham crackers for gluten-free alternatives or even nut-based crusts made from almonds or pecans.
- For Low-Calorie Cheesecake: Use reduced-fat cream cheese and opt for a natural sweetening alternative such as stevia or erythritol.
These substitutions make it easy to cater to various diets, ensuring everyone can indulge in this luscious dessert without any hesitation.
How to Prepare the Perfect Easy 5 Ingredient Cheesecake Recipe: Step-by-Step Guide
Ready to bake? Let’s take a detailed look at how to prepare the Easy 5 Ingredient Cheesecake in a few simple steps. Follow this step-by-step guide for delectable results:
- Prepare the Crust:
-
In a medium bowl, combine the graham cracker crumbs with melted butter. If you’re making a gluten-free crust, substitute regular crumbs with gluten-free alternative. Mix until fully incorporated.
-
Press the Crust:
-
Transfer the crumb mixture into a 9-inch springform pan. Press it evenly across the bottom and partially up the sides. Make sure it’s compact to hold the filling later.
-
Pre-Bake the Crust:
-
Preheat your oven to 350°F (175°C). Bake the crust for about 10 minutes, until it’s set and slightly golden. Allow it to cool while you prepare the filling.
-
Blend the Cream Cheese:
-
In a large mixing bowl, add the softened cream cheese. Use an electric mixer to beat until creamy and smooth. Make sure there are no lumps – the cream cheese should be at room temperature for best results.
-
Incorporate Sugar:
-
Gradually add sugar to the cream cheese while mixing. Continue beating until well-combined and fluffy.
-
Add Vanilla and Egg:
-
Pour in the vanilla extract and add in the egg. Mix until fully incorporated and slightly airy. If you are using a vegan alternative, add the flax egg or banana puree at this stage.
-
Pour Filling into Crust:
-
Carefully pour the cream cheese filling into the prepared crust. Spread it evenly with a spatula to ensure a uniform layer.
-
Bake the Cheesecake:
-
Bake the cheesecake in the preheated oven for about 25-30 minutes. The edges should look set, with a slight jiggle in the center.
-
Cool the Cheesecake:
-
Turn off the oven and let the cheesecake cool inside for an hour. This helps prevent cracking. Once it reaches room temperature, cover it and transfer to the refrigerator to chill for at least four hours, preferably overnight.
-
Serve and Enjoy:
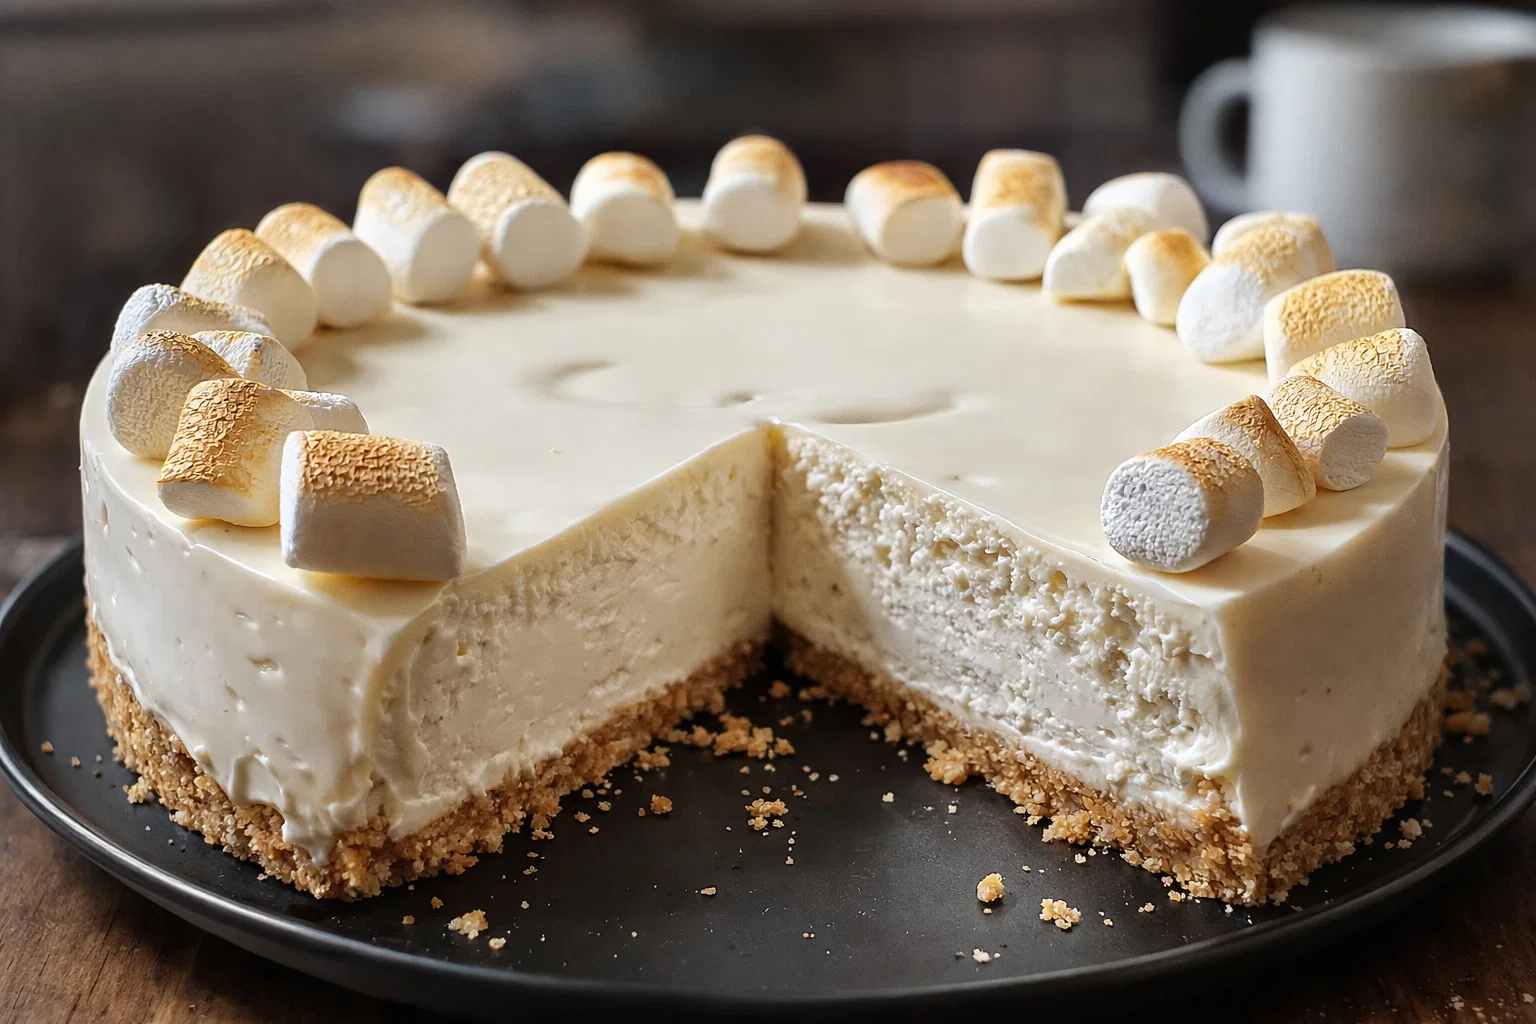
- When ready to serve, carefully release the springform pan. Cut into slices and garnish with fresh fruits, whipped cream, or a drizzle of chocolate sauce to elevate the presentation.
This straightforward method for preparing the Easy 5 Ingredient Cheesecake allows for adjustments catered to your tastes and dietary needs, ensuring your dessert always stays exciting and enjoyable.
Mastering Easy 5 Ingredient Cheesecake Recipe: Advanced Tips and Variations
Mastering the Easy 5 Ingredient Cheesecake comes with experimenting and learning a few advanced tricks. Here are some expert tips and variations to elevate your cheesecake:
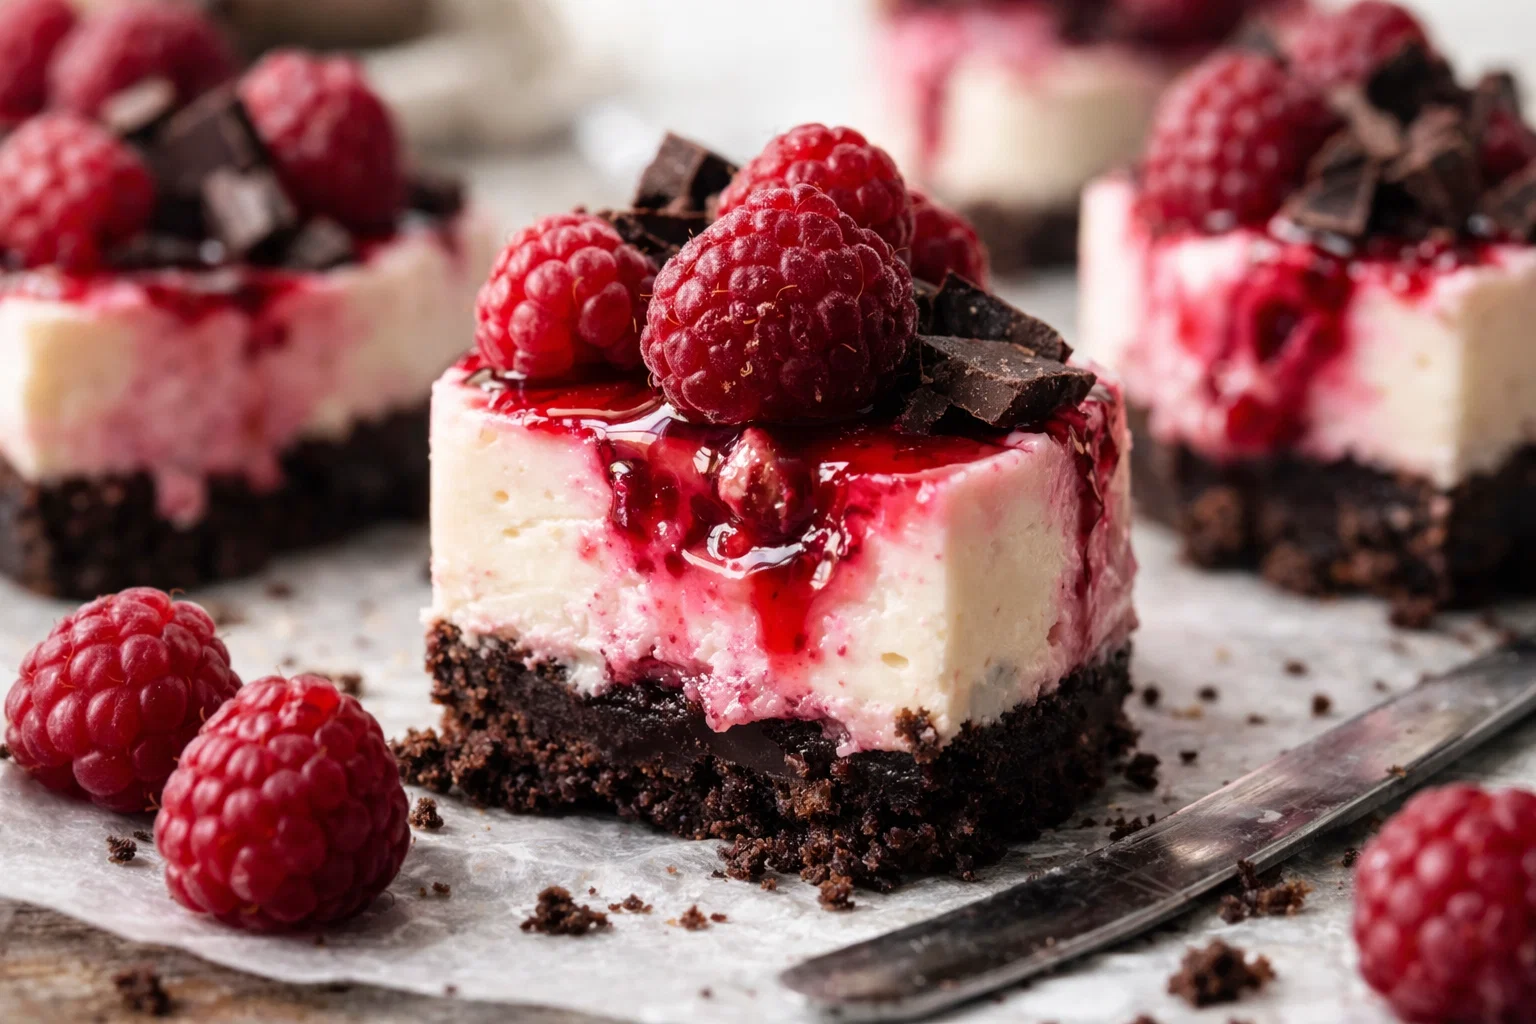
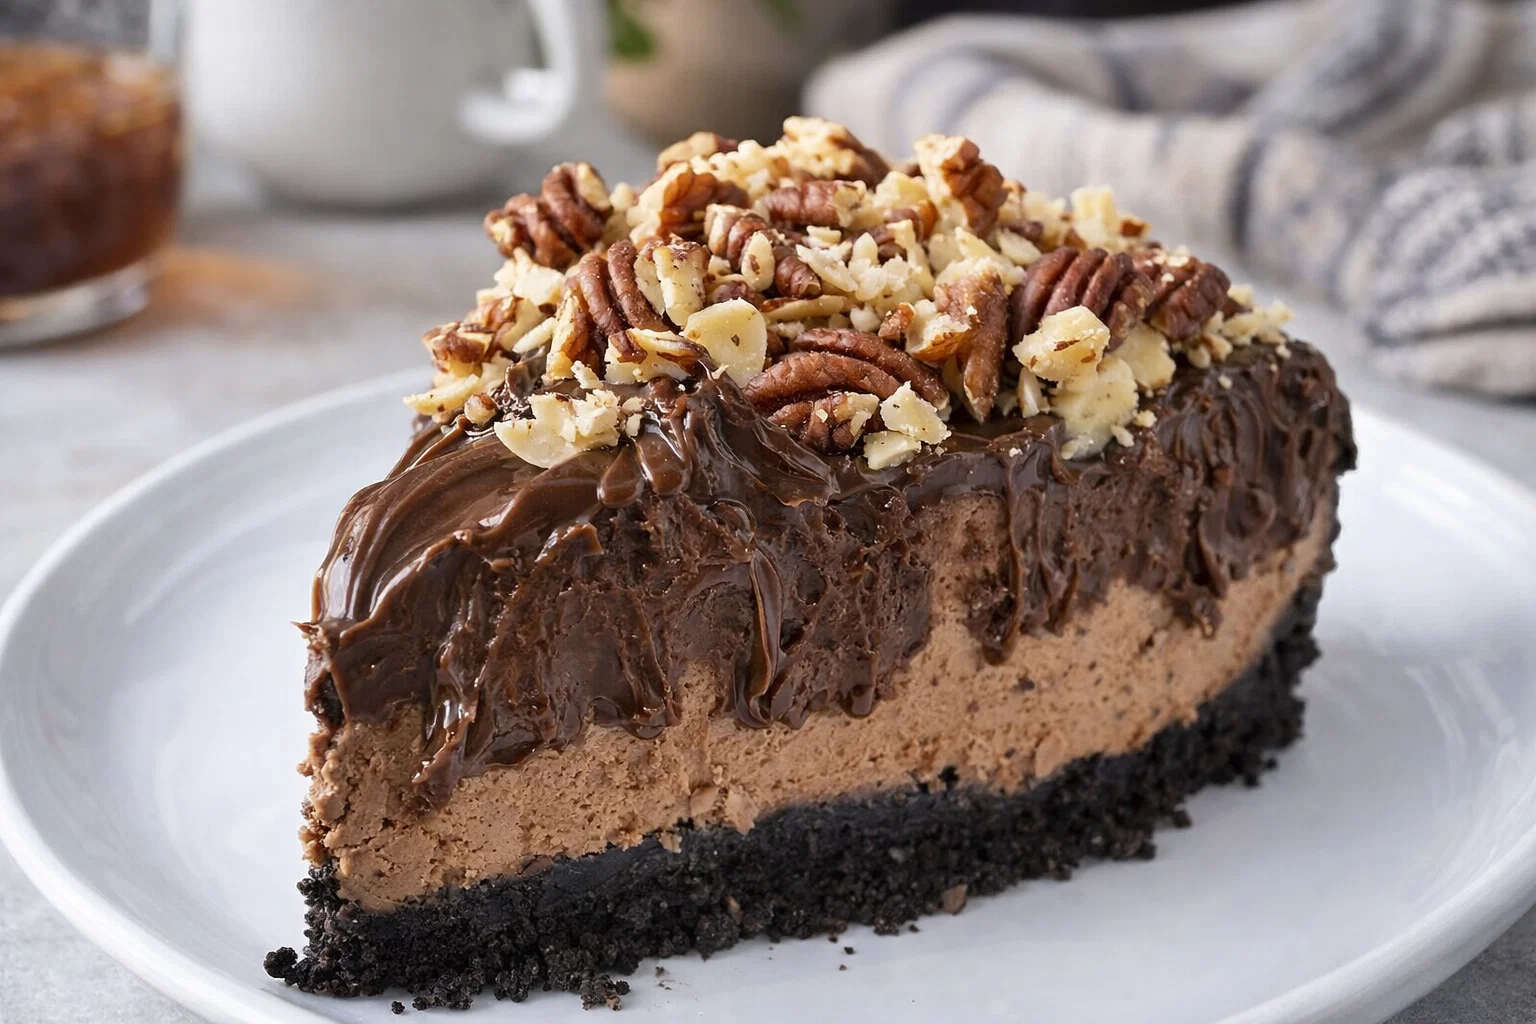
- Flavor Variations: Instead of the classic vanilla flavor, try incorporating melted chocolate, lemon zest, or pureed fruit like strawberries or mango to infuse a fresh taste.
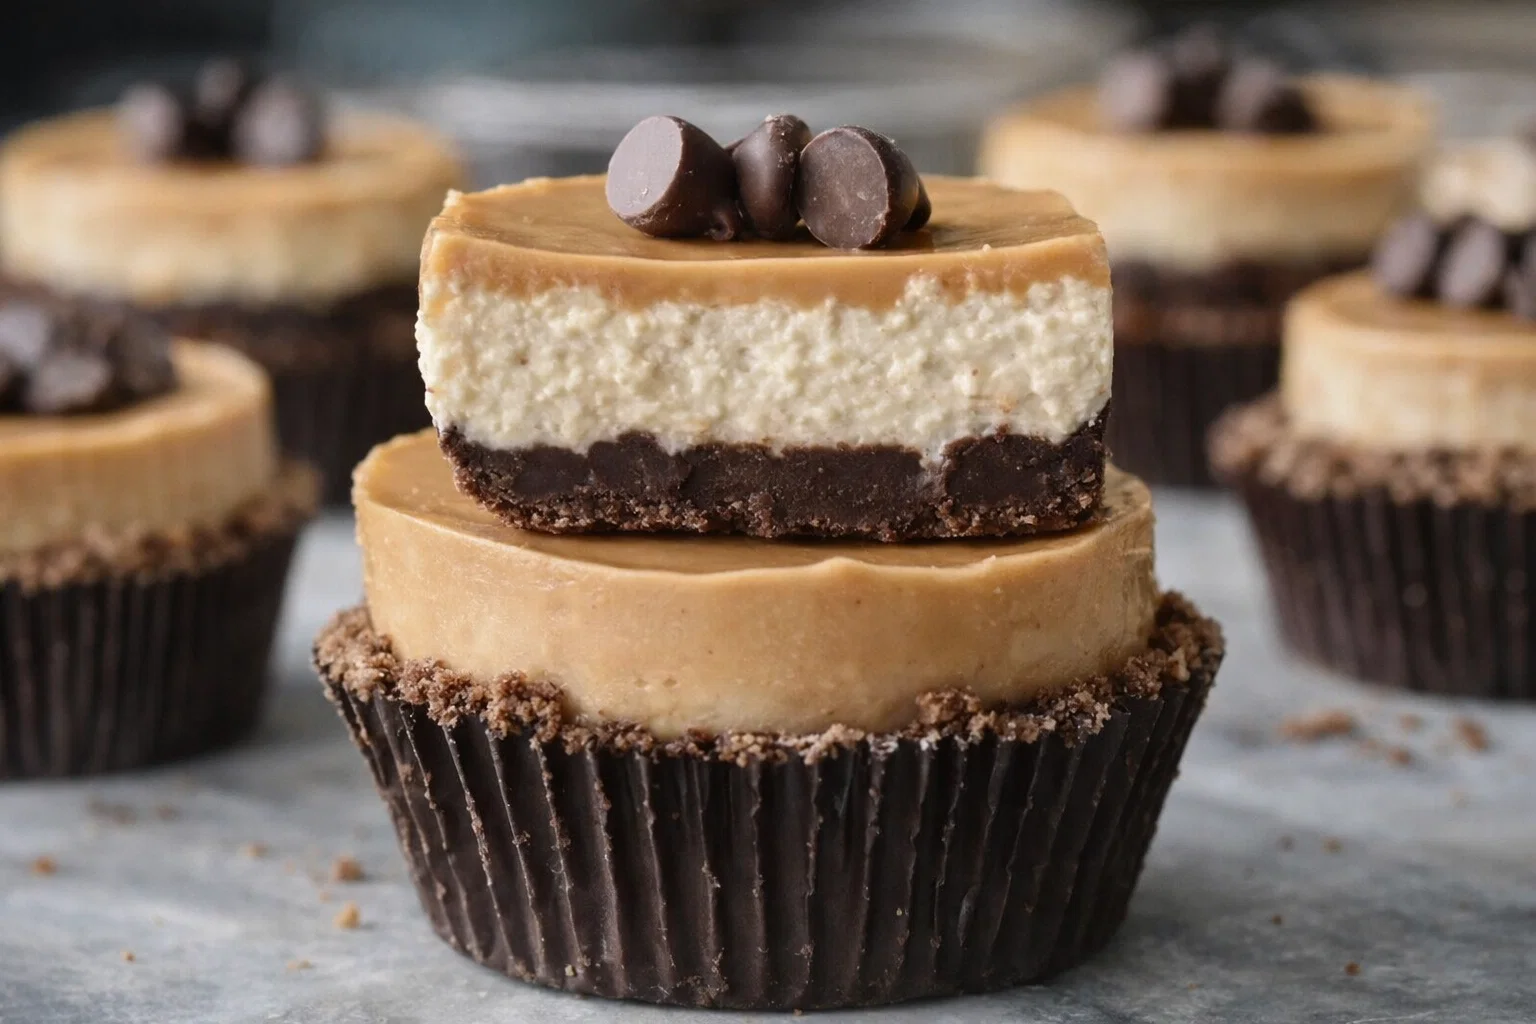
- Toppings: Consider different toppings to enhance your cheesecake, such as caramel sauce, fresh fruit, or chocolate shavings for added flair.
- Crust Alternatives: For a nut-based crust, combine ground almonds or walnuts with dates and a bit of coconut oil for a no-bake crust option.
- Mini Cheesecakes: For individual servings, divide the crust and filling among muffin tins. Bake for about 15-20 minutes until set, creating personal-sized treats for gatherings or parties.
Utilizing these advanced techniques, you can take your Easy 5 Ingredient Cheesecake to the next level, keeping your guests excited and satisfied with every bite.
How to Store Easy 5 Ingredient Cheesecake Recipe: Best Practices
Proper storage of your Easy 5 Ingredient Cheesecake is crucial to keep it fresh and delicious. Here are the best practices for refrigeration, freezing, and reheating:
Refrigeration
- Store any leftovers in an airtight container in the fridge. The cheesecake will last for about 5-7 days, maintaining its creamy texture and flavor.
- If the cheesecake was topped with fresh fruits or whipped cream, consume within 2-3 days for optimal freshness.
Freezing
- For longer storage, you can freeze the cheesecake. Wrap it tightly in plastic wrap and aluminum foil to protect it from freezer burn. It can freeze well for up to three months!
- To thaw, transfer it to the refrigerator overnight before serving.
Reheating
- To enjoy your cheesecake at room temperature, simply take it out of the refrigerator and let it sit for about 30 minutes before slicing.
By adhering to these storage practices, you can ensure your Easy 5 Ingredient Cheesecake remains a delightful dessert to savor at any moment.
Nutritional Value of Easy 5 Ingredient Cheesecake Recipe
When indulging in dessert recipes, it’s essential to be aware of the nutritional content. Below is a breakdown of the nutrition in a standard serving (1 slice) of the Easy 5 Ingredient Cheesecake:
- Calories: Approximately 250-300 calories
- Total Fat: 18g
- Saturated Fat: 9g
- Cholesterol: 70mg
- Sodium: 240mg
- Total Carbohydrates: 22g
- Dietary Fiber: 1g
- Sugars: 12g
- Protein: 4g
Assessing these values helps you make informed decisions about portion sizes and ingredients if you intend on adapting the recipe for healthier options.
FAQs: Frequently Asked Questions About Easy 5 Ingredient Cheesecake Recipe
1. Can I make this cheesecake vegan?
Yes! You can use coconut cream or cashew cream instead of cream cheese. For the egg, use a flaxseed meal or a fruit puree as a substitute.
2. How do I know when the cheesecake is done baking?
The cheesecake should have a slight jiggle in the center when you remove it from the oven. The edges should appear set and will firm up as it cools.
3. Can I add different flavors to the cheesecake?
Absolutely! Feel free to experiment with various flavors such as lemon, chocolate, or berry puree for an exciting twist on the classic cheesecake.
4. How long can I store leftovers?
Store your cheesecake in an airtight container in the refrigerator for about 5-7 days. For extended storage, you can freeze it for up to three months.
5. What if I don’t have graham cracker crumbs?
If graham cracker crumbs aren’t on hand, you can substitute them with crushed gluten-free cookies or make a nut-based crust instead.
With this extensive guide, you’re now ready to create your own Easy 5 Ingredient Cheesecake. Enjoy the simplicity, richness, and endless possibilities this delicious dessert can offer!