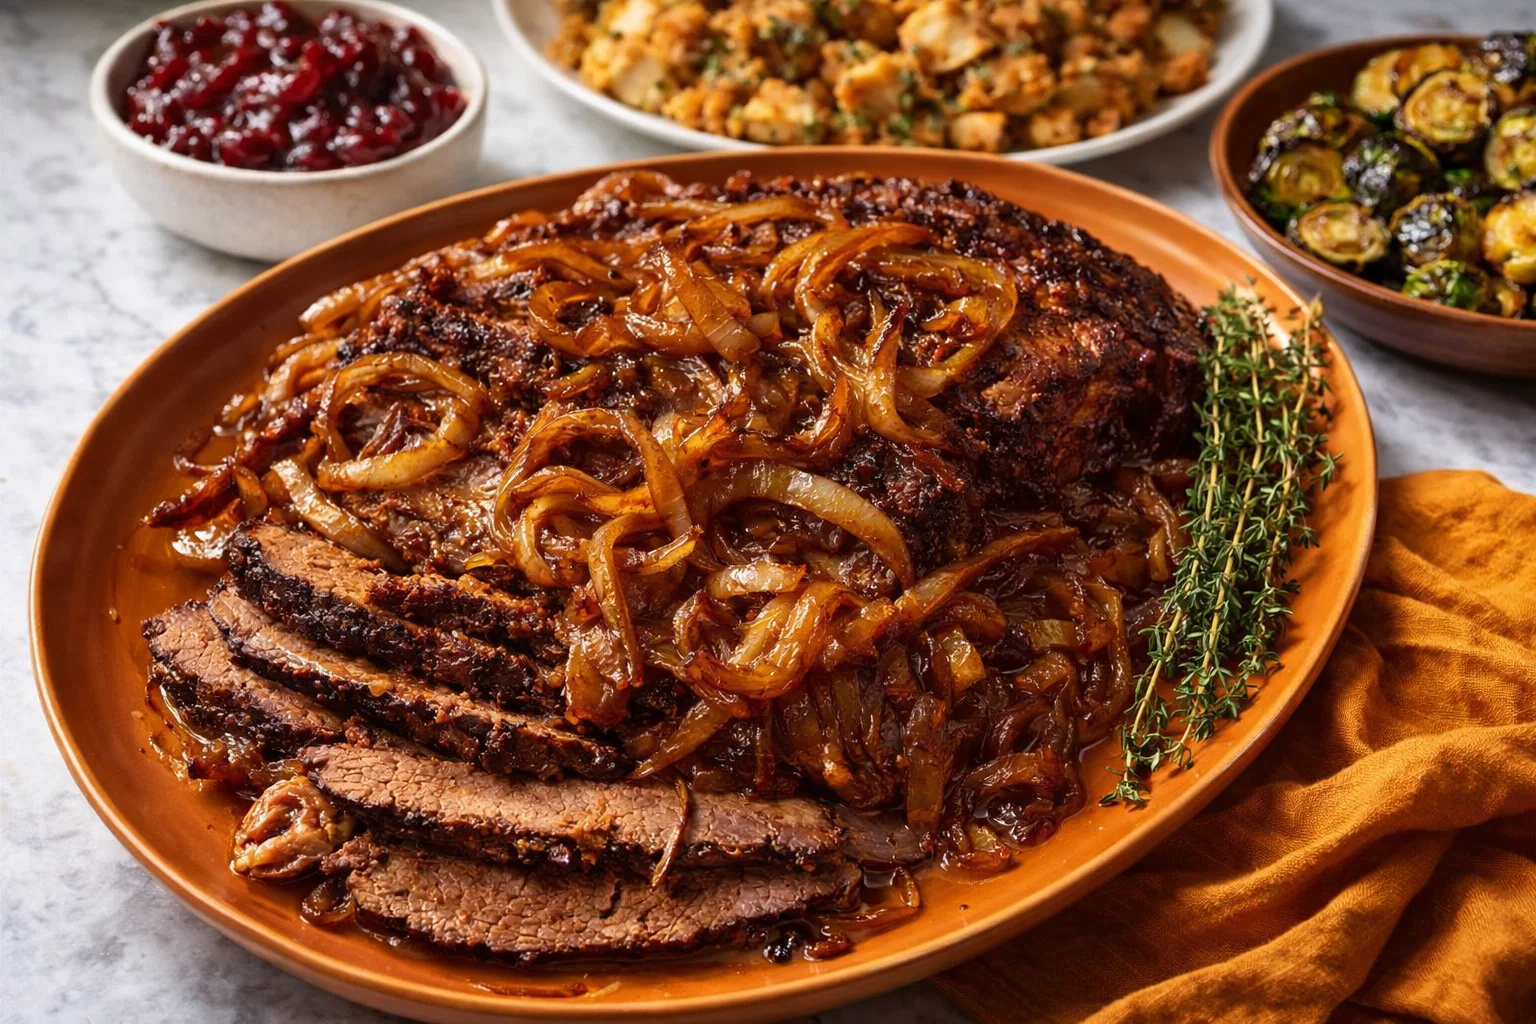
Traditional Brisket For Thanksgiving: A Tropical Delight
Introduction to Traditional Brisket For Thanksgiving
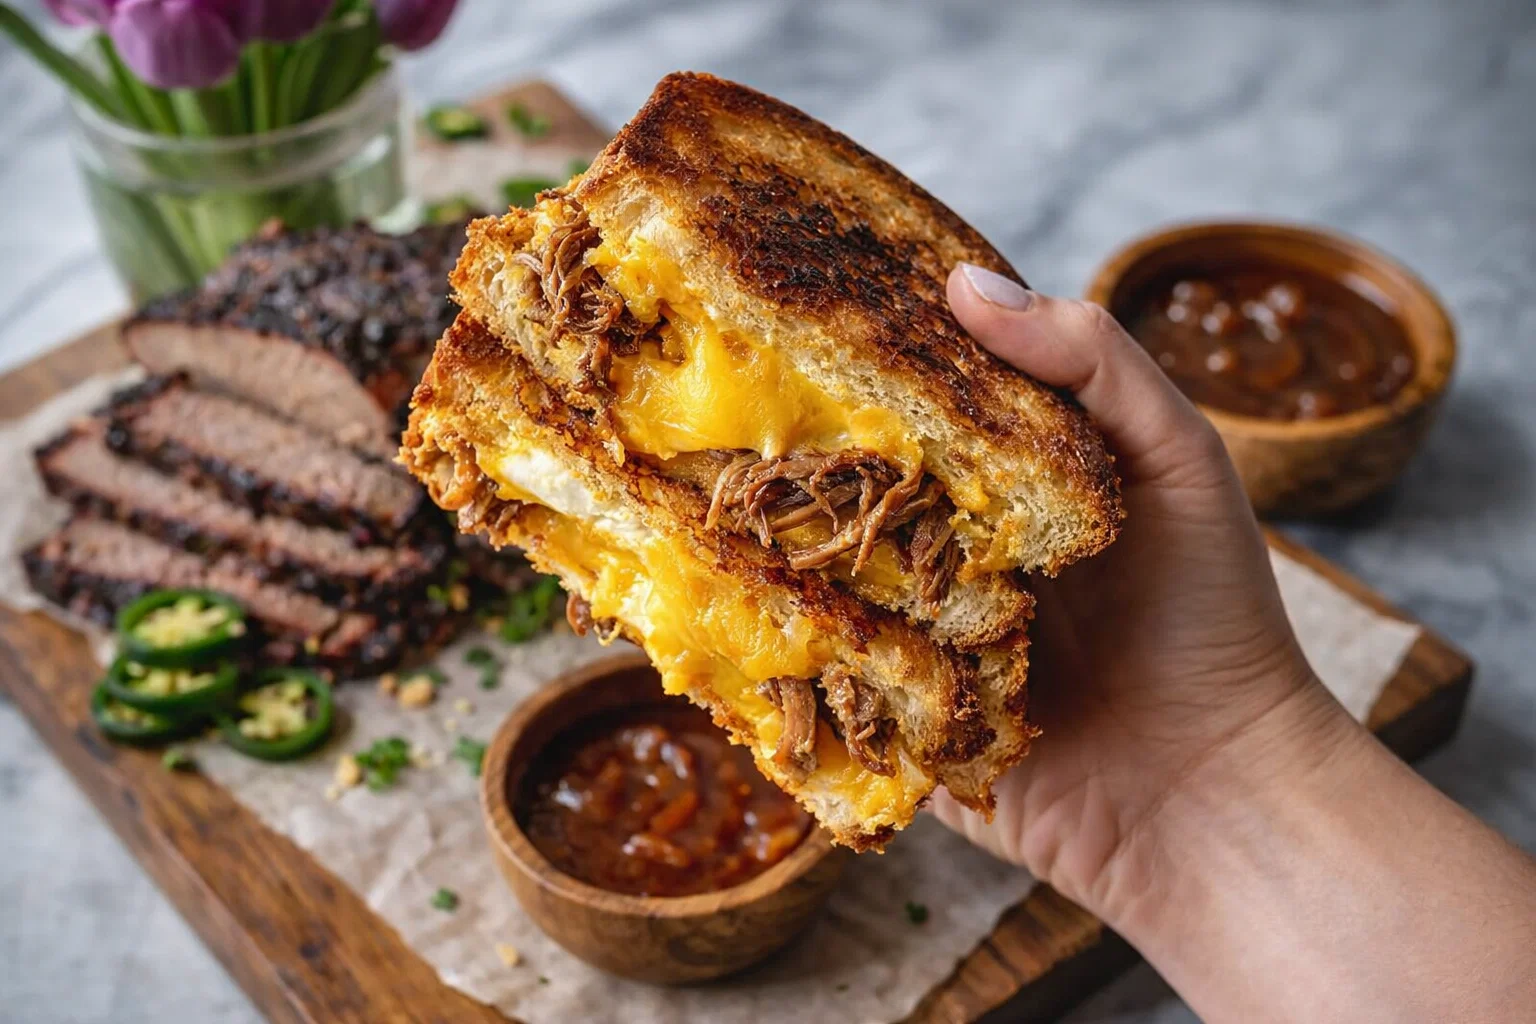
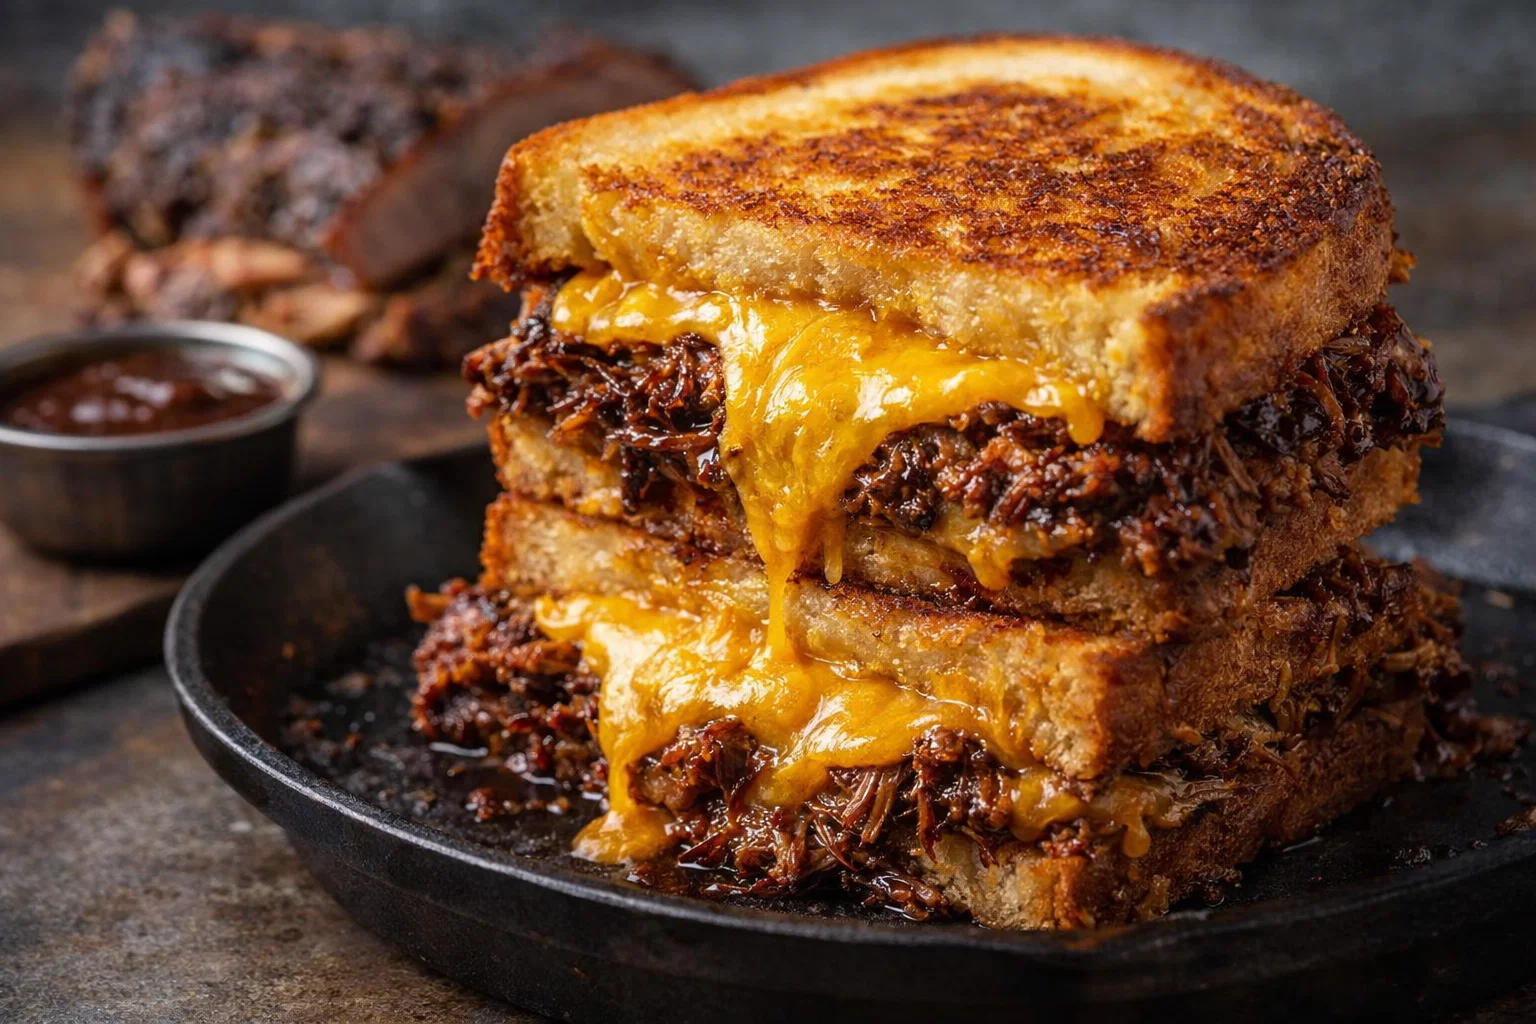
Thanksgiving is a time for gratitude and feasting, and when it comes to holiday dining, traditional brisket is a fantastic centerpiece. This delicious recipe offers a flavorful and tender dish that’s perfect for your Thanksgiving table. Not only is it simple to prepare, but it also caters to a variety of dietary needs. Whether you’re a busy parent juggling work and family or a newlywed exploring the kitchen, this recipe can inspire you!
The traditional brisket for Thanksgiving showcases robust flavors and a melt-in-your-mouth texture that everyone will love. Plus, it’s naturally rich in protein and can be adapted to various dietary preferences, such as gluten-free or low-calorie options. Incorporating brisket into your Thanksgiving recipes not only elevates your meal but also provides a hearty dish that keeps you satiated throughout the festivities.
For students, food enthusiasts, or anyone looking for a delightful yet straightforward dish, this traditional brisket is a wonderful choice. With the right balance of spices and the rich flavor from slow cooking, it’s sure to become a family favorite. So, whether you’re preparing Thanksgiving dinner for a group or nurturing a smaller gathering, this recipe will meet your needs and exceed expectations.
Benefits and Advantages of Traditional Brisket For Thanksgiving
One of the best aspects of making traditional brisket for Thanksgiving is the sheer ease of preparation. While the cooking process may take several hours, the active cooking time is minimal, making it a convenient choice for busy cooks. You can prepare your sides or spend time with family while your brisket slowly cooks to perfection, filling your home with an irresistible aroma.
Moreover, brisket is packed with health benefits. This cut of meat is rich in protein, contributing to muscle repair, immune support, and overall health. When prepared with flavorful vegetables and spices, brisket can also provide an array of vitamins and minerals. And don’t worry—if you are considering healthier options, there are ways to trim down calories and fat. By using leaner cuts of brisket and limiting the addition of oils or fats, you can enjoy a guilt-free feast.
Another advantage of traditional brisket for Thanksgiving is its vast adaptability. You can easily turn this dish vegan by using plant-based substitutes like jackfruit or seitan, which can infuse the same mouthwatering flavor profile. Gluten-free options abound, too—simply substitute any sauces or seasonings that may contain gluten with their gluten-free counterparts, allowing everyone at your table to indulge and enjoy without worry.
Lastly, the versatility of traditional brisket opens up a world of possibilities! With this dish as a base, you can create an endless array of side dishes and sauces that further enhance your Thanksgiving experience. Paired with traditional side dishes like fluffy mashed potatoes or roasted vegetables, your Thanksgiving recipes will shine.
Ingredients Overview
Essential Ingredients for Traditional Brisket For Thanksgiving
To prepare this delicious traditional brisket, gather the following ingredients:
- 3-4 lbs of brisket (choose a point or flat cut based on your preference for marbling)
- 2 tablespoons olive oil or vegetable oil (to sear the brisket)
- 2 onions, sliced (for sweetness and depth)
- 4 cloves garlic, minced (adds aromatic flavor)
- 1 cup beef broth or water (for moisture)
- 2 tablespoons tomato paste (for umami richness)
- 1 tablespoon Worcestershire sauce (to enhance flavor; use gluten-free if necessary)
- 2 teaspoons smoked paprika (adds a rich, smoky taste)
- 1 teaspoon dried thyme (gives an earthy flavor)
- Salt and pepper, to taste (enhances overall flavor)
- Optional: Vegetables like carrots and celery (for additional nutrition and flavor)
Diet-Centric Options:
– For vegan substitution: Replace brisket with jackfruit or seitan, and use vegetable broth instead of beef broth.
– Gluten-free option: Ensure that your Worcestershire sauce is labeled gluten-free, or make your own at home.
– Low-calorie twist: Choose a leaner cut of brisket and reduce the amount of oil.
Dietary Substitutions to Customize Your Traditional Brisket For Thanksgiving
Brisket is naturally gluten-free, but many people inquire about how to make it suitable for different dietary restrictions. Below are a few suggestions for substitutions that will help accommodate everyone:
-
To Make it Low-Carb/ Keto-Friendly: You can serve the brisket with low-carb vegetables, such as cauliflower mash or zucchini noodles instead of traditional potatoes.
-
For a Dairy-Free Option: This recipe is already dairy-free, but be mindful of any sides you choose to serve. Many typical Thanksgiving recipes like mashed potatoes can include butter or cream, which can easily be swapped for non-dairy alternatives.
-
Vegetable Replacements: If you have accessibility issues with ingredients, you can substitute onions with shallots for a milder taste, or use leeks for a more sophisticated flavor.
How to Prepare the Perfect Traditional Brisket For Thanksgiving: Step-by-Step Guide
Preparing traditional brisket for Thanksgiving is a straightforward process that anyone can master! Just follow these easy steps to create a mouth-watering dish that will impress your guests.
-
Prepare the Base:
Start by preheating your oven to 325°F (160°C). In a large roasting pan, heat the olive oil over medium-high heat on the stove. -
Sear the Brisket:
Season your brisket generously with salt and pepper. Once the oil is hot, sear the brisket on both sides until it’s browned (about 4-5 minutes per side). This step locks in flavors and creates a delicious crust. -
Add Aromatics:
Once the brisket is seared, remove it from the pan and set it aside. In the same pan, add sliced onions and sauté until softened and fragrant (about 5-7 minutes). Stir in the minced garlic and cook for another minute. -
Mix Ingredients:
Add the tomato paste and Worcestershire sauce to the pan. Stir to combine well with the onions and garlic, cooking for another minute. This creates a rich base for your brisket. -
Create Liquid Mixture:
Pour in the beef broth (or water) and scrape up any browned bits from the bottom of the pan. Then stir in the smoked paprika and dried thyme. -
Return the Brisket:
Place the seared brisket back into the pan, ensuring it’s snugly submerged in the liquid. If desired, you can add chopped carrots and celery at this stage for added nutrition. -
Calculate Cooking Time:
Cover the pan tightly with foil or a lid and transfer it to the preheated oven. Cook the brisket for about 3-4 hours, or until it’s fork-tender. -
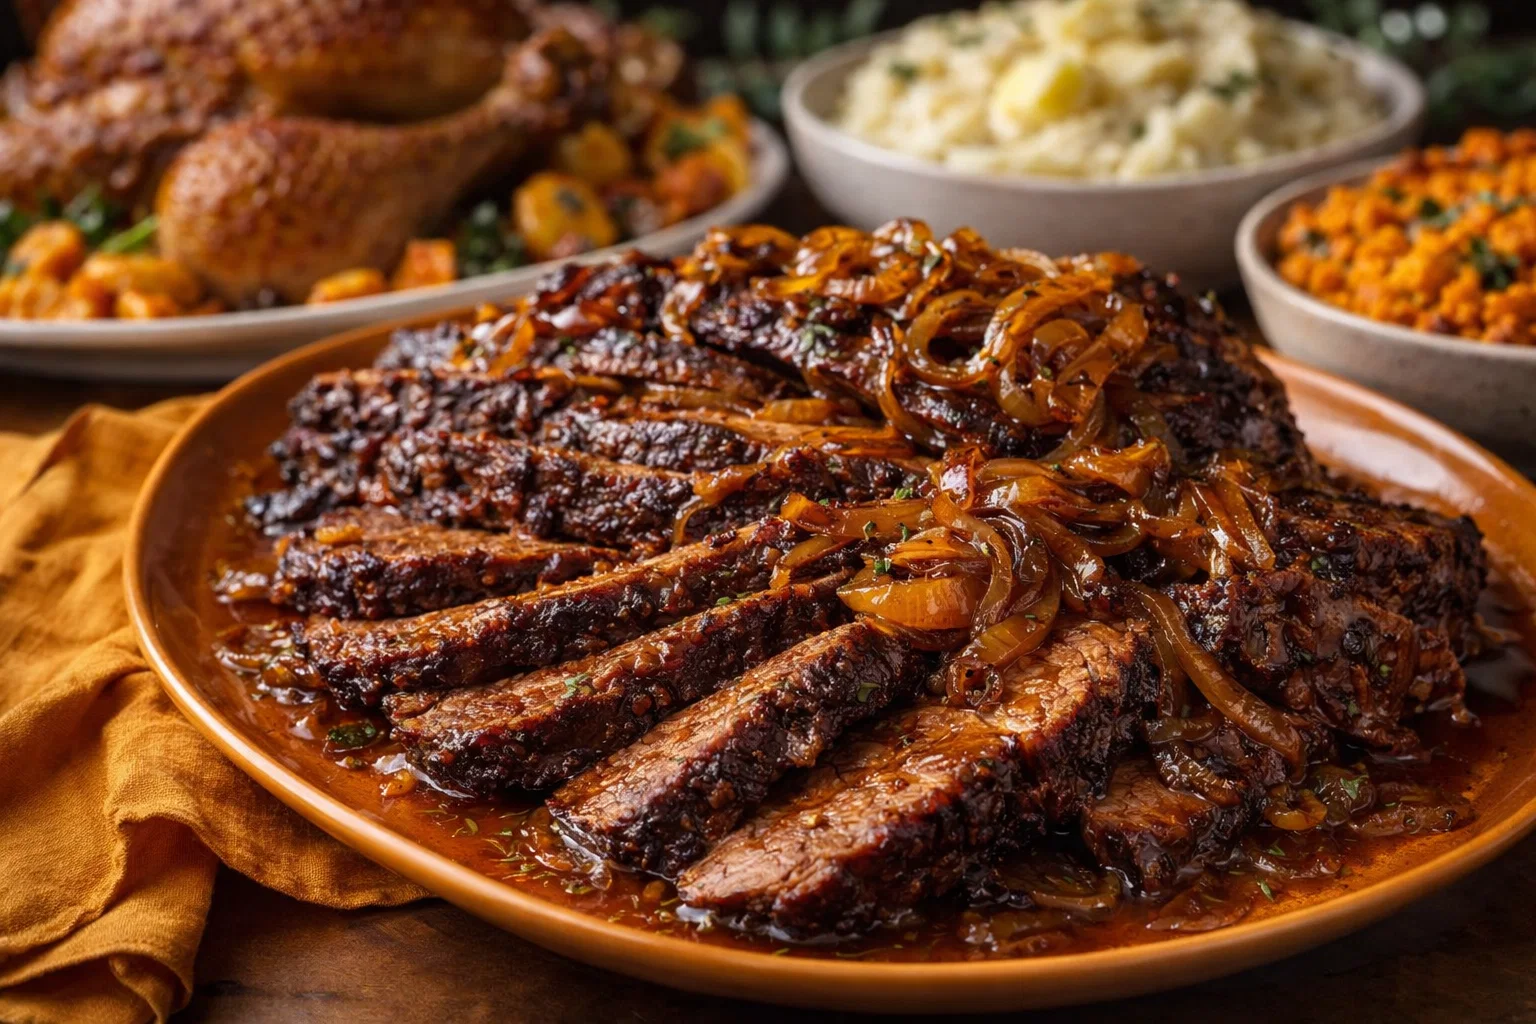
Check for Tenderness:
After cooking, remove the brisket from the oven and let it rest for at least 20 minutes before slicing. This allows the juices to redistribute, ensuring juicy slices. -
Serve:
Slice against the grain for the best texture. Serve with the accumulated juices from the pan drizzled over the top. -
Optional Gravy:
To make a quick gravy, strain the remaining liquid into a saucepan, bring to a boil, and reduce until thickened.
The adaptability of this traditional brisket recipe makes it suitable for all types of dietary preferences, ensuring that everyone can enjoy a taste of the holidays.
Mastering Traditional Brisket For Thanksgiving: Advanced Tips and Variations
Once you’ve mastered the traditional brisket, consider trying some variations or techniques to elevate your dish:
-
Slow Cooker Method: If you prefer a more hands-off approach, consider using a slow cooker. After searing, simply transfer everything into the slow cooker and cook on low for 8-10 hours.
-
Braised Brisket Variations: Add a splash of red wine or balsamic vinegar to the braising liquid for a depth of flavor. You can also incorporate herbs like rosemary or bay leaves for additional aroma.
-
Savory Glaze: Create a glaze using brown sugar, Dijon mustard, and soy sauce (or tamari for gluten-free). Apply this mixture to the brisket during the last hour of cooking for a sweet and savory finish.
-
Stuffed Brisket: For a fun twist, consider stuffing the brisket with a mixture of sautéed onions, garlic, herbs, and breadcrumbs before searing and cooking. This adds additional flavor and texture.
How to Store Traditional Brisket For Thanksgiving: Best Practices
Once your traditional brisket is ready, you’ll want to enjoy leftovers or save them for later. Proper storage is key to maintaining its flavor and tenderness.
-
Refrigeration: Allow the brisket to cool completely before slicing. Store in an airtight container in the fridge for up to 4 days. It’s best to keep the meat and juices separate to prevent drying.
-
Freezing: If you want to store your brisket for a more extended period, wrap it tightly in plastic wrap or aluminum foil, then place it in a freezer bag. It can last up to 3 months frozen. For reheating, thaw it in the refrigerator overnight before cooking.
-
Reheating: To reheat, place your brisket in the oven at 300°F (150°C) with a splash of broth or water to keep it moist. Cover it with foil to retain heat and moisture, heating until warmed through.
By following these storage best practices, you can keep your traditional brisket delicious and ready for your next meal!
Nutritional Value of Traditional Brisket For Thanksgiving
When it comes to nutrition, traditional brisket holds its own. Below is an overview of its nutritional benefits:
- Calories: Approximately 250-300 calories per 3-ounce serving (varies based on cut and cooking method)
- Protein: 20-25 grams
- Fat: 15-20 grams (can be reduced with lean cuts)
- Carbohydrates: Minimal, especially when served without bread or sauces containing sugar
- Vitamins & Minerals: Rich in iron, zinc, and B vitamins, all crucial for energy and overall health
For a complete nutritional profile, consider the ingredients you pair with the brisket. Vegetables can enhance the fiber, vitamins, and minerals of your meal, making it not just a tasty dish, but a nourishing one too.
FAQs: Frequently Asked Questions About Traditional Brisket For Thanksgiving
1. Can I make traditional brisket ahead of time?
Absolutely! In fact, brisket often tastes better the next day as the flavors meld. Cook it ahead of time, refrigerate, and reheat when ready to serve.
2. What alternatives can I use if I can’t find brisket?
If brisket is hard to find, you can use other cuts of beef like chuck roast or beef shank, which will also yield a tender, flavorful result.
3. Is there a vegan alternative to brisket?
Certainly! Jackfruit or tempeh can act as great substitutes. Cook them with the same spices and ingredients to create a similar flavor profile.
4. How do I ensure my brisket is tender?
Cook it low and slow. Whether in the oven or slow cooker, patience is key. Once cooked, allow it to rest before slicing to maintain tenderness.
5. What sides pair well with brisket?
Traditional sides like roasted vegetables, mashed potatoes, or coleslaw complement brisket beautifully, as well as any Thanksgiving favorites like stuffing or cranberry sauce.
By following this detailed guide to traditional brisket for Thanksgiving, you’ll create a memorable dish that satisfies and warms the hearts of all who gather around your table. Try it for your next celebration, and enjoy the rich flavors and joyous moments it brings!